
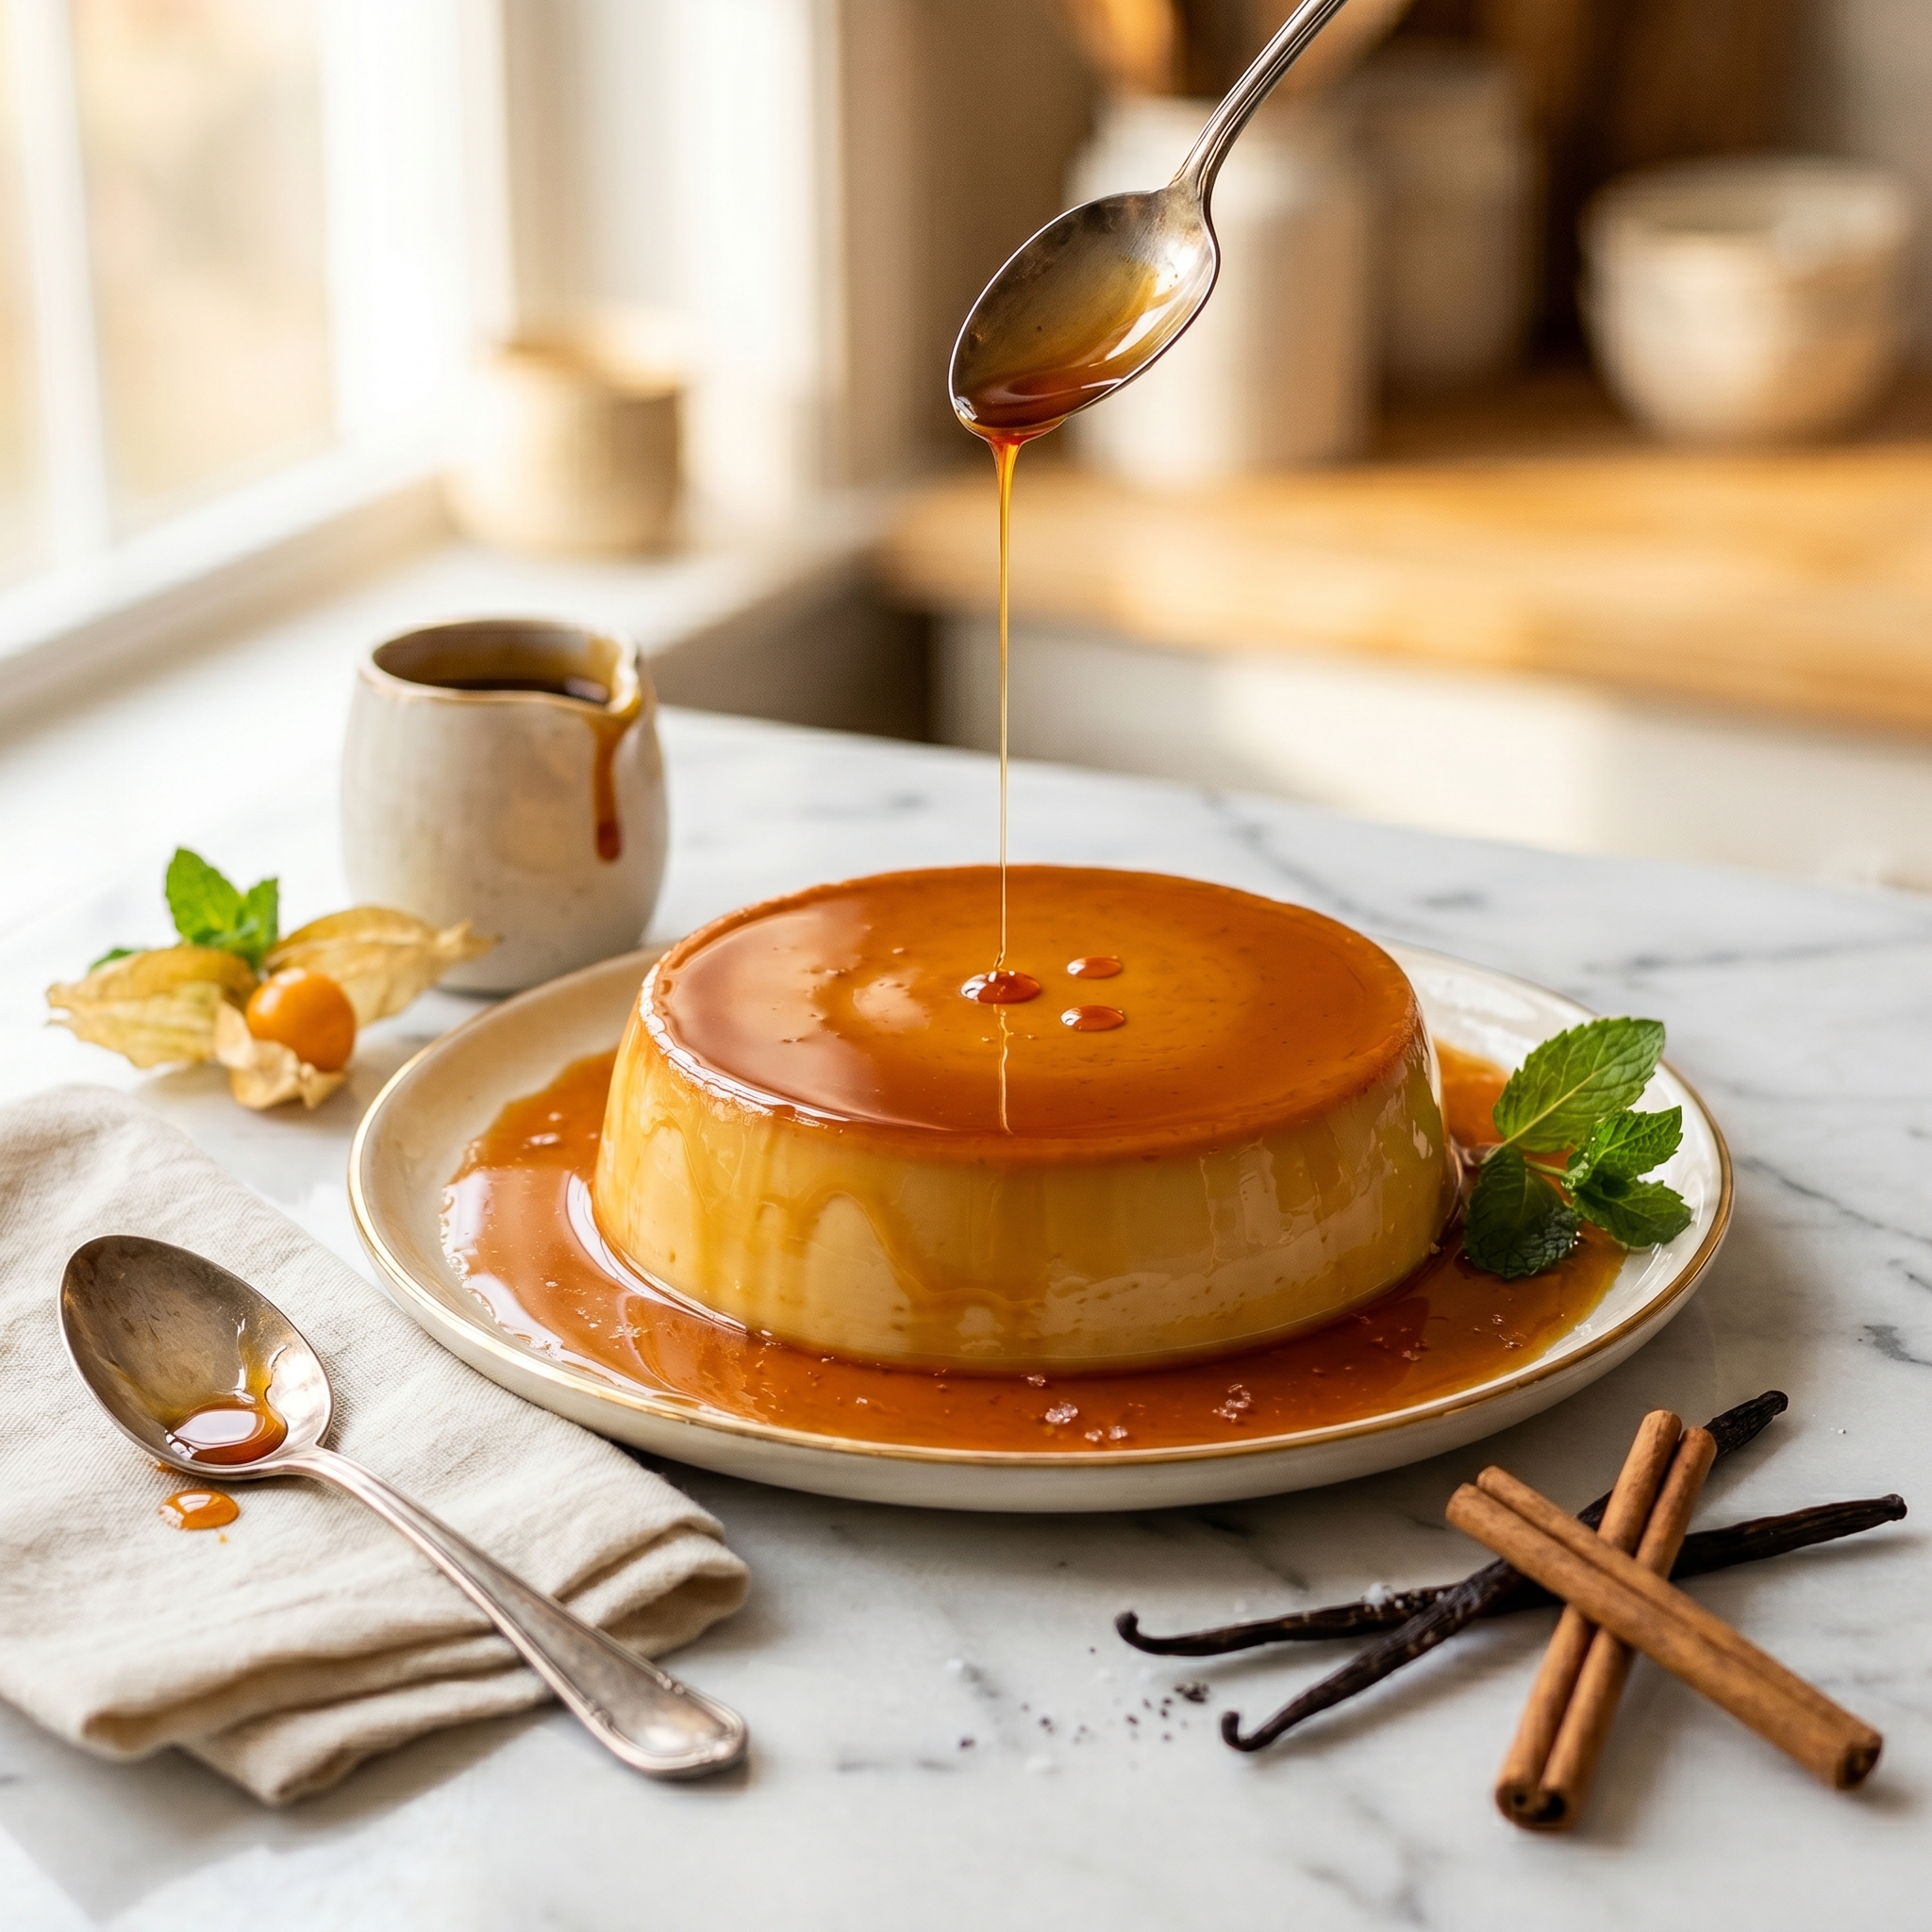
Traditional Mexican Caramel Flan Recipe That’s Silky Smooth Every Time
Imagine slicing into a dessert so silky, so perfectly creamy, that it jiggles on the plate like a custard cloud. Then you flip it over and watch that glossy caramel sauce cascade down the sides in ribbons of liquid gold. That’s what happens when you make authentic Mexican caramel flan — and I’m about to show you exactly how to nail it every single time, even if you’ve never made custard before.
Can I be honest with you? I used to be terrified of making flan. It seemed like one of those fancy desserts that only abuelitas and professional pastry chefs could pull off. But have you ever made something so impressive that people literally asked you for the recipe before they’d even finished their first bite? That’s what happens when you serve homemade flan. The creamy texture, that perfectly bittersweet caramel, the way it melts on your tongue — it’s pure magic.
Whether you’re planning a special Cinco de Mayo celebration, want to end a Mexican dinner party on the perfect note, or just want to impress your family with a restaurant-quality dessert, this recipe is your answer. Keep reading — I’m sharing every tip, trick, and secret to making the creamiest, most delicious flan you’ve ever tasted.
Table of Contents
Why This Recipe Works
This isn’t just any flan recipe — this is authentic, traditional Mexican flan that turns out perfect every time. Here’s why you’re going to love it:
- ✔ Incredibly smooth and creamy — no bubbles, no graininess, just silky perfection
- ✔ Foolproof caramel — I’ll show you exactly how to get it right without burning it
- ✔ Uses simple ingredients — eggs, milk, sweetened condensed milk, and sugar
- ✔ Make-ahead friendly — actually tastes better the next day after chilling overnight
- ✔ Feeds a crowd — one flan serves 8–10 people beautifully
- ✔ Naturally gluten-free — perfect for guests with dietary restrictions
- ✔ Stunning presentation — looks like something from a fancy restaurant
Trust me, once you see how achievable this recipe is and taste that first silky, caramel-covered bite, you’ll be making flan for every special occasion. Now let’s talk about what you’ll need.
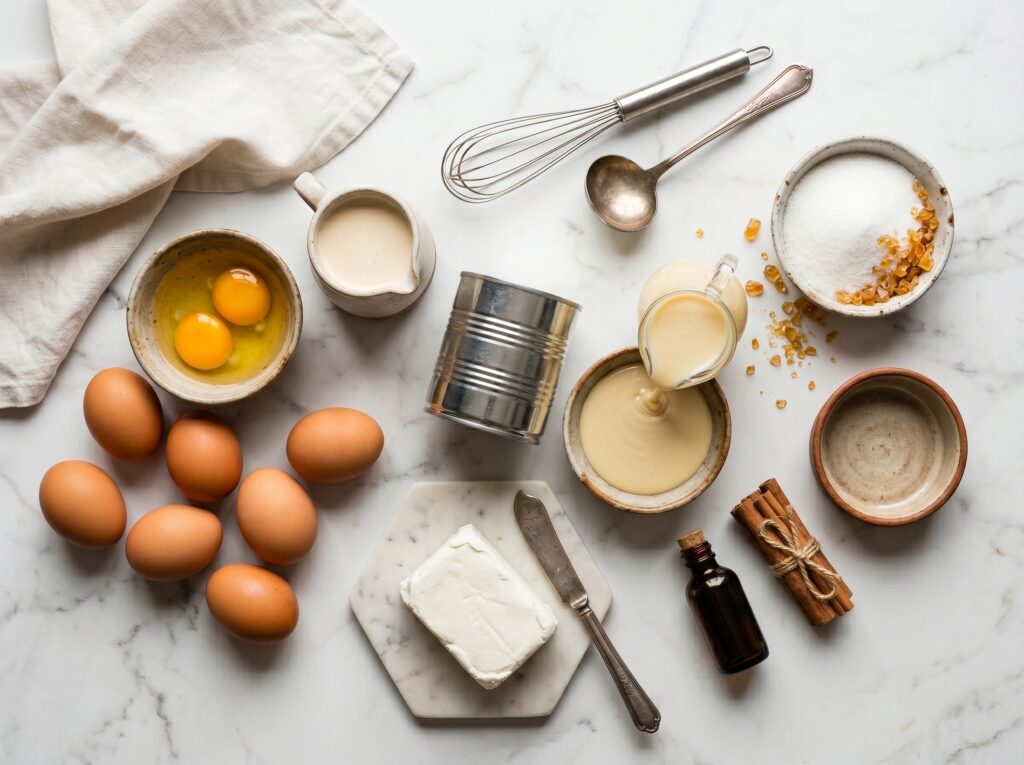
What You’ll Need
For the Caramel
- 1 cup granulated sugar
- ¼ cup water
For the Flan Custard
- 1 can (14 oz) sweetened condensed milk
- 1 can (12 oz) evaporated milk
- 1 cup whole milk
- 5 large eggs
- 3 large egg yolks
- 1 tablespoon vanilla extract
- ⅛ teaspoon salt
Special Equipment
- One 9-inch round cake pan or flan mold
- One large roasting pan (for the water bath)
- Fine-mesh strainer
- Aluminum foil
Substitutions
No evaporated milk? You can use an additional cup of whole milk, though the texture won’t be quite as rich and creamy. Can’t find sweetened condensed milk? You can make your own by simmering 2 cups of whole milk with ¾ cup sugar until it reduces by half, but honestly, the canned version is easier and more consistent. Want to add a twist? A tablespoon of coffee liqueur (like Kahlúa) or a teaspoon of cinnamon in the custard gives it a delicious variation.
Chef’s Note — Sweetened Condensed Milk: This is the secret ingredient that makes Mexican flan so incredibly creamy and rich. It adds sweetness, body, and that signature silky texture. Don’t skip it or substitute it with regular milk — it’s absolutely essential to authentic flan. The combination of three types of milk (condensed, evaporated, and whole) is what creates that perfect custard texture.
Chef’s Note — The Water Bath: Baking the flan in a water bath (bain-marie) is non-negotiable. It creates gentle, even heat that prevents the edges from overcooking while the center sets. This is what gives you that perfectly smooth, crack-free custard. Don’t skip this step!
Got everything ready? Perfect — let’s make some magic happen in your kitchen.
How to Make Traditional Mexican Caramel Flan — Step by Step
- Preheat your oven. Preheat the oven to 350°F. Place a large roasting pan on the middle rack — this will be your water bath. Also, start boiling a kettle or pot of water now so it’s ready when you need it.
- Make the caramel. In a medium saucepan, combine the sugar and water over medium heat. Stir gently just until the sugar dissolves, then stop stirring completely. Let it cook, swirling the pan occasionally (but never stirring!), for 8–12 minutes until it turns a deep amber color. Watch it closely — it goes from perfect to burnt very quickly.
- Pour the caramel into your pan. The moment the caramel reaches that deep amber color, immediately pour it into your 9-inch cake pan. Quickly tilt and swirl the pan to coat the bottom evenly. The caramel will harden as it cools — that’s totally normal. Set aside.
💡 Pro Tip: Don’t touch the caramel with your fingers — it’s extremely hot! Use oven mitts when handling the pan. If the caramel hardens before you finish coating the bottom, don’t worry — it’ll melt again during baking.
- Blend the custard ingredients. In a blender, combine the sweetened condensed milk, evaporated milk, whole milk, eggs, egg yolks, vanilla extract, and salt. Blend on medium speed for 30–45 seconds until completely smooth and well combined. Don’t overblend or you’ll incorporate too much air.
- Strain the custard. Pour the custard mixture through a fine-mesh strainer into a large measuring cup or bowl. This removes any bits of egg or bubbles, ensuring your flan is perfectly smooth. Don’t skip this step — it’s what gives you that restaurant-quality texture.
- Pour into the caramel-coated pan. Carefully pour the strained custard mixture over the hardened caramel in your cake pan. The caramel layer will stay on the bottom — don’t worry about mixing.
💡 Pro Tip: If you see any bubbles on the surface of the custard, gently pop them with a toothpick or skim them off with a spoon. Bubbles create holes in the finished flan.
- Prepare the water bath. Place the filled flan pan inside the large roasting pan that’s already in the oven. Carefully pour the hot water from your kettle into the roasting pan until it comes about halfway up the sides of the flan pan. Be careful not to splash any water into the custard.
- Cover and bake. Loosely cover the flan pan with aluminum foil to prevent a skin from forming on top. Bake for 55–65 minutes. The flan is done when the edges are set but the center still jiggles slightly when you gently shake the pan — like Jell-O. A knife inserted near (not in) the center should come out clean.
- Cool completely. Carefully remove the flan pan from the water bath using oven mitts or tongs. Let it cool on a wire rack to room temperature, about 1–2 hours. Then cover with plastic wrap and refrigerate for at least 4 hours, or preferably overnight. This chilling time is essential for the flan to set completely.
💡 Pro Tip: Flan actually tastes better the day after you make it! The flavors meld together and the texture becomes even silkier. Make it the night before your dinner party for best results.
- Unmold and serve. When ready to serve, run a thin knife around the edge of the pan to loosen the flan. Place a serving plate upside down on top of the pan. Holding both firmly together, quickly flip them over. Give the bottom of the pan a gentle tap, then slowly lift it off. The flan should slide out easily with all that gorgeous caramel sauce pooling around it.
That’s it — now let’s talk about the best ways to serve this stunning dessert.
How to Serve It
This traditional Mexican flan is already perfect on its own, but here are some beautiful ways to serve it:
- 🍮 Classic style — slice and serve with extra caramel sauce drizzled over the top
- 🍓 Fresh berries — garnish with fresh strawberries, raspberries, or sliced mango for a pop of color and freshness
- ☕ Mexican coffee pairing — serve with café de olla or strong espresso for the perfect ending to a Mexican feast
- 🎉 Cinco de Mayo celebration — present the whole flan on a beautiful platter and slice tableside for dramatic effect
- 🍨 A la mode — add a small scoop of vanilla ice cream alongside for an extra-indulgent treat
- ✨ Fancy garnish — top with a sprinkle of cinnamon, fresh mint leaves, or edible flowers for special occasions
However you serve it, make sure everyone sees that beautiful moment when you unmold it and all that caramel cascades down the sides. It’s pure dessert theater! Now let’s cover storage and make-ahead tips.
Storage & Leftovers
Refrigerator: Flan keeps beautifully in the fridge! Store it covered (either in the pan before unmolding or on a covered plate after unmolding) for up to 5 days. The texture actually improves over the first 2–3 days as it continues to set and the flavors deepen.
Freezer: I don’t recommend freezing flan. The delicate custard texture doesn’t survive freezing and thawing well — it can become watery and grainy. Flan is best enjoyed fresh from the fridge.
Counter: Don’t leave flan out at room temperature for more than 2 hours. It’s a dairy-based custard that needs to stay refrigerated for food safety.
Make-Ahead Tip: This is one of the best make-ahead desserts you can possibly make. I always prepare flan the night before (or even two days before) I plan to serve it. Not only does it need that overnight chill to set properly, but the flavors actually improve with time. The day of your party, all you have to do is unmold it onto a pretty plate — no last-minute stress, no oven timing to worry about. It’s the perfect dessert for entertaining because all the work is done in advance.
Serving Temperature:
Flan is best served cold, straight from the fridge. The contrast between the cold, creamy custard and the sweet, liquid caramel is part of what makes it so incredible. Let it sit at room temperature for 5–10 minutes before serving if you want to take the chill off slightly.
Now let me share the insider secrets that guarantee perfect flan every single time.
Helpful Tips & Common Mistakes
I’ve made flan dozens of times and learned from every mistake. Here’s how to avoid the common pitfalls:
✗ Mistake: Stirring the caramel once the sugar has dissolved.
✓ Fix: Once the sugar dissolves, stop stirring completely! Just swirl the pan occasionally to distribute heat. Stirring causes crystallization and you’ll end up with grainy, seized caramel instead of smooth liquid gold.
✗ Mistake: Skipping the water bath because it seems complicated.
✓ Fix: The water bath is non-negotiable! It creates gentle, even heat that prevents cracks, bubbles, and overcooked edges. Without it, your flan will be rubbery around the edges and undercooked in the center. It’s easier than it sounds — just set the pan in hot water and bake.
✗ Mistake: Overbaking until the center is completely firm.
✓ Fix: The flan is done when the edges are set but the center still jiggles like Jell-O when you gently shake the pan. It will continue to set as it cools. Overbaking creates a dense, rubbery texture instead of silky smoothness.
✗ Mistake: Trying to unmold the flan while it’s still warm.
✓ Fix: The flan must be completely chilled — at least 4 hours, preferably overnight — before unmolding. Trying to flip a warm flan will result in a puddle of custard on your plate. Patience is key here!
✗ Mistake: Not straining the custard mixture before baking.
✓ Fix: Always strain! This removes any bits of cooked egg, bubbles, or lumps that would create an imperfect texture. That extra 30 seconds of effort makes the difference between homemade and restaurant-quality flan.
Follow these tips and you’ll have a flawless, silky-smooth flan every single time. Now let’s talk variations.
Recipe Variations
Once you’ve mastered the classic version, here are some delicious ways to switch things up:
☕ Coffee Flan (Flan de Café): Add 2 tablespoons of instant espresso powder dissolved in 2 tablespoons of hot water to the custard mixture. The coffee flavor is subtle and sophisticated, and it pairs beautifully with the caramel. Perfect for coffee lovers!
🥥 Coconut Flan (Flan de Coco): Replace the whole milk with coconut milk and add ½ cup of sweetened shredded coconut to the custard. Strain out the coconut before baking (or leave it in for texture). Top with toasted coconut flakes before serving. It’s like a tropical vacation in dessert form.
🍫 Chocolate Flan (Flan de Chocolate): Melt 4 oz of dark chocolate and whisk it into the warm milk mixture before blending. Add an extra tablespoon of sugar to balance the bitterness. You can also make a layered flan with chocolate on the bottom and vanilla on top — absolutely stunning!
🎃 Pumpkin Flan: Add ¾ cup of pumpkin puree and 1 teaspoon of pumpkin pie spice to the custard mixture. Perfect for fall and Thanksgiving celebrations. The pumpkin makes it extra creamy and gives it a gorgeous orange hue.
Pick your favorite variation and make it your own — the technique stays exactly the same!
Ready to Make Magic?
This traditional Mexican caramel flan is one of those recipes that looks incredibly impressive but is actually much simpler than you’d think. Yes, it requires a little patience for the chilling time, but the actual hands-on work is straightforward and totally doable. The result? A silky, creamy, utterly delicious dessert that’ll have everyone asking for seconds and begging for the recipe.
If you try this recipe, I’d love to hear how it turned out! Drop a comment below or tag me on Pinterest with a photo of your beautiful flan. Happy baking, friends! 🍮
Frequently Asked Questions
Can I make flan ahead of time?
Absolutely — in fact, you should! Flan needs at least 4 hours to chill and set, but it’s actually better when made a day or two in advance. The texture becomes even silkier and the flavors deepen. Make it up to 3 days ahead and store covered in the fridge.
Can I freeze flan?
I don’t recommend it. Flan is a delicate custard that doesn’t freeze well — the texture becomes watery and grainy when thawed. Luckily, it keeps beautifully in the fridge for up to 5 days, so there’s no need to freeze it.
Why did my caramel crystallize and turn grainy?
This happens when you stir the caramel after the sugar has dissolved. Once the sugar melts into the water, stop stirring completely and just swirl the pan occasionally. Also, make sure your pan and utensils are completely clean — any impurities can cause crystallization.
How do I know when the flan is done baking?
The edges should be set and firm, but the center should still jiggle like Jell-O when you gently shake the pan. A knife inserted about 2 inches from the edge should come out clean. Don’t wait for the center to be completely firm — it will continue to set as it cools.
What if my flan has bubbles or holes in it?
Bubbles come from not straining the custard or from overbaking. Always pour the custard through a fine-mesh strainer before baking, and pop any surface bubbles with a toothpick. Bake at the correct temperature and don’t overbake — that water bath helps prevent bubbles too.
Can I make individual flans instead of one large one?
Yes! Divide the caramel and custard among 8–10 ramekins or custard cups. Place them in the water bath and bake for 35–45 minutes instead of the full hour. Individual flans are perfect for parties and look beautiful when served.
Help! My flan won’t come out of the pan.
Make sure it’s completely chilled first — at least 4 hours. Run a thin knife around the edge to loosen it, then place your serving plate on top and flip quickly. If it still won’t release, dip the bottom of the pan in hot water for 10–15 seconds to melt the caramel slightly, then try again.
Can I use a different size pan?
You can use an 8-inch or 10-inch round pan, but you’ll need to adjust the baking time. Deeper pans (8-inch) need longer — about 70–80 minutes. Shallower pans (10-inch) need less time — about 45–50 minutes. Watch for that jiggle test to know when it’s done.