
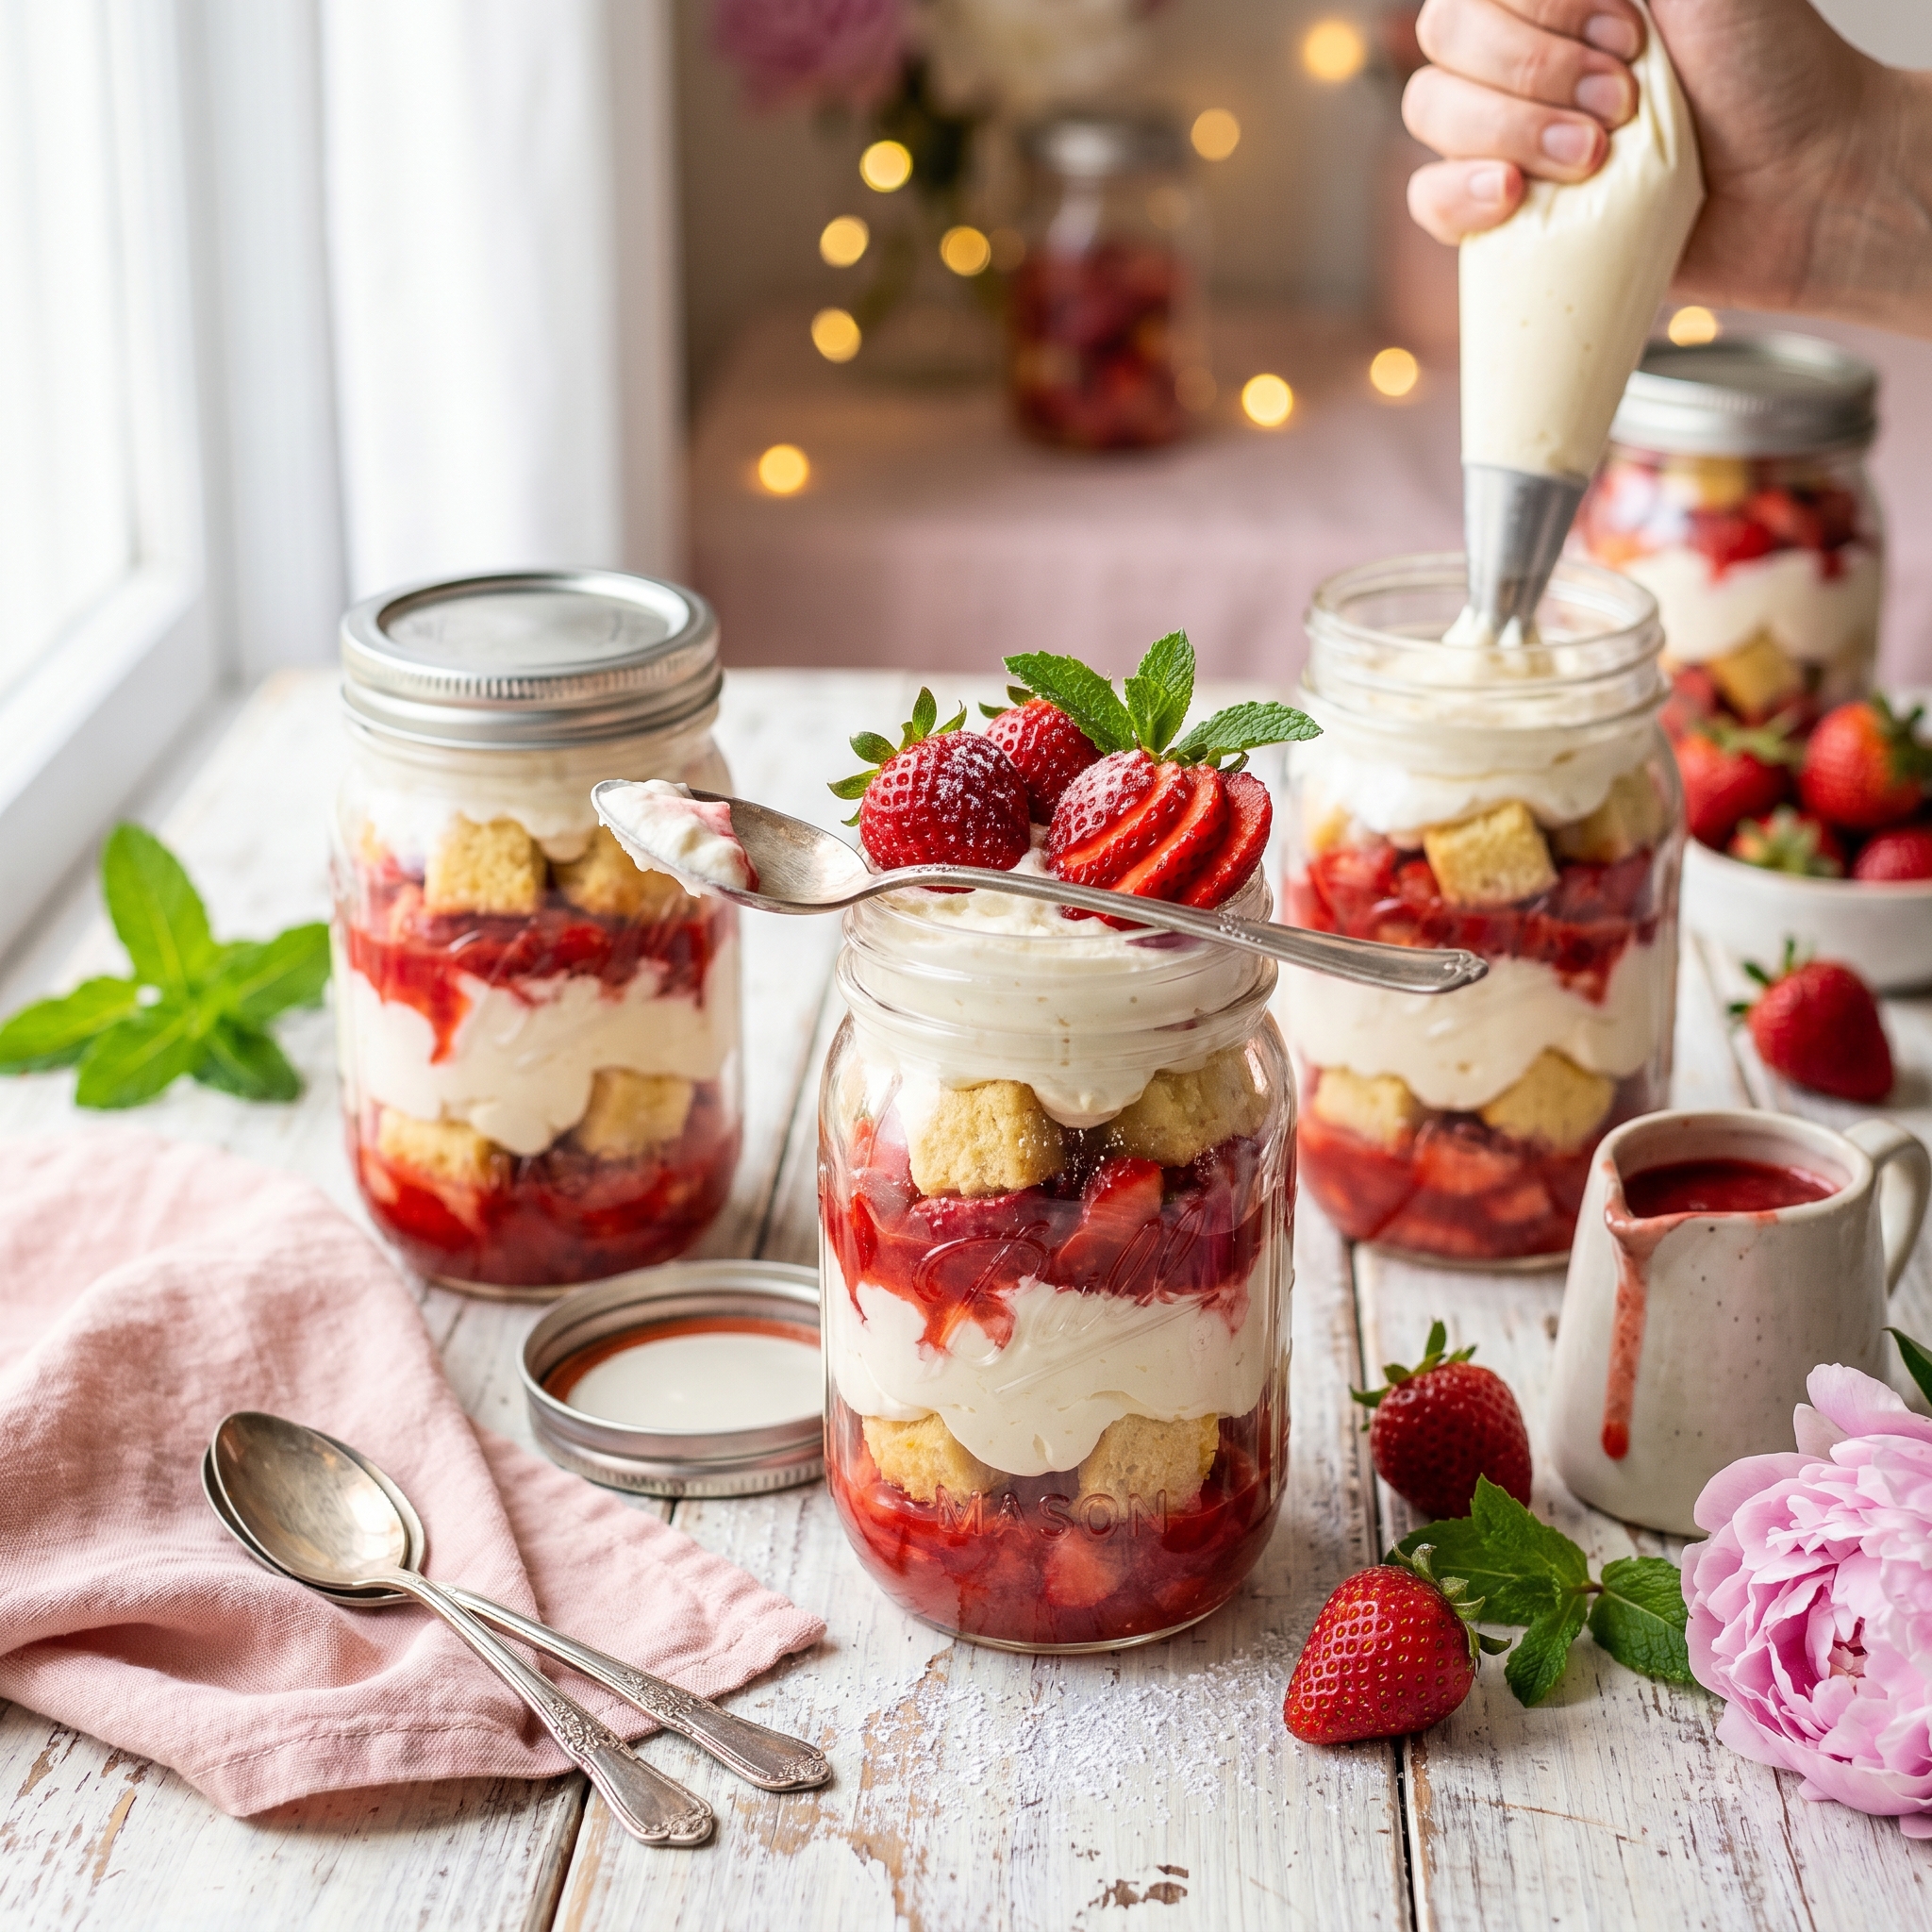
Strawberry Shortcake Trifle in a Jar That’s Perfect for Parties
Imagine setting down individual glass jars at your next gathering, each one filled with gorgeous layers of fluffy whipped cream, juicy strawberries, and tender cake — and watching your guests’ faces light up when they realize they each get their own personal dessert. That’s the magic of strawberry shortcake trifle in a jar. It’s all the nostalgia and deliciousness of classic strawberry shortcake, but portioned perfectly, impossibly cute, and so much easier to serve at parties than cutting and plating individual slices.
Can I be real with you for a second? I used to think individual desserts were too fussy and time-consuming for regular entertaining. But have you ever seen how excited people get when they have their own little jar of something special? It feels personal, it feels fancy, and honestly — it’s actually easier than making one big dessert and trying to serve it neatly. These trifle jars are a total game-changer for brunches, baby showers, picnics, and summer parties.
Whether you’re planning a Mother’s Day brunch, hosting a spring baby shower, need a portable dessert for a picnic, or just want to impress your friends with minimal effort, these strawberry shortcake jars are your answer. Keep reading — I’m sharing every tip and trick to make these look professional and taste absolutely incredible.
Table of Contents
Why This Recipe Works
These aren’t just strawberry shortcake in a different container. Here’s why these trifle jars are about to become your go-to party dessert:
- ✔ Absolutely stunning presentation — those visible layers make them Instagram-worthy
- ✔ Individual portions — no cutting, no serving drama, everyone gets their own
- ✔ Make-ahead friendly — assemble hours (or even a day) before your party
- ✔ Portable and mess-free — perfect for picnics, potlucks, and outdoor gatherings
- ✔ Customizable — use pound cake, angel food cake, or even store-bought shortcake
- ✔ Fresh spring flavors — celebrates strawberry season perfectly
- ✔ Crowd-pleaser — everyone loves strawberry shortcake!
Trust me, once you see how easy these are to assemble and how impressive they look, you’ll be making them for every special occasion. Now let’s talk about what you’ll need.
What You’ll Need
For the Cake Layer
- 1 store-bought pound cake or angel food cake (about 16 oz)
- OR use homemade shortcake biscuits or sponge cake
- OR use 1 box vanilla cake mix, baked according to package directions
For the Strawberry Layer
- 2 lbs fresh strawberries, hulled and sliced
- ¼ cup granulated sugar
- 1 tablespoon fresh lemon juice
For the Whipped Cream
- 2 cups heavy whipping cream, cold
- ⅓ cup powdered sugar
- 1 teaspoon vanilla extract
You’ll Also Need
- 8–10 small mason jars or clear dessert cups (8 oz size works perfectly)
- Fresh mint leaves for garnish (optional)
- Extra whole strawberries for topping (optional)
Substitutions
No fresh strawberries? You can use thawed frozen strawberries in a pinch, though fresh are always better for texture and flavor. Don’t have heavy cream? You can use store-bought whipped topping (like Cool Whip), though homemade whipped cream tastes so much better. Want to save time? Use store-bought pound cake or angel food cake instead of making cake from scratch. For a lighter option, use angel food cake instead of pound cake. No mason jars? Any clear glass — wine glasses, parfait glasses, or small tumblers — works beautifully for showing off those layers.
Chef’s Note — Fresh Strawberries: Spring and early summer strawberries are at their absolute peak — sweet, juicy, and fragrant. This is when you want to make these trifles! Look for berries that are deep red all the way through with no white or green shoulders. Smell them — they should be aromatic and sweet. The quality of your strawberries makes or breaks this dessert, so choose the ripest, most flavorful berries you can find.
Chef’s Note — The Jars: Clear glass containers are essential here because half the appeal is seeing those beautiful layers. Mason jars are perfect because they have lids (great for transport and make-ahead), they’re inexpensive, and they’re the ideal size. The 8 oz (half-pint) jars are my favorite — big enough to be satisfying but not so big that it’s overwhelming. Plus, guests can take them home as party favors!
Got everything ready? Perfect — let’s layer these gorgeous desserts step by step.
How to Make Strawberry Shortcake Trifle in a Jar — Step by Step
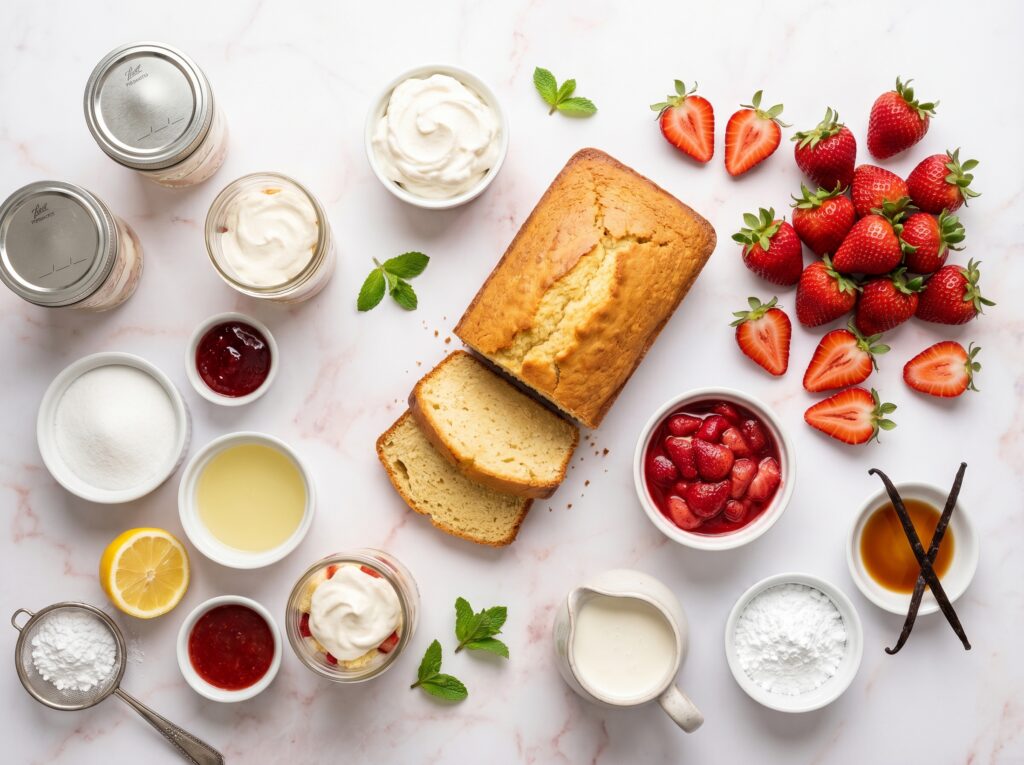
- Macerate the strawberries. In a medium bowl, combine the sliced strawberries, granulated sugar, and lemon juice. Toss gently to coat. Let them sit at room temperature for 20–30 minutes, stirring occasionally. The sugar will draw out the strawberry juices and create a sweet syrup. This step intensifies the strawberry flavor and creates that delicious juice that soaks into the cake.
- Prepare the cake. Cut your pound cake or angel food cake into ½-inch cubes. You want bite-sized pieces that will fit easily into your jars and be easy to eat with a spoon. If using homemade shortcake biscuits, cut them into small chunks or crumble them slightly. Set aside.
- Make the whipped cream. In a large bowl, combine the cold heavy cream, powdered sugar, and vanilla extract. Using an electric mixer or a whisk and some serious arm power, beat on medium-high speed until stiff peaks form — about 3–4 minutes. The cream should be thick, fluffy, and hold its shape when you lift the beaters. Don’t overbeat or it will turn into butter!
💡 Pro Tip: For the fluffiest whipped cream, chill your mixing bowl and beaters in the freezer for 10–15 minutes before whipping. Cold equipment helps the cream whip up faster and hold its shape better.
- Start layering — cake first. Add a layer of cake cubes to the bottom of each jar, pressing down gently to create an even base. You want about 1–1½ inches of cake as your first layer. Don’t pack it too tightly — you want some space for the juices to soak in.
- Add strawberries and juice. Spoon a generous layer of macerated strawberries (with some of that delicious syrup!) over the cake layer. Make sure to get some of the juice in there — it soaks into the cake and makes everything taste amazing. You want about ½ inch of strawberries.
- Pipe or spoon the whipped cream. Add a layer of whipped cream on top of the strawberries. You can spoon it in and spread it gently, or transfer the whipped cream to a piping bag or a zip-top bag with the corner cut off and pipe it in for a neater look. Aim for about ½–¾ inch of whipped cream.
💡 Pro Tip: For the cleanest, most professional-looking layers, wipe the inside of the jar with a damp paper towel after each layer if any whipped cream or strawberry juice gets on the glass. This keeps those layers visible and gorgeous!
- Repeat the layers. Continue layering — cake, strawberries, whipped cream — until you reach the top of the jar. Most 8 oz jars will fit about 2–3 full layers. End with a final layer of whipped cream on top for the prettiest presentation.
- Garnish beautifully. Top each jar with a few fresh strawberry slices (you can fan them out or stand them up for a fancy look), a small dollop of whipped cream if there’s room, and a fresh mint leaf if using. This makes them look bakery-quality and ready for their close-up!
- Chill until serving. Cover the jars with lids or plastic wrap and refrigerate for at least 1 hour, or up to 24 hours before serving. This chilling time lets the flavors meld together and allows the cake to soak up some of that strawberry juice for maximum deliciousness.
💡 Pro Tip: If you’re making these a day ahead, wait to add the final whipped cream topping and garnish until a few hours before serving. Add the decorative top layer fresh so it looks perfect when you present them.
That’s it — now let’s talk about all the occasions where these stunning jars will shine.
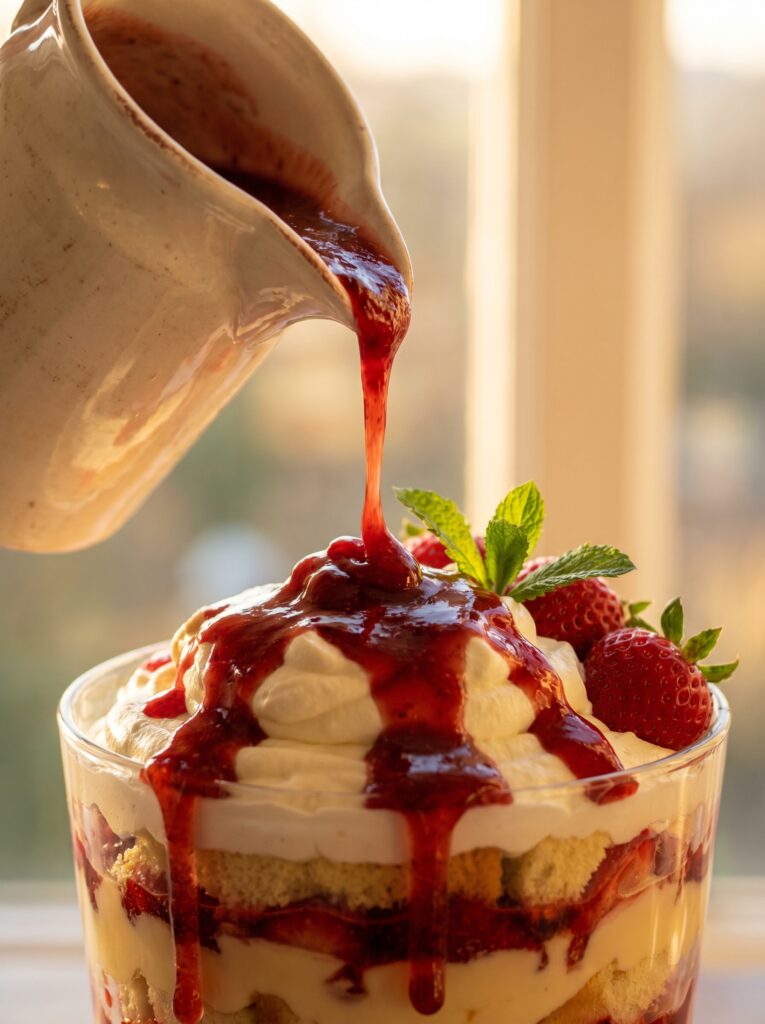
How to Serve It
These strawberry shortcake trifle jars are perfect for so many occasions. Here’s how we love to serve them:
- 🌸 Spring brunch or baby shower — arrange on a tiered stand with fresh flowers for a stunning dessert display
- 💐 Mother’s Day celebration — serve with fresh berries and mimosas for an elegant touch
- 🧺 Picnic or outdoor gathering — the jars have lids, making them perfectly portable and mess-free
- 🎉 Birthday party — let guests customize with extra toppings like chocolate chips or graham cracker crumbs
- 🏖️ Summer BBQ dessert — light, refreshing, and easy to grab when everyone’s mingling outside
- 🎁 Party favors — guests can take their jars home as edible favors (just make sure they have lids!)
However you serve them, provide small spoons and maybe some napkins — though honestly, these are pretty mess-free compared to traditional plated desserts. Now let’s cover storage and make-ahead tips.
Storage & Leftovers
Refrigerator: Store assembled trifle jars covered in the fridge for up to 2 days. The cake will continue to soak up the strawberry juices, which is delicious, but after 2 days it can get a bit soggy. They’re honestly best within 24 hours of assembly.
Freezer: Don’t freeze these trifles. The whipped cream and fresh strawberries don’t freeze well — they become watery and lose their texture when thawed. These are meant to be enjoyed fresh.
Counter: Don’t leave the assembled jars out at room temperature for more than 2 hours. Whipped cream and fresh fruit need to stay refrigerated for food safety.
Make-Ahead Tip: These are actually perfect for advance prep! Here’s my strategy for stress-free entertaining: Macerate the strawberries up to 4 hours ahead and refrigerate. Make the whipped cream up to 4 hours ahead and keep it covered in the fridge (give it a quick whisk before using if it separates slightly). Cut the cake into cubes the day before and store in an airtight container. Assemble the jars up to 24 hours before your event and refrigerate. Just add the final decorative strawberry slices and mint garnish an hour or two before serving for that fresh-made look. This way, when your guests arrive, you have gorgeous individual desserts ready to go and you’re not stuck in the kitchen!
Transport Tips:
If you’re bringing these to a party or picnic, keep them upright in a sturdy box or carrier. Put lids on the jars to prevent spills. Keep them in a cooler with ice packs if it’s warm outside. The jars make transport incredibly easy compared to a full-sized trifle bowl!
Coming up next — the mistakes that can mess up your beautiful layers, and exactly how to avoid them.
Helpful Tips & Common Mistakes
I’ve made dozens of batches of trifle jars. Here are the mistakes people make, and how to get perfect results:
✗ Mistake: Skipping the macerating step and using plain strawberries.
✓ Fix: Don’t skip this! Tossing the strawberries with sugar and lemon juice draws out their juices and creates that delicious syrup that soaks into the cake. This is what makes trifle taste so incredible — the flavors meld together. Plain strawberries just don’t have the same impact.
✗ Mistake: Overbeating the whipped cream until it’s grainy and butter-like.
✓ Fix: Stop beating as soon as you see stiff peaks — when you lift the beaters, the cream should hold its shape and stand up in peaks. If you go too far, the cream breaks and becomes grainy. Watch it closely and stop at the right moment. Underbeating is better than overbeating!
✗ Mistake: Assembling the jars way too far ahead and ending up with soggy cake.
✓ Fix: While these can be made a day ahead, they’re at their best within 4–8 hours of assembly. The cake should be moist and infused with strawberry juice, not falling-apart soggy. If making a full day ahead, use a sturdier cake like pound cake rather than delicate angel food cake.
✗ Mistake: Making the layers too thick or too thin and running out of ingredients unevenly.
✓ Fix: Plan your layers before you start! For 8–10 jars, you’ll want about 2–3 full layers per jar. Do the math: divide your ingredients into equal portions for each jar and each layer. This prevents the “oops, I ran out of whipped cream” disaster halfway through.
✗ Mistake: Getting whipped cream and strawberry juice all over the inside of the glass.
✓ Fix: Those visible layers are half the appeal! Keep a damp paper towel nearby and wipe the inside of the jar after each layer if anything smears. For the cleanest look, pipe the whipped cream instead of spooning it, and use a spoon to carefully place strawberries against the glass for maximum visibility.
Follow these tips and you’ll have picture-perfect, delicious trifle jars that look like they came from a professional bakery. Now let’s talk variations.
Recipe Variations
Once you’ve mastered the classic strawberry version, here are some delicious ways to customize it:
🫐 Mixed Berry Trifle Jars: Use a combination of strawberries, blueberries, raspberries, and blackberries. Macerate them together with the sugar. The variety of berries creates gorgeous color and complex flavor. Perfect for 4th of July with red, white (whipped cream), and blue (blueberries)!
🍫 Chocolate Strawberry Version: Use chocolate cake or brownies instead of vanilla cake. Add a layer of chocolate pudding or chocolate whipped cream (fold melted, cooled chocolate into the whipped cream). Drizzle with chocolate syrup for a decadent twist.
🍑 Peach Shortcake Jars: When strawberry season ends, use fresh sliced peaches macerated with sugar and a splash of vanilla. Add a pinch of cinnamon to the whipped cream. These are perfect for late summer and early fall gatherings.
🍋 Lemon Berry Trifle: Use lemon pound cake or add lemon curd between the layers. Top with candied lemon zest. The bright citrus flavor pairs beautifully with strawberries and makes the whole dessert taste extra fresh and spring-like.
Pick your favorite variation and make it your own — the layered jar technique works with endless flavor combinations!
Ready to Impress Everyone?
These strawberry shortcake trifle jars are one of those genius recipes that look incredibly impressive but are secretly so easy to pull together. The individual portions mean no serving stress, the layers are absolutely gorgeous, and the combination of tender cake, sweet strawberries, and fluffy whipped cream is a classic for a reason. Whether you’re hosting a fancy brunch or bringing dessert to a casual picnic, these jars are guaranteed to make people smile and ask for the recipe.
If you try this recipe, I’d love to hear how it turned out! Drop a comment below or tag me on Pinterest with a photo of your beautiful trifle jars. Happy layering, friends! 🍓
Frequently Asked Questions
Can I make these trifle jars ahead of time?
Yes! You can assemble them up to 24 hours before serving. Store covered in the fridge. For the freshest look, wait to add the final decorative strawberry garnish until a few hours before your event. They’re at their absolute best within 4–8 hours of assembly.
Can I freeze strawberry shortcake trifle jars?
No, these don’t freeze well. The whipped cream becomes watery and separates when thawed, and the fresh strawberries lose their texture. These are meant to be made fresh and enjoyed within 1–2 days.
What size jars should I use?
Standard 8 oz (half-pint) mason jars are perfect — they’re the ideal individual serving size. You can also use 4 oz jars for smaller portions (great for kids or as part of a dessert spread), or go up to 12 oz for larger servings. Any clear glass container works as long as you can see the layers!
Can I use store-bought whipped cream?
You can use Cool Whip or other whipped topping in a pinch, and it’s definitely easier. However, homemade whipped cream tastes so much better and holds up better in the fridge. It only takes 5 minutes to make — I promise it’s worth it!
What’s the best type of cake to use?
Pound cake is my favorite because it’s sturdy and holds up well when soaked with strawberry juice. Angel food cake is great for a lighter option. Sponge cake or vanilla cake also work. Avoid anything too delicate or crumbly that will fall apart when layered.
How do I transport these to a party?
Put lids on the jars (that’s the beauty of using mason jars!), place them upright in a sturdy box or carrier, and keep them in a cooler with ice packs if it’s warm. The individual jars are actually much easier to transport than a big trifle bowl!
Can I make a big trifle bowl instead of individual jars?
Absolutely! Use the same ingredients and layering technique in a large trifle bowl or clear glass bowl. The beauty of individual jars is the easy serving and portability, but a big trifle is gorgeous too and works well for larger crowds.
Why is my whipped cream deflating or getting watery?
This usually means it was underbeaten or is sitting too long. Make sure you beat to stiff peaks (the cream should hold its shape firmly). If making ahead, store covered in the fridge and give it a quick whisk before using if it separates slightly. Using cold cream and cold equipment also helps it stay stable.