
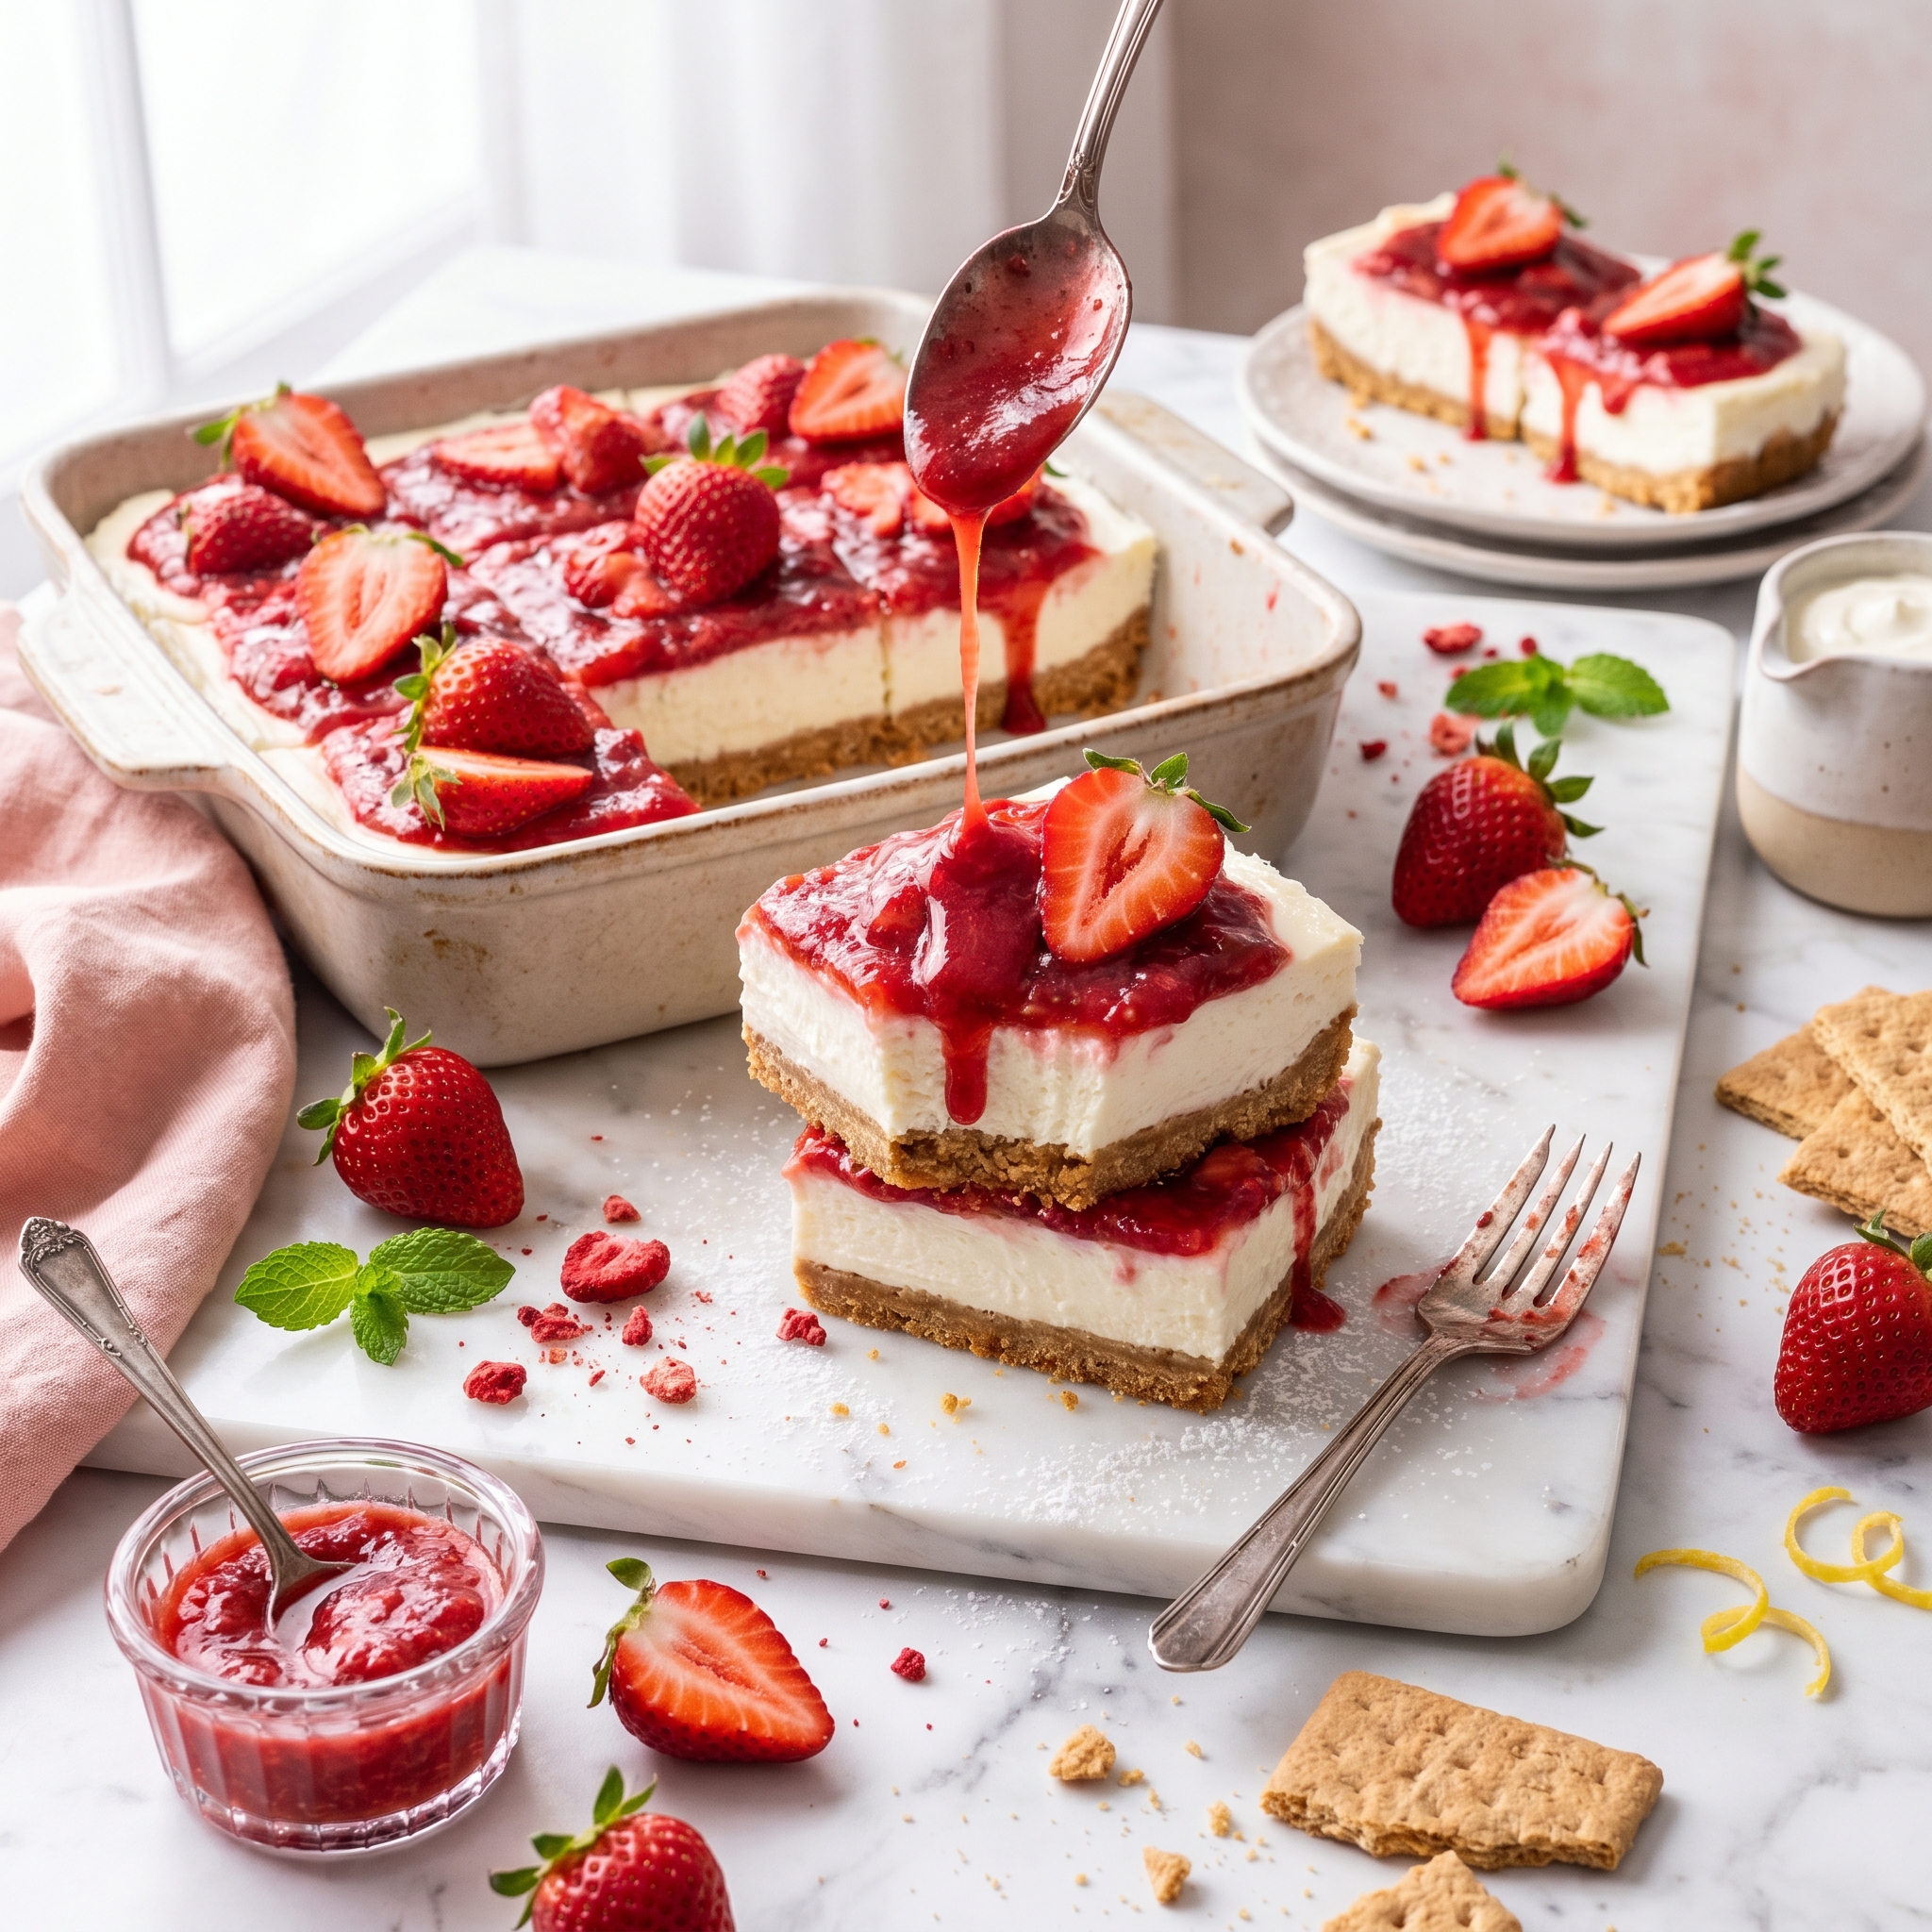
No-Bake Strawberry Cheesecake Bars That Are Summer Perfection
Imagine slicing into a creamy, dreamy dessert bar that tastes like the most indulgent strawberry cheesecake — but you never turned on your oven, never stressed about cracking or overbaking, and the whole thing came together in about 20 minutes of hands-on work. That’s the magic of no-bake strawberry cheesecake bars. They’re cool, refreshing, absolutely gorgeous with those pink strawberry swirls, and they taste like you spent all day in the kitchen when really, your freezer did all the work.
Can I be honest with you? I used to think no-bake desserts were somehow inferior to “real” baked ones — like they were taking a shortcut that sacrificed quality. But have you ever made a dessert so easy and foolproof that it turned out perfect every single time, and tasted just as good (or better) than the complicated version? That’s what happens with these bars. No water baths, no cracks, no worrying about whether the center is set. Just mix, chill, and slice into the most beautiful, Instagram-worthy bars.
Whether you’re planning a summer party, need a make-ahead dessert for Memorial Day or 4th of July, want to use up those gorgeous farmers market strawberries, or just can’t bear to turn on your oven in the heat, these bars are your answer. Keep reading — I’m sharing every tip and trick to make these foolproof, impressive, and absolutely delicious.
Table of Contents
Why This Recipe Works
These aren’t just cheesecake in a different shape. Here’s why these no-bake strawberry cheesecake bars are about to become your summer dessert staple:
- ✔ No oven required — keeps your kitchen cool on hot summer days
- ✔ Absolutely foolproof — no cracks, no water baths, no guessing when they’re done
- ✔ Make-ahead friendly — actually needs to chill overnight, so perfect for planning
- ✔ Stunning presentation — those pink strawberry swirls are bakery-gorgeous
- ✔ Feeds a crowd — makes 12–16 bars depending on how you cut them
- ✔ Fresh strawberry flavor — tastes like summer in every bite
- ✔ Easier than traditional cheesecake — but just as impressive
Trust me, once you see how easy these are and taste that creamy, tangy filling with sweet strawberry swirls, you’ll be making them all summer long. Now let’s talk about what you’ll need.
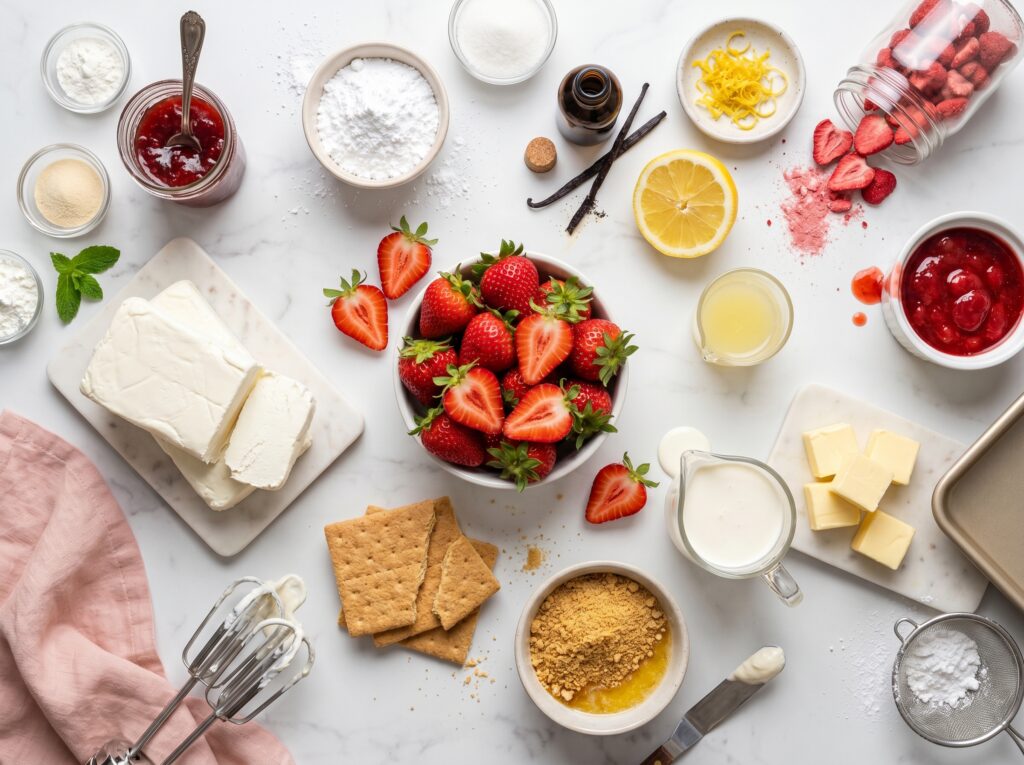
What You’ll Need
For the Crust
- 2 cups graham cracker crumbs (about 14–16 full crackers)
- ⅓ cup granulated sugar
- ½ cup (1 stick) melted butter
- Pinch of salt
For the Cheesecake Filling
- 16 oz (2 blocks) cream cheese, softened to room temperature
- ½ cup granulated sugar
- 1 teaspoon vanilla extract
- 1 tablespoon fresh lemon juice
- 1 cup heavy whipping cream, cold
For the Strawberry Swirl
- 1½ cups fresh strawberries, hulled and chopped
- ¼ cup granulated sugar
- 1 tablespoon lemon juice
- 1 tablespoon cornstarch mixed with 1 tablespoon water
For Topping (Optional)
- Fresh strawberries, sliced
- Whipped cream
- White chocolate shavings
Substitutions
No graham crackers? Use vanilla wafers, digestive biscuits, or even Oreos (with the filling removed) for the crust. Can’t find heavy cream? You can use Cool Whip or store-bought whipped topping, though homemade whipped cream tastes better. Want to use frozen strawberries? Thaw and drain them well, pressing out excess liquid before making the sauce. No fresh lemon juice? Bottled works in a pinch. For a lighter version, you can use reduced-fat cream cheese and substitute Greek yogurt for some of the cream, though the texture will be slightly different. Want to skip the strawberry swirl? Use any berry or even chocolate sauce instead.
Chef’s Note — Room Temperature Cream Cheese: This is absolutely crucial! Cold cream cheese will be lumpy and won’t blend smoothly, creating a grainy filling with chunks. Set your cream cheese out on the counter for 1–2 hours before making this, or microwave it for 10–15 seconds at a time until softened (not melted!). Soft cream cheese beats into a silky, smooth filling that’s light and airy. Don’t skip this step!
Chef’s Note — Fresh Strawberries: Since strawberries are the star flavor here, use the ripest, sweetest berries you can find. Peak strawberry season (late spring/early summer) is when these bars taste their absolute best. Taste your strawberries before using them — if they’re sweet and fragrant, your bars will be incredible. If they’re bland or sour, add an extra tablespoon of sugar to the strawberry mixture.
Got everything ready? Perfect — let’s build these beautiful bars layer by layer.
How to Make No-Bake Strawberry Cheesecake Bars — Step by Step
- Prep your pan. Line a 9×9-inch square baking pan (or 9×13-inch for thinner bars) with parchment paper, leaving an overhang on two sides. This creates “handles” that make it easy to lift the bars out later for clean slicing. Spray lightly with cooking spray for insurance.
- Make the crust. In a medium bowl, combine the graham cracker crumbs, ⅓ cup sugar, melted butter, and a pinch of salt. Mix with a fork until the mixture resembles wet sand and holds together when squeezed. Press firmly into the bottom of your prepared pan, using the bottom of a measuring cup to pack it down evenly and create a solid crust.
- Chill the crust. Place the crust in the freezer while you make the filling — at least 10 minutes. This helps it firm up and prevents it from mixing into the filling when you spread it on top.
💡 Pro Tip: For the firmest crust, use the bottom of a flat measuring cup or glass to really press down hard. You want it compacted and smooth. A loose crust will crumble when you try to slice the bars later.
- Make the strawberry sauce. While the crust chills, make your strawberry swirl. In a small saucepan, combine the chopped strawberries, ¼ cup sugar, and 1 tablespoon lemon juice. Cook over medium heat, stirring occasionally, until the strawberries break down and the mixture starts to bubble, about 5 minutes. Add the cornstarch slurry (cornstarch mixed with water) and stir constantly for 1–2 minutes until thickened. Remove from heat and let cool completely. You can speed this up by transferring to a bowl and refrigerating.
- Beat the cream cheese. In a large bowl, beat the softened cream cheese with an electric mixer on medium speed for 2–3 minutes until smooth and fluffy with no lumps. Scrape down the sides of the bowl. Add ½ cup sugar, vanilla extract, and 1 tablespoon lemon juice. Beat until smooth and creamy.
- Whip the heavy cream. In a separate cold bowl, beat the cold heavy cream with clean beaters on medium-high speed until stiff peaks form — about 3–4 minutes. The cream should be thick, fluffy, and hold its shape when you lift the beaters. Don’t overbeat or you’ll make butter!
💡 Pro Tip: For the fluffiest whipped cream, chill your bowl and beaters in the freezer for 10 minutes before whipping. Cold equipment helps the cream whip faster and hold better.
- Fold in the whipped cream. Add about one-third of the whipped cream to the cream cheese mixture and gently fold it in with a spatula to lighten the mixture. Then add the remaining whipped cream and fold gently until just combined with no white streaks. Don’t overmix — you want to keep all that air you just whipped in! The mixture should be light, fluffy, and smooth.
- Spread the filling over the crust. Pour the cheesecake filling over the chilled crust and spread it into an even layer with an offset spatula or the back of a spoon. Smooth the top as much as possible — it doesn’t need to be perfect, but relatively smooth looks best.
- Add the strawberry swirl. Drop spoonfuls of the cooled strawberry sauce randomly over the top of the cheesecake filling. Use a butter knife or skewer to swirl the strawberry sauce through the filling in a figure-8 or S-pattern. Don’t over-swirl — you want distinct ribbons of pink, not everything mixed together into one uniform color.
💡 Pro Tip: Less is more with swirling! Drag your knife through just 2–3 times in different directions. Over-swirling muddles the colors and you lose those beautiful distinct ribbons. You want to see both white and pink clearly.
- Freeze until firm. Cover the pan with plastic wrap (press it directly onto the surface to prevent ice crystals) or aluminum foil. Freeze for at least 4 hours, or preferably overnight. The bars need to be completely firm before slicing. You can also refrigerate them, but it will take 6–8 hours and they’ll be softer.
- Slice and serve. When ready to serve, lift the bars out of the pan using the parchment paper overhang. Place on a cutting board. Use a large, sharp knife dipped in hot water (and wiped dry between cuts) to slice into bars. Cut into 12 or 16 squares depending on the size you want. Serve cold, topped with fresh strawberries or whipped cream if desired.
That’s it — now let’s talk about all the delicious ways to serve these stunning bars.
How to Serve It
These no-bake strawberry cheesecake bars are beautiful and versatile. Here’s how we love to serve them:
- 🍓 Classic presentation — top each bar with a fresh strawberry slice and a dollop of whipped cream
- 🎆 4th of July dessert — top with fresh blueberries and strawberries for red, white, and blue
- ☀️ Summer party platter — arrange on a beautiful serving plate with fresh berries scattered around
- 🍫 Extra indulgent — drizzle with white chocolate or add chocolate shavings on top
- 🌸 Spring brunch — serve with coffee or champagne for an elegant brunch dessert
- 🎉 Make-ahead party dessert — perfect for graduations, showers, or any celebration
However you serve them, these bars are guaranteed to impress. They look professional, taste incredible, and no one needs to know how easy they were! Now let’s cover storage and make-ahead tips.
Storage & Leftovers
Refrigerator: Store cut bars in an airtight container in the fridge for up to 5 days. Place parchment paper between layers to prevent sticking. They actually get even better after a day or two as the flavors meld together.
Freezer: These freeze beautifully! Keep the uncut bars wrapped tightly in plastic wrap and foil for up to 2 months. You can also freeze individual bars wrapped separately for easy grab-and-go desserts. Thaw in the fridge for 2–3 hours before serving, or let sit at room temperature for 20–30 minutes.
Counter: Don’t leave these out at room temperature for more than 30 minutes before serving. They need to stay cold to maintain their structure — they’ll get soft and messy if they sit out too long.
Make-Ahead Tip: These are literally designed to be made ahead — they NEED overnight chilling to set properly, so you have to plan ahead! This makes them perfect for party prep. Make them 1–3 days before your event, keep them in the freezer, then slice and serve directly from frozen or let them thaw for 20 minutes. For the cleanest cuts, slice them while still frozen, then let the individual bars soften slightly before serving. I always make a double batch when strawberries are in season and keep individually wrapped bars in the freezer for unexpected guests or when I need a quick impressive dessert. They’re also perfect for holiday meal prep — make them a week ahead and check dessert off your list!
Serving from Frozen:
These can be served directly from the freezer if you prefer a firmer, almost ice-cream-cake-like texture. Or let them thaw in the fridge for 2–3 hours for a creamier, classic cheesecake texture. Both ways are delicious!
Coming up next — the mistakes that can ruin no-bake cheesecake bars, and exactly how to avoid them.
Helpful Tips & Common Mistakes
I’ve made many batches of no-bake cheesecake. Here are the mistakes people make, and how to get perfect results every time:
✗ Mistake: Using cold cream cheese and ending up with lumpy filling.
✓ Fix: Room temperature cream cheese is non-negotiable! It should be soft enough that you can easily press your finger into it. Cold cream cheese creates lumps that never fully smooth out, even with lots of mixing. Set it out 1–2 hours before starting, or microwave in 10-second bursts until softened (not melted!).
✗ Mistake: Overbeating the whipped cream and making butter.
✓ Fix: Stop beating as soon as you see stiff peaks — when you lift the beaters, the cream should hold its shape and stand up straight. If you keep going, the fat will separate and you’ll have butter and liquid. Watch it closely and stop at the right moment. Underbeating is better than overbeating!
✗ Mistake: Not letting the bars chill long enough and having them fall apart when sliced.
✓ Fix: Patience! These need at least 4 hours in the freezer, preferably overnight. They should be completely firm to the touch before you try to slice them. If you cut too early, they’ll be soft and messy. Freeze overnight for the cleanest slices and best texture.
✗ Mistake: Over-swirling the strawberry sauce and ending up with muddy pink instead of distinct ribbons.
✓ Fix: Less is more! Drop the strawberry sauce on top, then drag your knife through just 2–3 times in a figure-8 or S-pattern. Stop as soon as you see pretty ribbons. Keep swirling and everything blends into one uniform color. You want to see both white filling and pink strawberry clearly.
✗ Mistake: Trying to slice with a regular knife and getting messy, ragged cuts.
✓ Fix: Use a large, sharp knife dipped in hot water and wiped dry between EVERY cut. The hot knife melts through cleanly instead of dragging and smooshing. This is the secret to bakery-perfect slices. Take your time and clean the knife between each cut for professional results.
Follow these tips and you’ll have perfectly smooth, beautifully swirled, clean-slicing cheesecake bars every time. Now let’s talk variations.
Recipe Variations
Once you’ve mastered the strawberry version, here are some delicious ways to customize it:
🫐 Triple Berry Version: Use a mix of strawberries, blueberries, and raspberries for the sauce. Cook them all together the same way. The mixed berry flavor is complex and gorgeous, with swirls of deep purple and pink throughout the creamy white filling.
🍋 Lemon Cheesecake Bars: Skip the strawberry swirl entirely. Add 2 tablespoons of lemon zest and 2 extra tablespoons of lemon juice to the filling. Top with lemon curd swirls instead of strawberry. Bright, tangy, and perfect for spring!
🍫 Chocolate Strawberry Version: Use chocolate graham crackers or Oreos (filling removed) for the crust. Swirl in melted chocolate alongside the strawberry sauce for chocolate-covered strawberry vibes. Drizzle with chocolate ganache before serving.
🥭 Tropical Mango Version: Replace strawberries with fresh mango chunks. Use coconut extract instead of vanilla in the filling. Top with toasted coconut and fresh mango slices. Tastes like vacation in a bar!
Pick your favorite flavor and make it your own — the no-bake technique works with endless variations!
Ready for Foolproof Dessert Magic?
These no-bake strawberry cheesecake bars are proof that sometimes the easiest recipes are the most impressive. No oven, no stress, no cracks, no water baths — just mix, chill, and slice into the most beautiful, creamy, delicious bars that taste like you’re a professional pastry chef. They’re perfect for summer when you don’t want to heat up your kitchen, ideal for make-ahead entertaining, and honestly — they taste just as good (if not better) than traditional baked cheesecake with a fraction of the effort.
If you try this recipe, I’d love to hear how it turned out! Drop a comment below or tag me on Pinterest with a photo of your gorgeous strawberry-swirled bars. Happy chilling, friends! 🍓
Frequently Asked Questions
Can I make these in a different size pan?
Yes! A 9×9-inch square pan makes thicker bars (12 squares). A 9×13-inch rectangular pan makes thinner bars (16 squares). You can also use an 8-inch springform pan for round slices. The recipe amount stays the same, just adjust the thickness and number of servings.
Do these need to be frozen or can I just refrigerate them?
You can refrigerate instead of freeze, but it takes longer (6–8 hours minimum) and they’ll be softer and harder to slice cleanly. Freezing is faster and gives you cleaner cuts. They’re delicious either way — frozen is firmer like ice cream cake, refrigerated is creamier like traditional cheesecake.
Can I use frozen strawberries?
Yes! Thaw them completely and drain very well, pressing out excess liquid with paper towels. Too much moisture will make the sauce watery. You may need to cook it a bit longer to thicken properly. Fresh strawberries give the best flavor and texture, but frozen works in a pinch.
Why is my filling grainy instead of smooth?
This almost always means your cream cheese was too cold. It needs to be fully softened to room temperature to blend smoothly. Cold cream cheese creates lumps that don’t smooth out. Next time, let it sit out longer or soften it gently in the microwave.
Can I make these dairy-free?
You can try using dairy-free cream cheese and coconut whipped cream, though the texture and flavor will be different. Dairy-free cream cheese tends to be softer and tangier. The bars will still work, but they won’t be quite as creamy and rich as the traditional version.
How do I get such clean slices?
Three secrets: (1) Freeze the bars completely until very firm. (2) Use a large, sharp knife dipped in hot water. (3) Wipe the knife completely clean between EVERY cut. This hot-knife method is what professional bakers use for perfect slices. Don’t skip the cleaning between cuts!
Can I skip the strawberry swirl?
You can! The bars are still delicious as plain cheesecake bars. You could also swirl in chocolate sauce, caramel, lemon curd, or any other flavor you like. The strawberry swirl adds beautiful color and flavor, but the base cheesecake filling is versatile.
How far ahead can I make these?
Make them up to 3 days ahead and keep refrigerated, or up to 2 months ahead and keep frozen. For parties, I usually make them 1–2 days before and keep them in the freezer until serving time. They’re actually better after sitting for a day as the flavors meld together.