
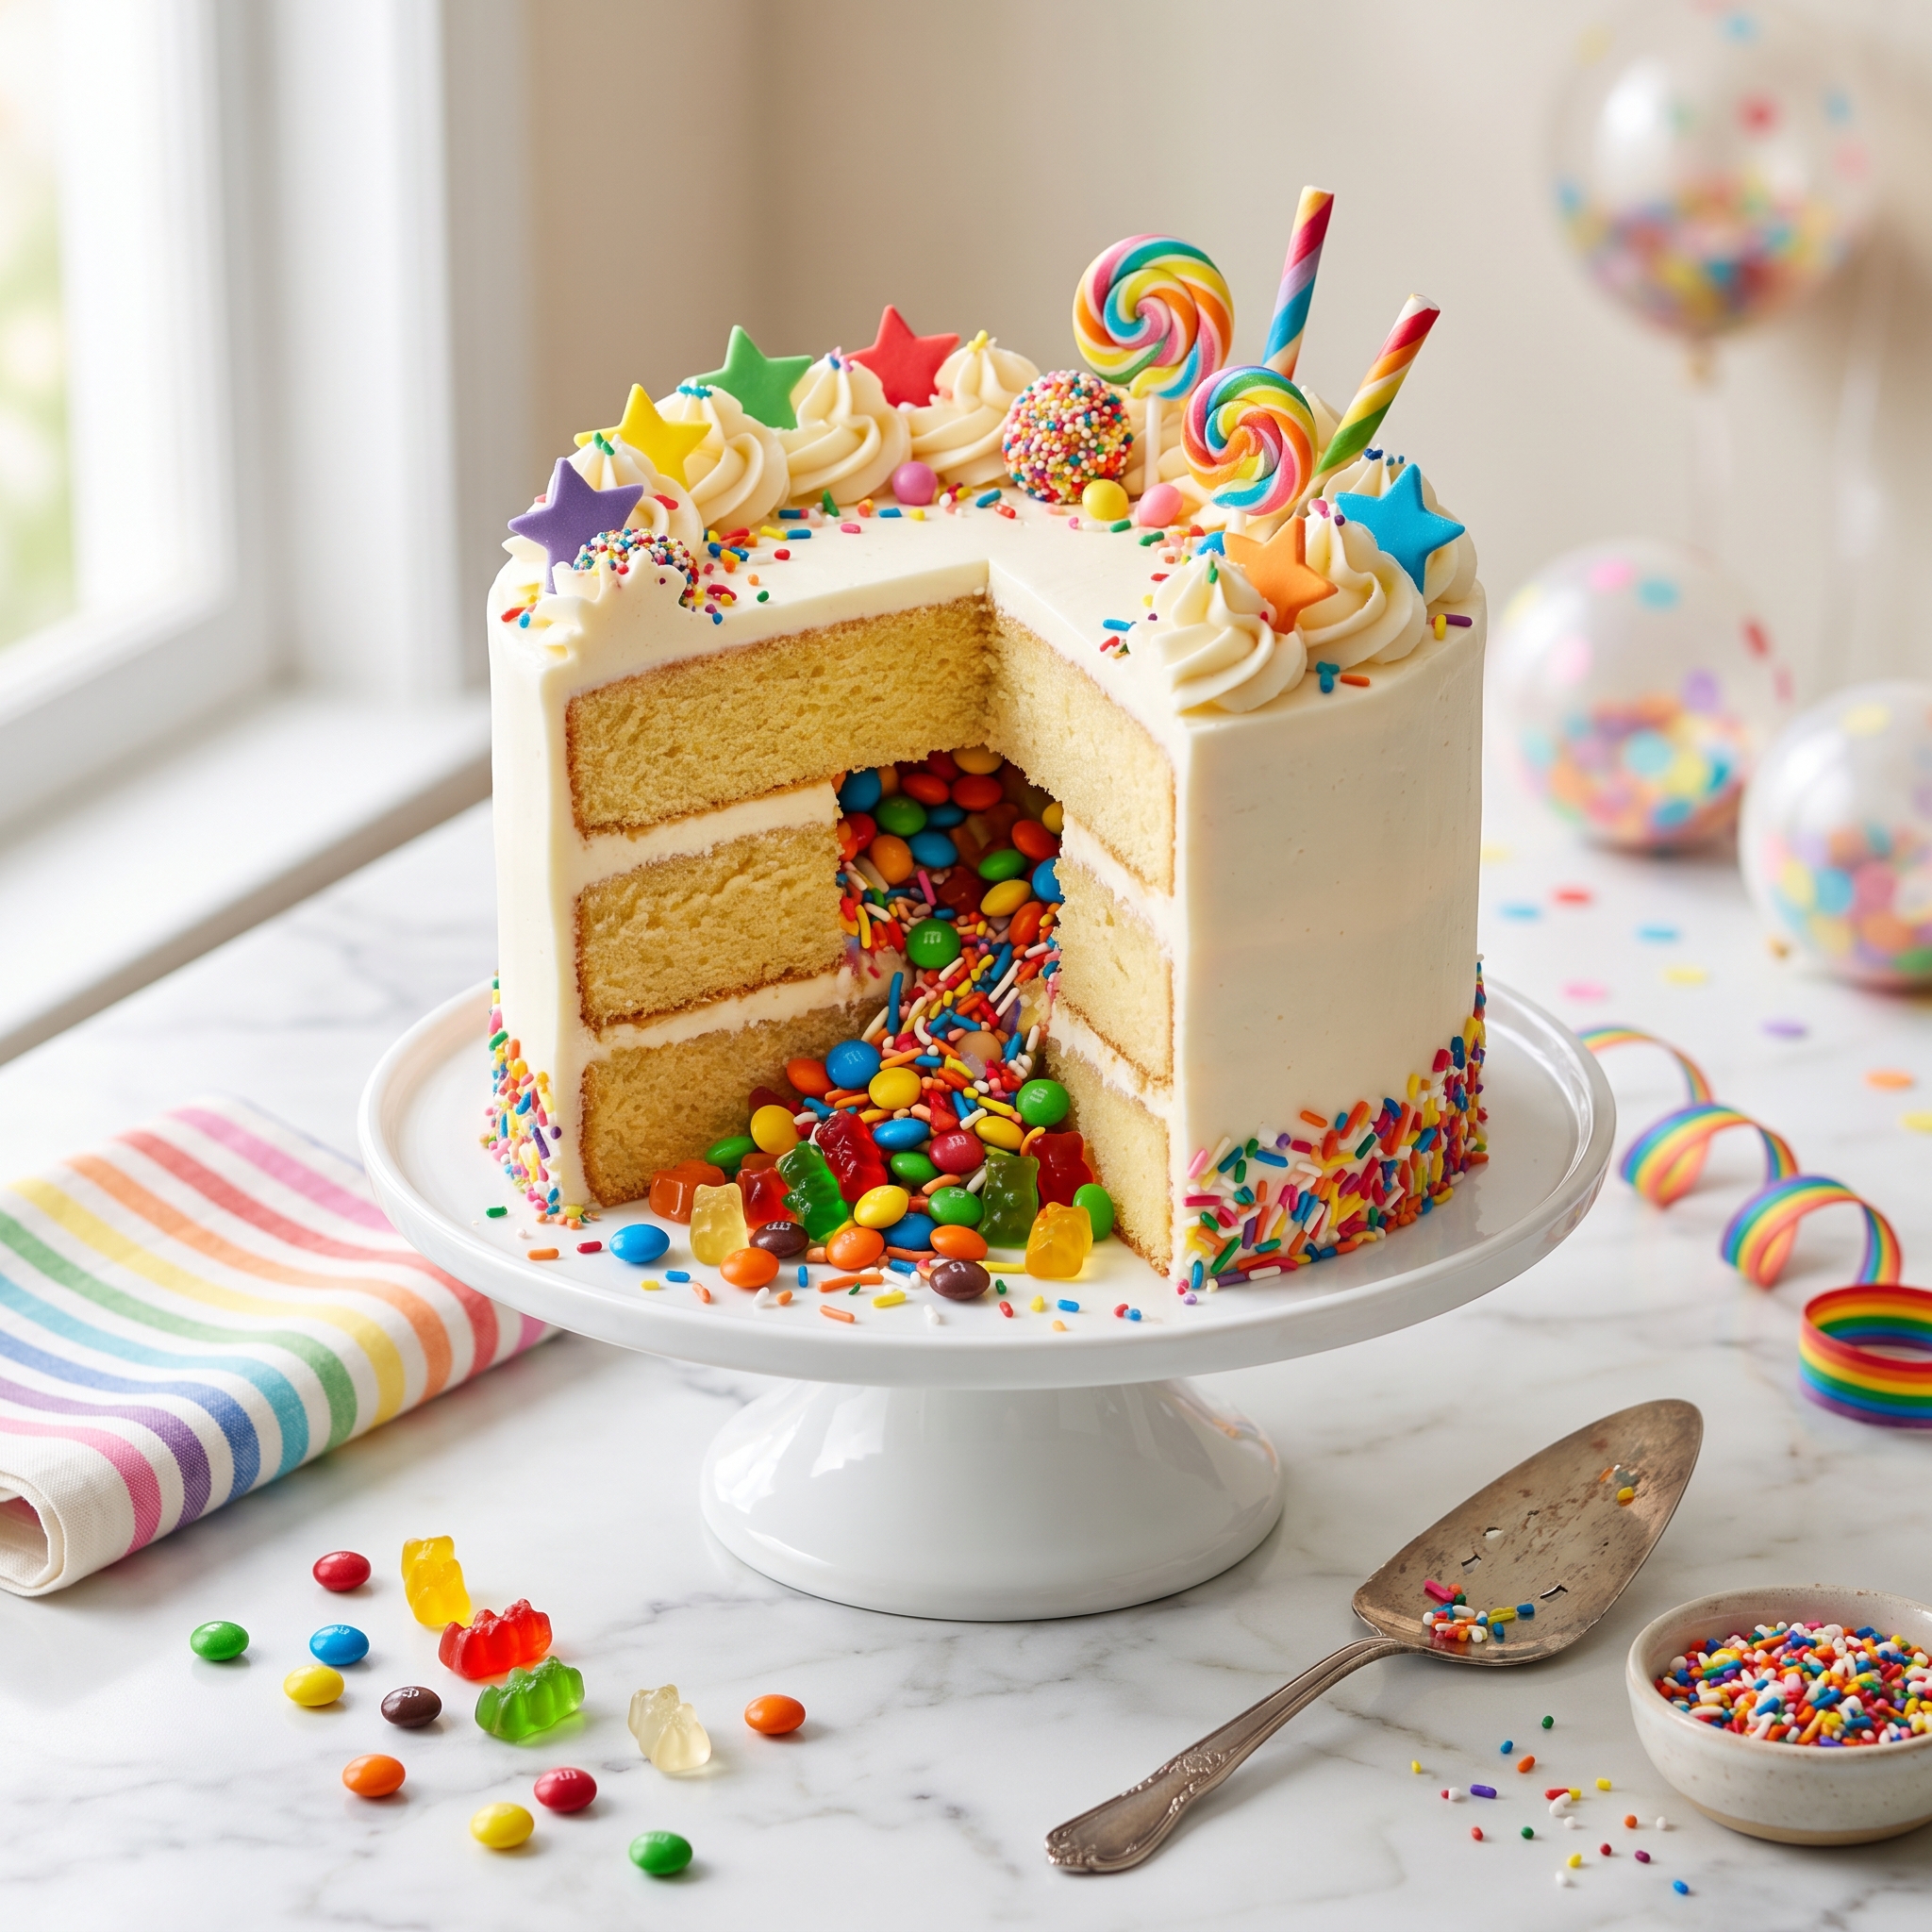
Easy Piñata Cake with Surprise Candy Filling That Kids Go Crazy For
Imagine the look on your kid’s face when they cut into their birthday cake and candy comes pouring out like magic. That’s the pure joy of a piñata cake — a show-stopping dessert that combines the fun of a piñata with the deliciousness of homemade cake. It looks like a regular frosted cake on the outside, but hidden inside is a secret cavity filled with colorful candy that spills out when you slice it. If you’ve ever wanted to create that viral “wow” moment at a birthday party, this is your recipe.
Here’s my question for you: when was the last time you saw a dessert make every single kid at the party scream with excitement? Because that’s exactly what happens with piñata cakes. The anticipation as you cut into it, that magical moment when the candy tumbles out, the scramble to grab their favorite pieces — it’s not just a cake, it’s an entire experience that they’ll talk about for months.
Whether you’re planning a birthday party, celebrating a special milestone, or just want to create an unforgettable dessert moment, this piñata cake is surprisingly easy to make. Keep reading — I’m sharing every tip and trick to build this impressive cake without any special skills or fancy equipment.
Why This Recipe Works
This isn’t just a regular cake with candy thrown on top. Here’s why this piñata cake is about to become your go-to party showstopper:
- ✔ Pure party magic — the candy reveal creates a moment kids never forget
- ✔ Easier than you think — no special pans or advanced decorating skills needed
- ✔ Completely customizable — fill it with any candy, use any cake flavor, any color scheme
- ✔ Makes 12–16 servings — perfect for birthday parties and celebrations
- ✔ Can be made ahead — assemble the cake layers a day in advance
- ✔ Works with box mix or homemade — use your favorite cake recipe or take a shortcut
- ✔ Guaranteed to impress — looks professional but is secretly simple
Trust me, once you see the joy on everyone’s faces when that candy spills out, you’ll be making piñata cakes for every celebration. Now let’s talk about what you’ll need.
What You’ll Need
For the Cake Layers
- 2 boxes (15.25 oz each) cake mix (any flavor) plus required ingredients (eggs, oil, water)
- OR use your favorite homemade cake recipe that makes two 9-inch layers
- Popular choices: vanilla, chocolate, funfetti, strawberry, or rainbow
For the Frosting
- 1½ cups (3 sticks) unsalted butter, softened
- 6 cups powdered sugar
- ⅓ cup heavy cream or whole milk
- 2 teaspoons vanilla extract
- ¼ teaspoon salt
- Food coloring (optional, for colorful frosting)
For the Candy Filling
- 2–3 cups assorted candy (M&Ms, Skittles, mini chocolates, gummy bears, etc.)
- Choose small, lightweight candies that pour easily
- Match the candy colors to your party theme if desired
Special Equipment
- Three 9-inch round cake pans
- 3-inch round cookie cutter or small bowl (for cutting the cavity)
- Offset spatula for frosting
- Cake turntable (optional but helpful)
Substitutions
No time to make frosting? Store-bought frosting works in a pinch — you’ll need about 3 containers to frost a three-layer cake generously. Want a dairy-free version? Use coconut oil instead of butter and coconut cream instead of heavy cream. Don’t have three cake pans? Bake in batches using two pans, or slice one thick layer in half horizontally to create the middle layer. No round cookie cutter? Use a small bowl or drinking glass to trace and cut the cavity.
Chef’s Note — Choosing Your Candy: Stick with small, lightweight candies that will actually pour out when the cake is cut. M&Ms, Skittles, mini chocolates, and small gummy candies work perfectly. Avoid anything too heavy (like full-size candy bars), sticky (like caramels), or delicate (like chocolate chips that will melt). Think about what will create that satisfying cascade effect when the cake is sliced!
Chef’s Note — Cake Layers: The middle layer needs to be sturdy enough to support the weight of the candy without collapsing. Make sure your cakes are completely cooled before assembly, and don’t overbake them or they’ll be too dry and crumbly. Slightly dense cakes like pound cake or box mix work better than airy sponge cakes.
Got everything ready? Perfect — let’s build this magical cake step by step.
How to Make a Piñata Cake — Step by Step
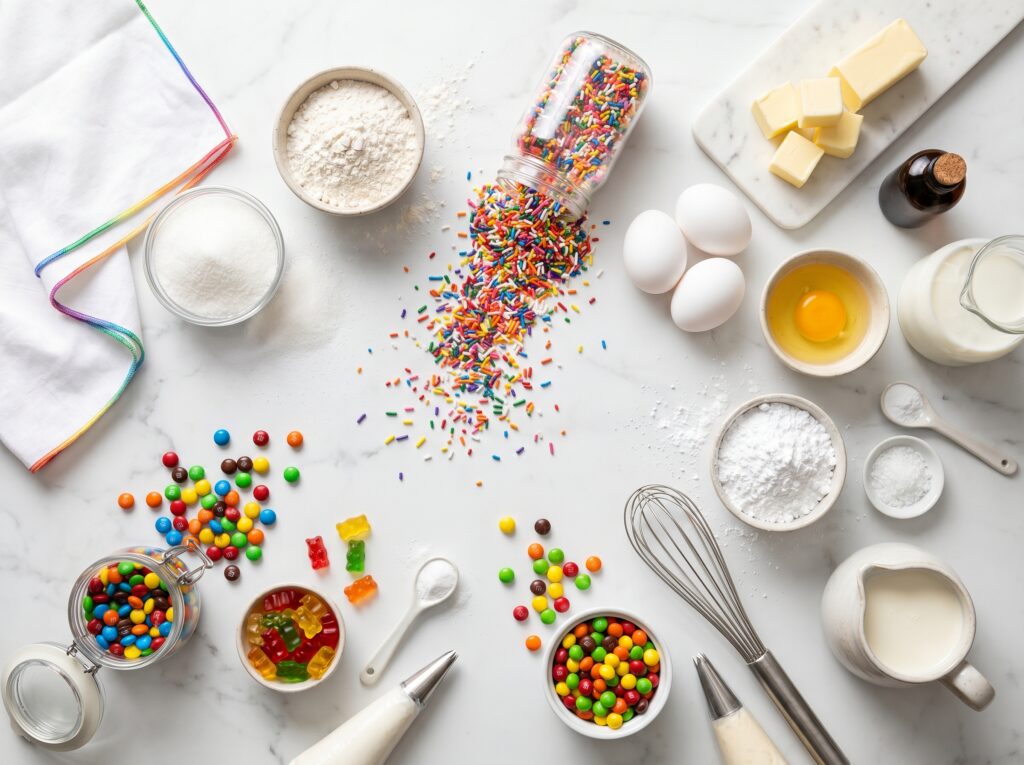
- Bake the cake layers. Preheat your oven according to the cake mix or recipe instructions. Prepare three 9-inch round cake pans by greasing and flouring them (or using parchment paper rounds). Divide the batter evenly among the three pans and bake according to package or recipe directions. Let the cakes cool in the pans for 10 minutes, then turn out onto wire racks to cool completely — at least 1–2 hours.
- Level the cakes. Once completely cool, use a long serrated knife or cake leveler to trim the domed tops off each cake layer so they’re flat and even. You want nice, level surfaces for stacking. Save the scraps for snacking!
- Cut the cavity in the middle layer. Choose one cake layer to be your middle layer. Using a 3-inch round cookie cutter (or a small bowl as a guide and a paring knife), cut a circle out of the center of this layer, going almost all the way through but leaving about ¼–½ inch of cake at the bottom. This creates your candy cavity. Carefully remove the center piece and set it aside (you can crumble it for cake pops later!).
💡 Pro Tip: Don’t cut all the way through the bottom of the middle layer! You need that base to hold the candy in. Think of it like cutting a bowl shape — you want walls and a bottom, not a donut hole.
- Make the buttercream frosting. In a large bowl, beat the softened butter with an electric mixer on medium speed until creamy and smooth, about 2 minutes. Gradually add the powdered sugar, one cup at a time, beating on low speed. Add the vanilla, salt, and heavy cream. Increase speed to medium-high and beat for 3–4 minutes until light and fluffy. Add food coloring if desired.
- Assemble the first layer. Place your first (bottom) cake layer on a cake board or serving plate. Spread a thin layer of frosting on top — about ¼ inch thick. This acts as “glue” for the next layer and seals in any crumbs.
- Add the middle layer with cavity. Carefully place the middle layer (the one with the hole cut out) on top of the frosted bottom layer. Make sure the cavity opening is facing up — this is where your candy will go. Press down gently to secure it to the frosting below.
💡 Pro Tip: Before adding candy, do a test by gently pressing on the middle layer. It should feel stable and secure. If it wobbles, add a bit more frosting around the edges to stabilize it.
- Fill with candy. Now for the fun part! Pour your candy into the hollow cavity until it’s filled to the top. Don’t overfill or it might spill out the sides when you add the top layer. You want the candy to reach just below the rim of the cavity.
- Add the top layer. Carefully place the third cake layer on top, pressing down very gently to secure it. The candy is now completely hidden inside — the surprise is set!
- Apply the crumb coat. Spread a thin layer of frosting all over the entire cake — top and sides. This is called a crumb coat and it seals in all the loose crumbs. It doesn’t need to look perfect. Refrigerate for 30 minutes to let this layer firm up.
💡 Pro Tip: A cake turntable makes frosting so much easier! If you don’t have one, place your cake on an upside-down bowl on a larger plate — you can rotate it easily for smooth frosting.
- Apply the final frosting layer. Once the crumb coat is set, spread the remaining frosting over the entire cake in a smooth, even layer. Use an offset spatula to create smooth sides and a flat top, or go for a rustic look with swoops and swirls. Decorate as desired with sprinkles, extra candy on top, or fun decorations.
- Refrigerate until serving. Chill the finished cake for at least 1 hour before serving to help everything set. When you’re ready for the big reveal, bring it to room temperature for 20 minutes, then slice and watch the magic happen!
That’s it — now let’s talk about the best ways to serve and present this show-stopping cake.
How to Serve It
This piñata cake is all about the reveal moment. Here’s how to maximize the wow factor:
- 🎂 Birthday party centerpiece — make the first slice in front of everyone so they can see the candy pour out
- 🎉 Theme party perfection — match the cake flavor, frosting color, and candy to your party theme (rainbow for unicorns, pastels for princess parties, etc.)
- 📸 Photo-worthy moment — have cameras ready when you make that first cut for an Instagram-perfect cascade
- 🍬 Let kids grab the candy — place the cake on a large platter or tray so spilled candy is contained and easy to collect
- 🌈 Rainbow layers — make each cake layer a different color for an extra surprise when you cut it
- 🎈 Multiple mini piñata cakes — make 6-inch versions so each kid can have their own candy-filled cake
However you serve it, make sure to cut the first slice slowly and dramatically so everyone can see that magical candy reveal. The reaction is priceless every time! Now let’s cover storage and make-ahead tips.
Storage & Leftovers
Room Temperature: Once assembled, the piñata cake can sit at room temperature for up to 4 hours before serving. After that, or once it’s been cut, refrigerate any leftovers.
Refrigerator: Store leftover cake (with or without candy) covered in the fridge for up to 4 days. Once the cake has been cut and the candy removed, it’s just regular cake! The texture stays moist thanks to all that frosting.
Freezer: You can freeze unfrosted cake layers wrapped tightly in plastic wrap for up to 3 months. Thaw overnight in the fridge before assembling. Don’t freeze the assembled piñata cake — the candy and frosting don’t freeze well together.
Make-Ahead Tip: This cake is actually perfect for advance prep! Bake the cake layers up to 2 days ahead, wrap them well, and store in the fridge. The day before the party, assemble the cake, fill it with candy, and frost it. Keep it refrigerated until 30 minutes before serving. You can even freeze the cake layers for up to a month in advance — just thaw them completely before assembly. This way, party day is stress-free and all you have to do is slice and enjoy the reactions!
Transporting:
If you need to transport your piñata cake, place it on a sturdy cake board and put it in a cake carrier or large box. Drive carefully — the candy inside can shift and potentially crack the top layer if you hit a big bump. Refrigerate until the last possible moment to keep the frosting firm during transport.
Coming up next — the mistakes that can ruin a piñata cake, and exactly how to avoid them.
Helpful Tips & Common Mistakes
I’ve made plenty of piñata cakes, and here are the mistakes I see people make — plus how to get perfect results every time:
✗ Mistake: Cutting all the way through the middle layer, creating a donut instead of a cavity.
✓ Fix: Leave about ¼–½ inch of cake at the bottom of the middle layer! You need that base to hold the candy in. Cut carefully and check your depth as you go. If you accidentally cut through, patch it with some of the cut-out cake pieces and frosting.
✗ Mistake: Overfilling the cavity so candy spills out the sides during assembly.
✓ Fix: Fill the cavity just to the rim, not overflowing. When you place the top layer, it will press down slightly and you don’t want candy squeezing out the sides. Less is more here — you want a controlled pour when it’s cut, not a messy explosion.
✗ Mistake: Using heavy candy that makes the top layer sag or crack.
✓ Fix: Stick with lightweight candies like M&Ms, Skittles, or mini chocolates. Heavy items like full-size candy bars or chocolate-covered pretzels can cause structural issues. The candy needs to be light enough that the top cake layer can support it.
✗ Mistake: Trying to assemble the cake while the layers are still warm.
✓ Fix: Patience! Let those cake layers cool completely — at least 1–2 hours at room temperature or 30 minutes in the fridge. Warm cake is fragile, crumbly, and will make your frosting melt. Cool cake = sturdy structure.
✗ Mistake: Skipping the crumb coat and ending up with a messy final frosting layer.
✓ Fix: That thin crumb coat is essential! It seals in all the loose crumbs so your final frosting layer is smooth and professional-looking. Don’t skip it — just refrigerate for 30 minutes between coats.
Follow these tips and your piñata cake will be structurally sound and absolutely stunning. Now let’s talk fun variations.
Recipe Variations
Once you’ve mastered the basic piñata cake, here are some creative ways to customize it:
🌈 Rainbow Piñata Cake: Divide your cake batter into 3–4 portions and tint each a different color. Bake in separate pans, then stack them with rainbow candy inside (Skittles or M&Ms). Frost with white or rainbow-swirl buttercream. When you cut it, you get rainbow layers AND candy — double surprise!
🦄 Unicorn Piñata Cake: Use pastel-colored frosting (pink, purple, and blue swirls) and fill with rainbow candy or pastel Jordan almonds. Top with a unicorn horn made from a sugar cone covered in fondant, plus edible flowers and gold sprinkles. Pure magic!
🏴☠️ Treasure Chest Piñata Cake: Use chocolate cake and fill the cavity with gold-wrapped chocolate coins and rock candy “gems.” Frost with chocolate buttercream and decorate to look like a wooden treasure chest. Perfect for pirate-themed parties!
🎃 Halloween Surprise Cake: Use orange-tinted cake layers and fill with candy corn, mini chocolates, and gummy worms. Frost with black or orange buttercream and top with spooky decorations. The candy surprise fits the trick-or-treat theme perfectly!
Pick your theme and get creative — the piñata technique works with any flavor, color, or decoration style you can imagine!
Ready to Create Some Magic?
This piñata cake is one of those special desserts that creates memories. Yes, it takes a bit of planning and assembly, but the actual techniques are simple enough for any home baker. The look on kids’ faces (and let’s be honest, adults too!) when that candy spills out is absolutely priceless. It’s part dessert, part entertainment, and 100% pure joy wrapped up in cake and frosting.
If you try this recipe, I’d love to hear how it turned out! Drop a comment below or tag me on Pinterest with a photo of your piñata cake reveal moment. Happy baking, friends! 🎂
Frequently Asked Questions
Can I make a piñata cake ahead of time?
Yes! Bake the cake layers up to 2 days ahead and store them wrapped in the fridge. Assemble and frost the cake the day before your party and keep it refrigerated. You can also freeze unfrosted cake layers for up to 3 months — just thaw completely before assembling.
Can I freeze a piñata cake?
You can freeze the unfrosted cake layers individually, but don’t freeze an assembled piñata cake. The candy and frosting don’t freeze well together, and the structure can become unstable when thawed. Freeze only the cake layers before assembly.
What size should I cut the cavity?
Use a 3-inch round cookie cutter or small bowl to cut the cavity. This leaves enough cake around the edges (about 3 inches on all sides) to support the top layer while still creating a good-sized space for candy. Don’t make it bigger than 4 inches or the cake structure becomes too weak.
How much candy do I need to fill the cake?
Plan on 2–3 cups of candy depending on how deep you cut your cavity. It’s better to have a little extra than not enough. Any leftover candy can be scattered around the cake platter for decoration or sent home in party favor bags!
Will the candy make the cake soggy?
No! The candy is sealed inside the cavity and doesn’t touch the outer layers of cake or frosting until you cut it. As long as you don’t cut through the bottom of the middle layer, the candy stays completely contained and the cake stays perfectly moist and delicious.
Can I use homemade cake instead of box mix?
Absolutely! Any cake recipe that makes two 9-inch layers will work. You’ll need to make 1.5 times the recipe to get three layers, or make two batches. Slightly denser cakes like pound cake or vanilla bean cake work especially well for structural stability.
What if I don’t have three cake pans?
Bake in batches using two pans. Let the first two layers cool, wash the pan, and bake the third layer. Or bake two thicker layers and slice one horizontally in half to create your middle layer. Just make sure all layers are the same diameter.
Can I make mini piñata cakes?
Yes! Use 6-inch cake pans instead of 9-inch to make smaller individual piñata cakes. Reduce the baking time slightly and use a 2-inch cutter for the cavity. These are perfect for smaller parties where each guest gets their own candy-filled cake!