
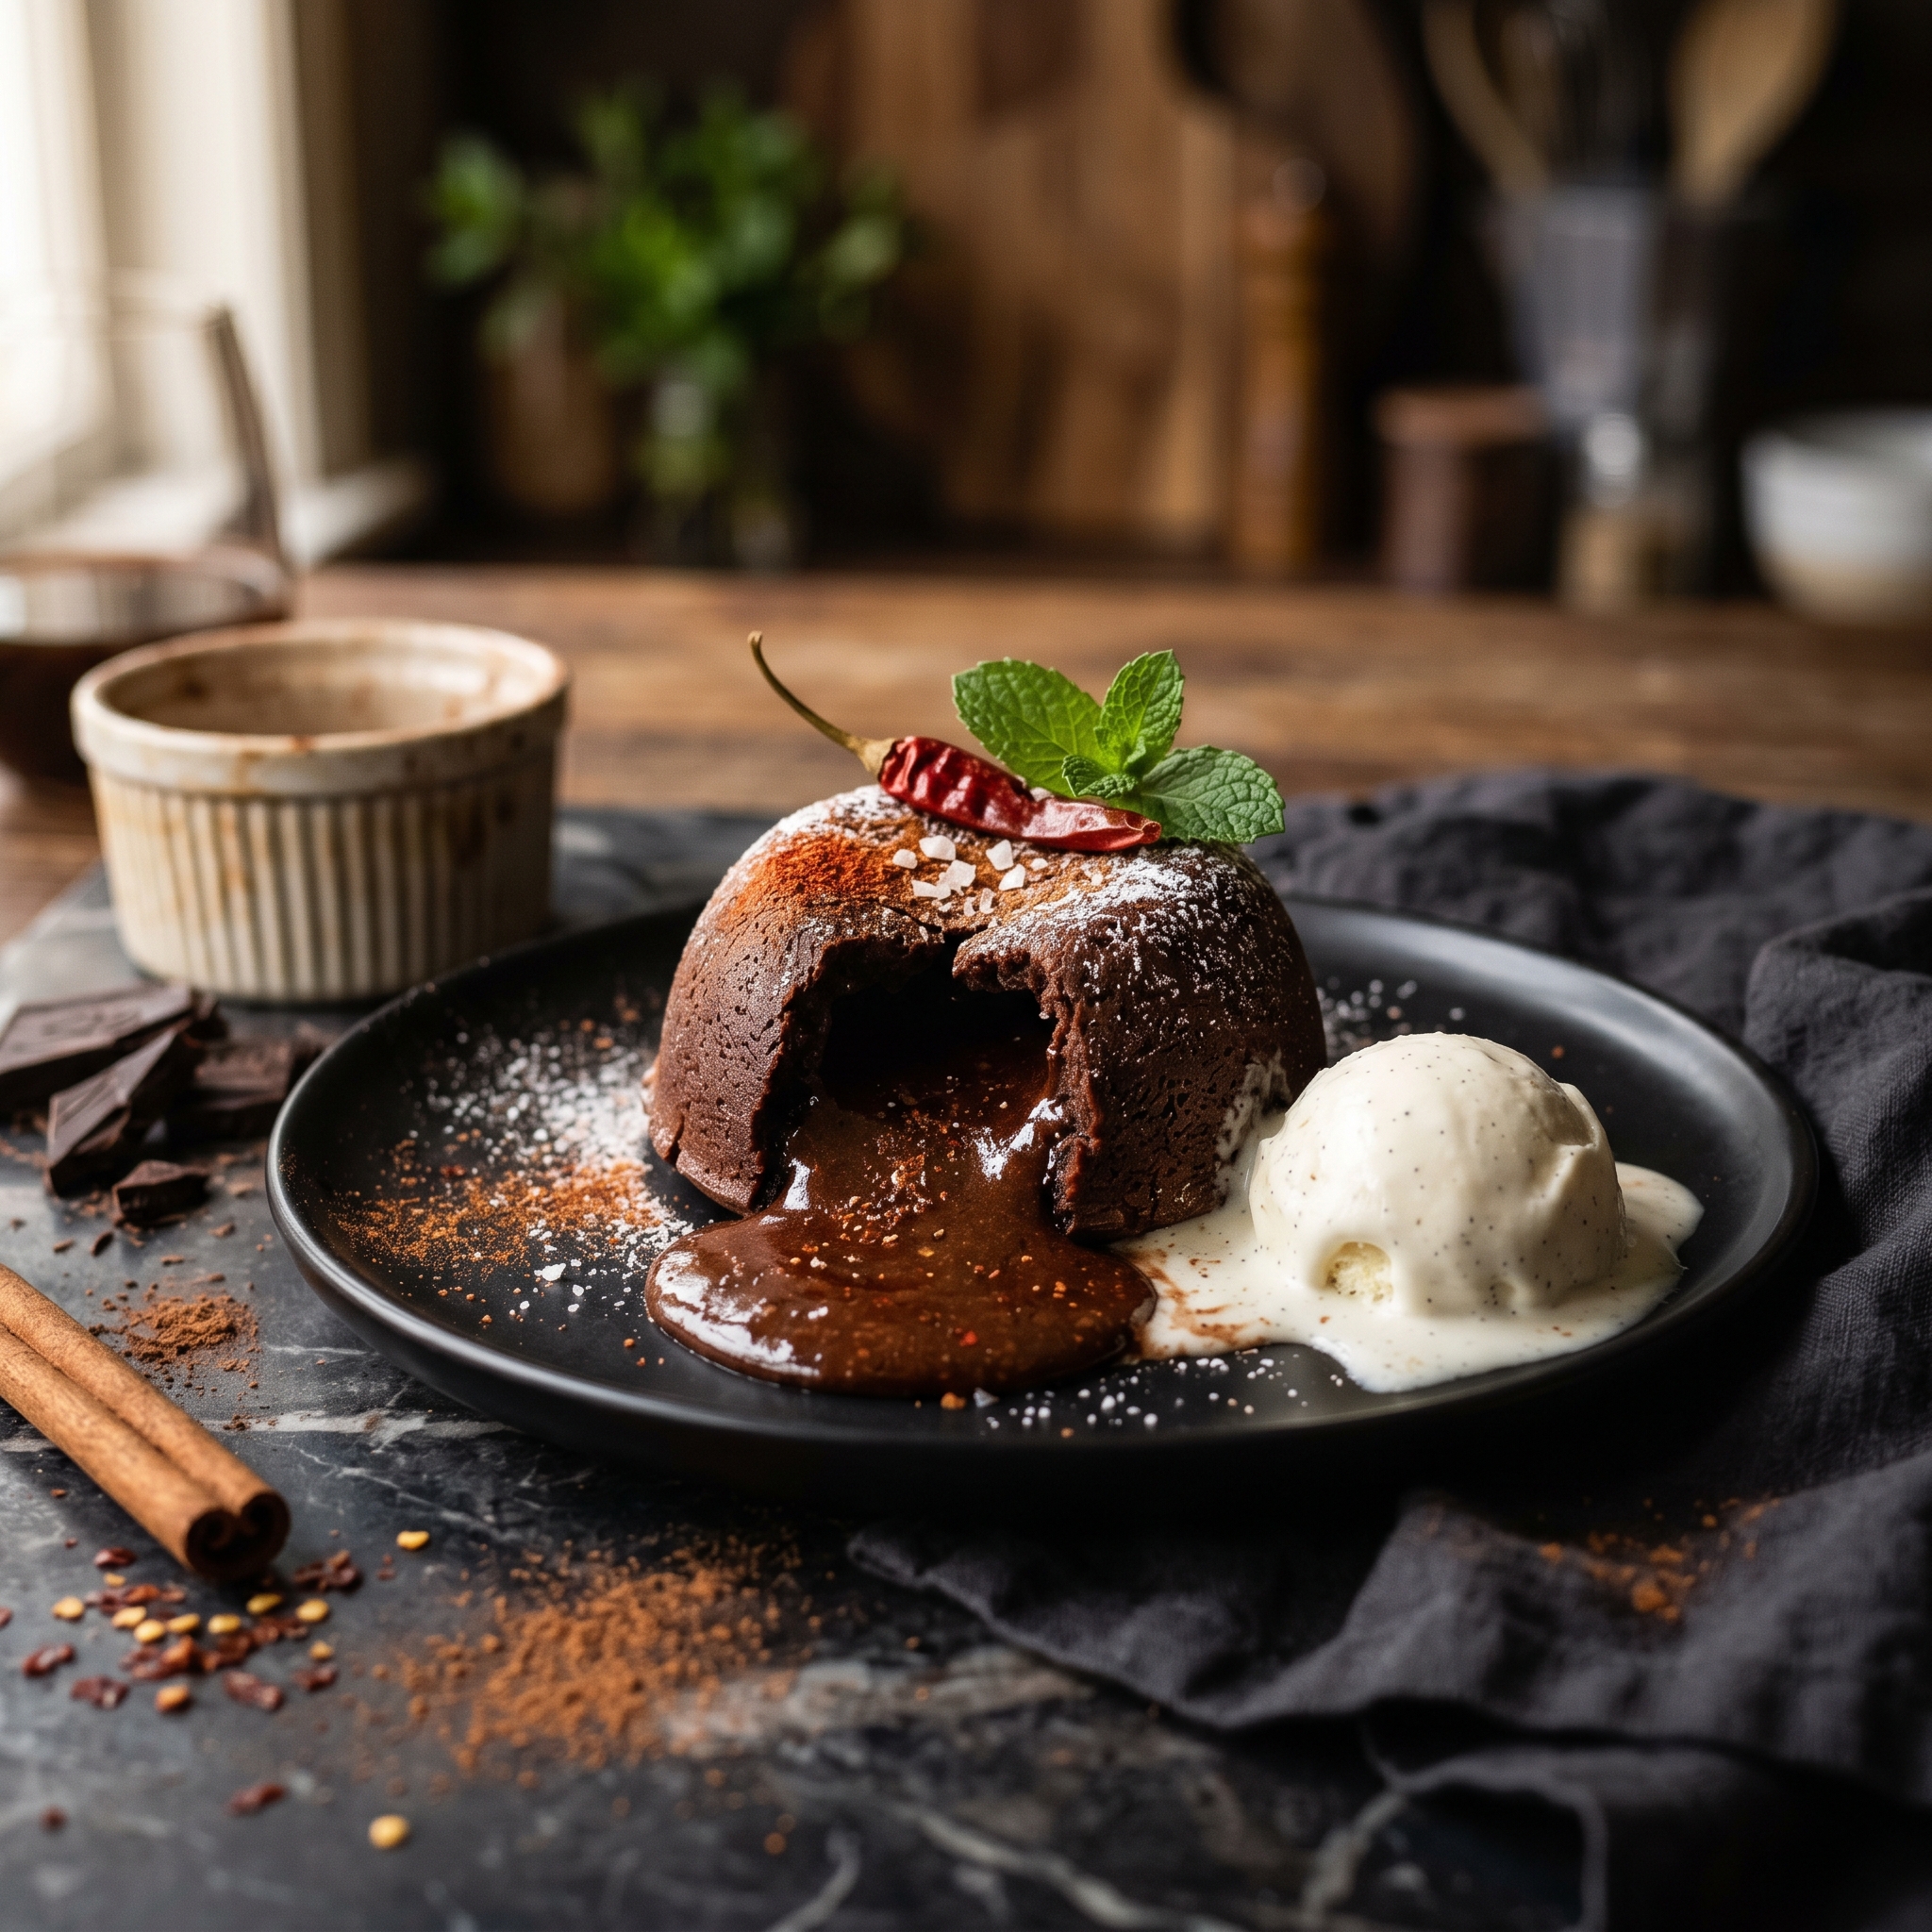
Easy Mexican Chocolate Lava Cake That’s Ready in 20 Minutes
Imagine breaking into a warm chocolate cake and watching that molten center ooze out onto your plate — but with a twist. This isn’t just any chocolate lava cake. This Mexican chocolate lava cake brings together rich dark chocolate with cinnamon, a hint of cayenne, and a touch of espresso for the most incredible dessert you’ll make all year. And here’s the best part: it’s ready in under 20 minutes from start to finish.
Can I be real with you for a second? I used to think lava cakes were one of those fancy restaurant desserts that were way too complicated to make at home. But have you ever made something so impressive that your dinner guests literally gasped when you brought it to the table? That’s what happens every single time I serve these. The molten chocolate center, the hint of spice, that perfect little cake — it looks like you went to culinary school.
Whether you’re planning a romantic Valentine’s Day dinner, need a show-stopping dessert for Cinco de Mayo, or just want to treat yourself on a random Tuesday night, this recipe is your answer. Keep reading — I’m sharing every tip and trick to make these lava cakes turn out perfectly every single time.
Table of Contents
Why This Recipe Works
This isn’t your average chocolate dessert. Here’s why this Mexican chocolate lava cake is about to become your go-to impressive dessert:
- ✔ Ready in just 20 minutes — faster than running to the bakery
- ✔ Restaurant-quality results at home — seriously, it looks and tastes like fine dining
- ✔ Warm spices add complexity — cinnamon and cayenne make this anything but ordinary
- ✔ Perfect molten center every time — no guessing, no failed cakes
- ✔ Makes 4 individual cakes — portion control and beautiful presentation built right in
- ✔ Make-ahead friendly — prep the batter, refrigerate, and bake when you’re ready
- ✔ Uses simple ingredients — no specialty items or hard-to-find spices
Trust me, once you see how easy these are to pull off, you’ll be making them for every special occasion. Now let’s talk about what you’ll need.
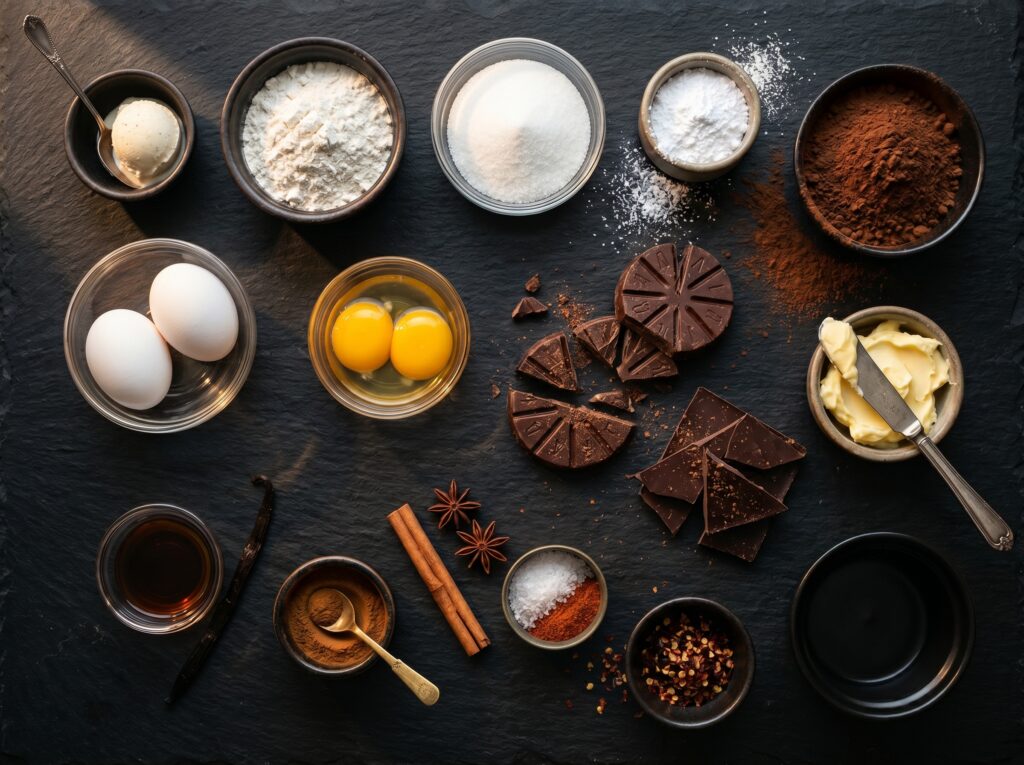
What You’ll Need
For the Lava Cakes
- ½ cup (1 stick) unsalted butter, plus more for greasing ramekins
- 6 oz dark chocolate (60–70% cacao), chopped
- 2 large eggs
- 2 large egg yolks
- ¼ cup granulated sugar
- 1 teaspoon vanilla extract
- 1 teaspoon ground cinnamon
- ¼ teaspoon cayenne pepper (adjust to taste)
- ⅛ teaspoon espresso powder
- Pinch of salt
- 2 tablespoons all-purpose flour
For Serving
- Vanilla ice cream or whipped cream
- Fresh raspberries or strawberries
- Powdered sugar for dusting
- Extra cinnamon for sprinkling (optional)
Substitutions
No dark chocolate? You can use semi-sweet chocolate chips in a pinch, though the flavor won’t be quite as rich and sophisticated. Not a fan of heat? Cut the cayenne in half or leave it out completely — you’ll still get that warm cinnamon spice. No espresso powder? A small splash of strong brewed coffee works, or just skip it. The espresso doesn’t make it taste like coffee — it just deepens the chocolate flavor.
Chef’s Note — Dark Chocolate: This is where quality matters. Use a good bar of dark chocolate (I love Ghirardelli or Lindt) rather than cheap baking chocolate. The chocolate is this dessert, so you want something that tastes incredible on its own. Aim for 60–70% cacao — anything higher and it might be too bitter.
Chef’s Note — Cayenne Pepper: Don’t skip this! It’s what makes these Mexican chocolate lava cakes. Start with ¼ teaspoon if you’re nervous — you’ll get a warm tingle at the end of each bite, not actual heat. It’s the perfect balance with the sweet chocolate and cinnamon.
Got your ingredients lined up? Perfect — let’s make some magic happen in the kitchen.
How to Make Mexican Chocolate Lava Cake — Step by Step
- Preheat and prep your ramekins. Preheat your oven to 425°F. Generously butter four 6-ounce ramekins, making sure to get the sides really well. Then dust them lightly with cocoa powder or a tiny bit of flour and tap out the excess. This prevents sticking and makes them slide right out onto the plate.
- Melt the chocolate and butter. Place the chopped chocolate and butter in a microwave-safe bowl. Microwave in 30-second intervals, stirring between each one, until completely melted and smooth. This should take about 1–1½ minutes total. Don’t rush this — burnt chocolate is not salvageable.
- Whisk the eggs and sugar. In a separate bowl, whisk together the whole eggs, egg yolks, and sugar until the mixture is thick, pale, and slightly frothy — about 2 minutes of good whisking. This step incorporates air and gives your cakes that perfect texture.
💡 Pro Tip: Room temperature eggs whisk up better and create more volume. Set them out on the counter 20 minutes before you start, or place them in a bowl of warm water for 5 minutes.
- Combine everything. Pour the melted chocolate mixture into the egg mixture and gently fold together with a spatula. Add the vanilla, cinnamon, cayenne, espresso powder, and salt. Fold until just combined — don’t overmix or you’ll deflate all that air you just whisked in.
- Add the flour. Sprinkle the flour over the top and fold it in gently with just a few strokes. You want the batter smooth but not overworked. A few small lumps are totally fine.
- Fill the ramekins. Divide the batter evenly among your prepared ramekins, filling each one about ¾ full. Place them on a baking sheet for easy transfer in and out of the oven.
💡 Pro Tip: At this point, you can cover the ramekins with plastic wrap and refrigerate for up to 24 hours before baking. Just add 2–3 minutes to the baking time if you’re baking them straight from the fridge.
- Bake to perfection. Bake for exactly 12–14 minutes. The edges should be set and pulling away slightly from the sides, but the centers should still jiggle just a bit when you gently shake the pan. This is the key to that molten center — don’t overbake!
- Let them rest. Remove from the oven and let the cakes sit in the ramekins for 1 minute. This brief rest helps them set just enough to hold their shape when you flip them out.
- Invert and serve immediately. Run a thin knife around the edge of each ramekin. Place a dessert plate upside down on top of each ramekin, then quickly flip them over. Give the bottom a gentle tap, and the cake should slide right out. Carefully lift off the ramekin.
💡 Pro Tip: Serve these within 2–3 minutes of unmolding. They’re at their absolute best when that chocolate center is still warm and flowing. Don’t make them sit!
Now comes the best part — let’s talk about serving these gorgeous cakes.
How to Serve It
This Mexican chocolate lava cake is already stunning on its own, but here’s how to make it absolutely unforgettable:
- 🍨 Classic style — a scoop of vanilla ice cream melting into that warm chocolate center is pure heaven
- 🫐 Fresh berries — raspberries or strawberries add a tart contrast that cuts through the richness perfectly
- 💕 Romantic dinner — dust with powdered sugar, add a dollop of whipped cream, and serve with champagne for Valentine’s Day
- 🎉 Cinco de Mayo celebration — serve with a small glass of Mexican coffee or hot chocolate spiked with Kahlúa
- ✨ Extra fancy — drizzle with caramel sauce, sprinkle with flaky sea salt, and garnish with a cinnamon stick for a restaurant-worthy presentation
However you serve them, make sure you’re there to see your guests’ faces when they cut into that molten center for the first time. It never gets old. Now let’s cover storage and make-ahead options.
Storage & Leftovers
Refrigerator: Honestly, these are best enjoyed fresh from the oven. But if you have leftover batter, you can keep the filled, unbaked ramekins covered tightly in the fridge for up to 24 hours before baking. Once baked, they don’t really keep well — the molten center solidifies and you lose that signature lava cake magic.
Freezer: You can freeze the unbaked, filled ramekins for up to 1 month. Wrap each one individually in plastic wrap, then foil. Bake straight from frozen — just add 3–4 minutes to the baking time.
Counter: Don’t leave baked lava cakes sitting out. Serve them immediately for the best experience.
Make-Ahead Tip: This is my secret for stress-free dinner parties. I prep the batter and fill the ramekins in the afternoon, then keep them covered in the fridge. When we’re finishing up dinner, I pop them in the oven. By the time we’ve cleared the table, dessert is ready. It looks like I timed everything perfectly, but really I just planned ahead. Your guests will think you’re a kitchen wizard.
Reheating:
— Microwave: If a baked lava cake has cooled and you want to warm it up, microwave for 15–20 seconds. It won’t be quite as molten, but it’ll still be delicious.
— Oven: Not recommended — by the time the center warms up, the outside will be overcooked.
Now let me share the insider secrets that separate a good lava cake from an absolutely perfect one.
Helpful Tips & Common Mistakes
I’ve made these cakes dozens of times (maybe hundreds — who’s counting?). Here are the mistakes I see people make, and exactly how to avoid them:
✗ Mistake: Skipping the butter and cocoa/flour dusting on the ramekins.
✓ Fix: Grease those ramekins like your life depends on it! A stuck lava cake is a tragedy. Butter every inch of the sides and bottom, then dust with cocoa powder or flour. This creates a non-stick barrier.
✗ Mistake: Overbaking because you’re nervous about undercooking.
✓ Fix: Set a timer for 12 minutes and watch closely. The edges should be set and pulling away from the sides, but the center should still jiggle. It’s supposed to be undercooked in the middle — that’s the whole point!
✗ Mistake: Using chocolate chips instead of chopped chocolate bars.
✓ Fix: Chocolate chips contain stabilizers that prevent them from melting smoothly. Use a good-quality chocolate bar chopped into pieces for the silkiest, most luxurious texture.
✗ Mistake: Letting the baked cakes sit in the ramekins too long.
✓ Fix: Wait exactly 1 minute after removing from the oven, then invert immediately. Any longer and they’ll start to set up and won’t slide out cleanly.
✗ Mistake: Making these in regular muffin tins instead of ramekins.
✓ Fix: Ramekins are important here! They conduct heat differently than muffin tins and give you that perfect molten center. If you don’t have ramekins, use 6-ounce custard cups — but muffin tins won’t work the same way.
Follow these tips and you’ll nail it every single time. Now let’s talk about fun variations you can try.
Recipe Variations
Once you’ve mastered the classic version, here are some delicious ways to switch things up:
🍊 Orange Mexican Chocolate Version: Add 1 teaspoon of orange zest to the batter and replace the vanilla with orange extract. The citrus plays beautifully with the chocolate and spices — it tastes like a chocolate orange in lava cake form.
🌰 Nutella Center Version: Place a teaspoon of Nutella in the center of each ramekin before adding the batter. You’ll get an extra-gooey, hazelnut-chocolate explosion when you cut in. Kids go absolutely wild for this one.
🍫 White Chocolate Raspberry Version: Skip the cayenne and reduce the cinnamon to ½ teaspoon. Add ½ cup white chocolate chips to the batter and press a fresh raspberry into the center of each cake before baking. It’s lighter and fruitier but still incredibly decadent.
☕ Mocha Version: Increase the espresso powder to 1 teaspoon and add 1 tablespoon of coffee liqueur (like Kahlúa) to the batter. The coffee flavor becomes front and center — perfect for the coffee lovers in your life.
Each variation keeps the same foolproof technique — you’re just playing with flavors to make it your own. Get creative and have fun with it!
Ready to Impress?
This Mexican chocolate lava cake is hands-down one of the easiest, most impressive desserts you can make. It’s rich, it’s indulgent, and that hint of cinnamon and cayenne takes it from ordinary to absolutely unforgettable. Plus, it comes together so fast that you can decide to make it on a whim and still have dessert on the table in 20 minutes.
If you try this recipe, I’d love to hear how it turned out! Drop a comment below or tag me on Pinterest with a photo of that gorgeous molten center. Happy baking, friends! 🍫
Frequently Asked Questions
Can I make these ahead of time?
Yes! Fill the ramekins with batter, cover them tightly with plastic wrap, and refrigerate for up to 24 hours before baking. You can also freeze them for up to 1 month. Just add a few extra minutes to the baking time if baking from cold or frozen.
Can I freeze Mexican chocolate lava cakes?
You can freeze the unbaked cakes in their ramekins for up to 1 month. Wrap each one individually in plastic wrap and foil. Bake straight from frozen, adding 3–4 minutes to the baking time. Don’t freeze baked cakes — they won’t have that signature molten center when reheated.
What if I don’t have ramekins?
Use 6-ounce custard cups or small oven-safe bowls. In a pinch, you can use a jumbo muffin tin, but the baking time and texture might be slightly different. Ramekins really do give you the best results for lava cakes.
How do I know when they’re done?
The edges should be set and pulling away from the sides of the ramekin, but the center should still jiggle slightly when you gently shake the pan. This usually happens at the 12–14 minute mark. When in doubt, underbake slightly — a gooey center is the goal!
Can I make this in an air fryer?
Yes! Preheat your air fryer to 375°F. Place the filled ramekins in the basket (you may need to work in batches) and air fry for 8–10 minutes. Check at 8 minutes — every air fryer is different, so timing may vary.
Is this recipe gluten-free?
Almost! This recipe only uses 2 tablespoons of flour. You can easily swap in a gluten-free 1-to-1 baking flour or even almond flour, and it’ll work perfectly. Just make sure your chocolate is certified gluten-free if that’s a concern.
Can I leave out the cayenne pepper?
You can, but I really encourage you to try it with the cayenne first! It’s what makes these Mexican chocolate lava cakes instead of just regular chocolate lava cakes. The heat is very subtle — you get a warm tingle at the end, not actual spiciness. If you’re really nervous, start with ⅛ teaspoon.
What size ramekins should I use?
Standard 6-ounce ramekins are perfect for this recipe. If you use smaller 4-ounce ramekins, reduce the baking time to 10–11 minutes. Larger 8-ounce ramekins will need 15–16 minutes. The 6-ounce size gives you the best ratio of molten center to set cake.