
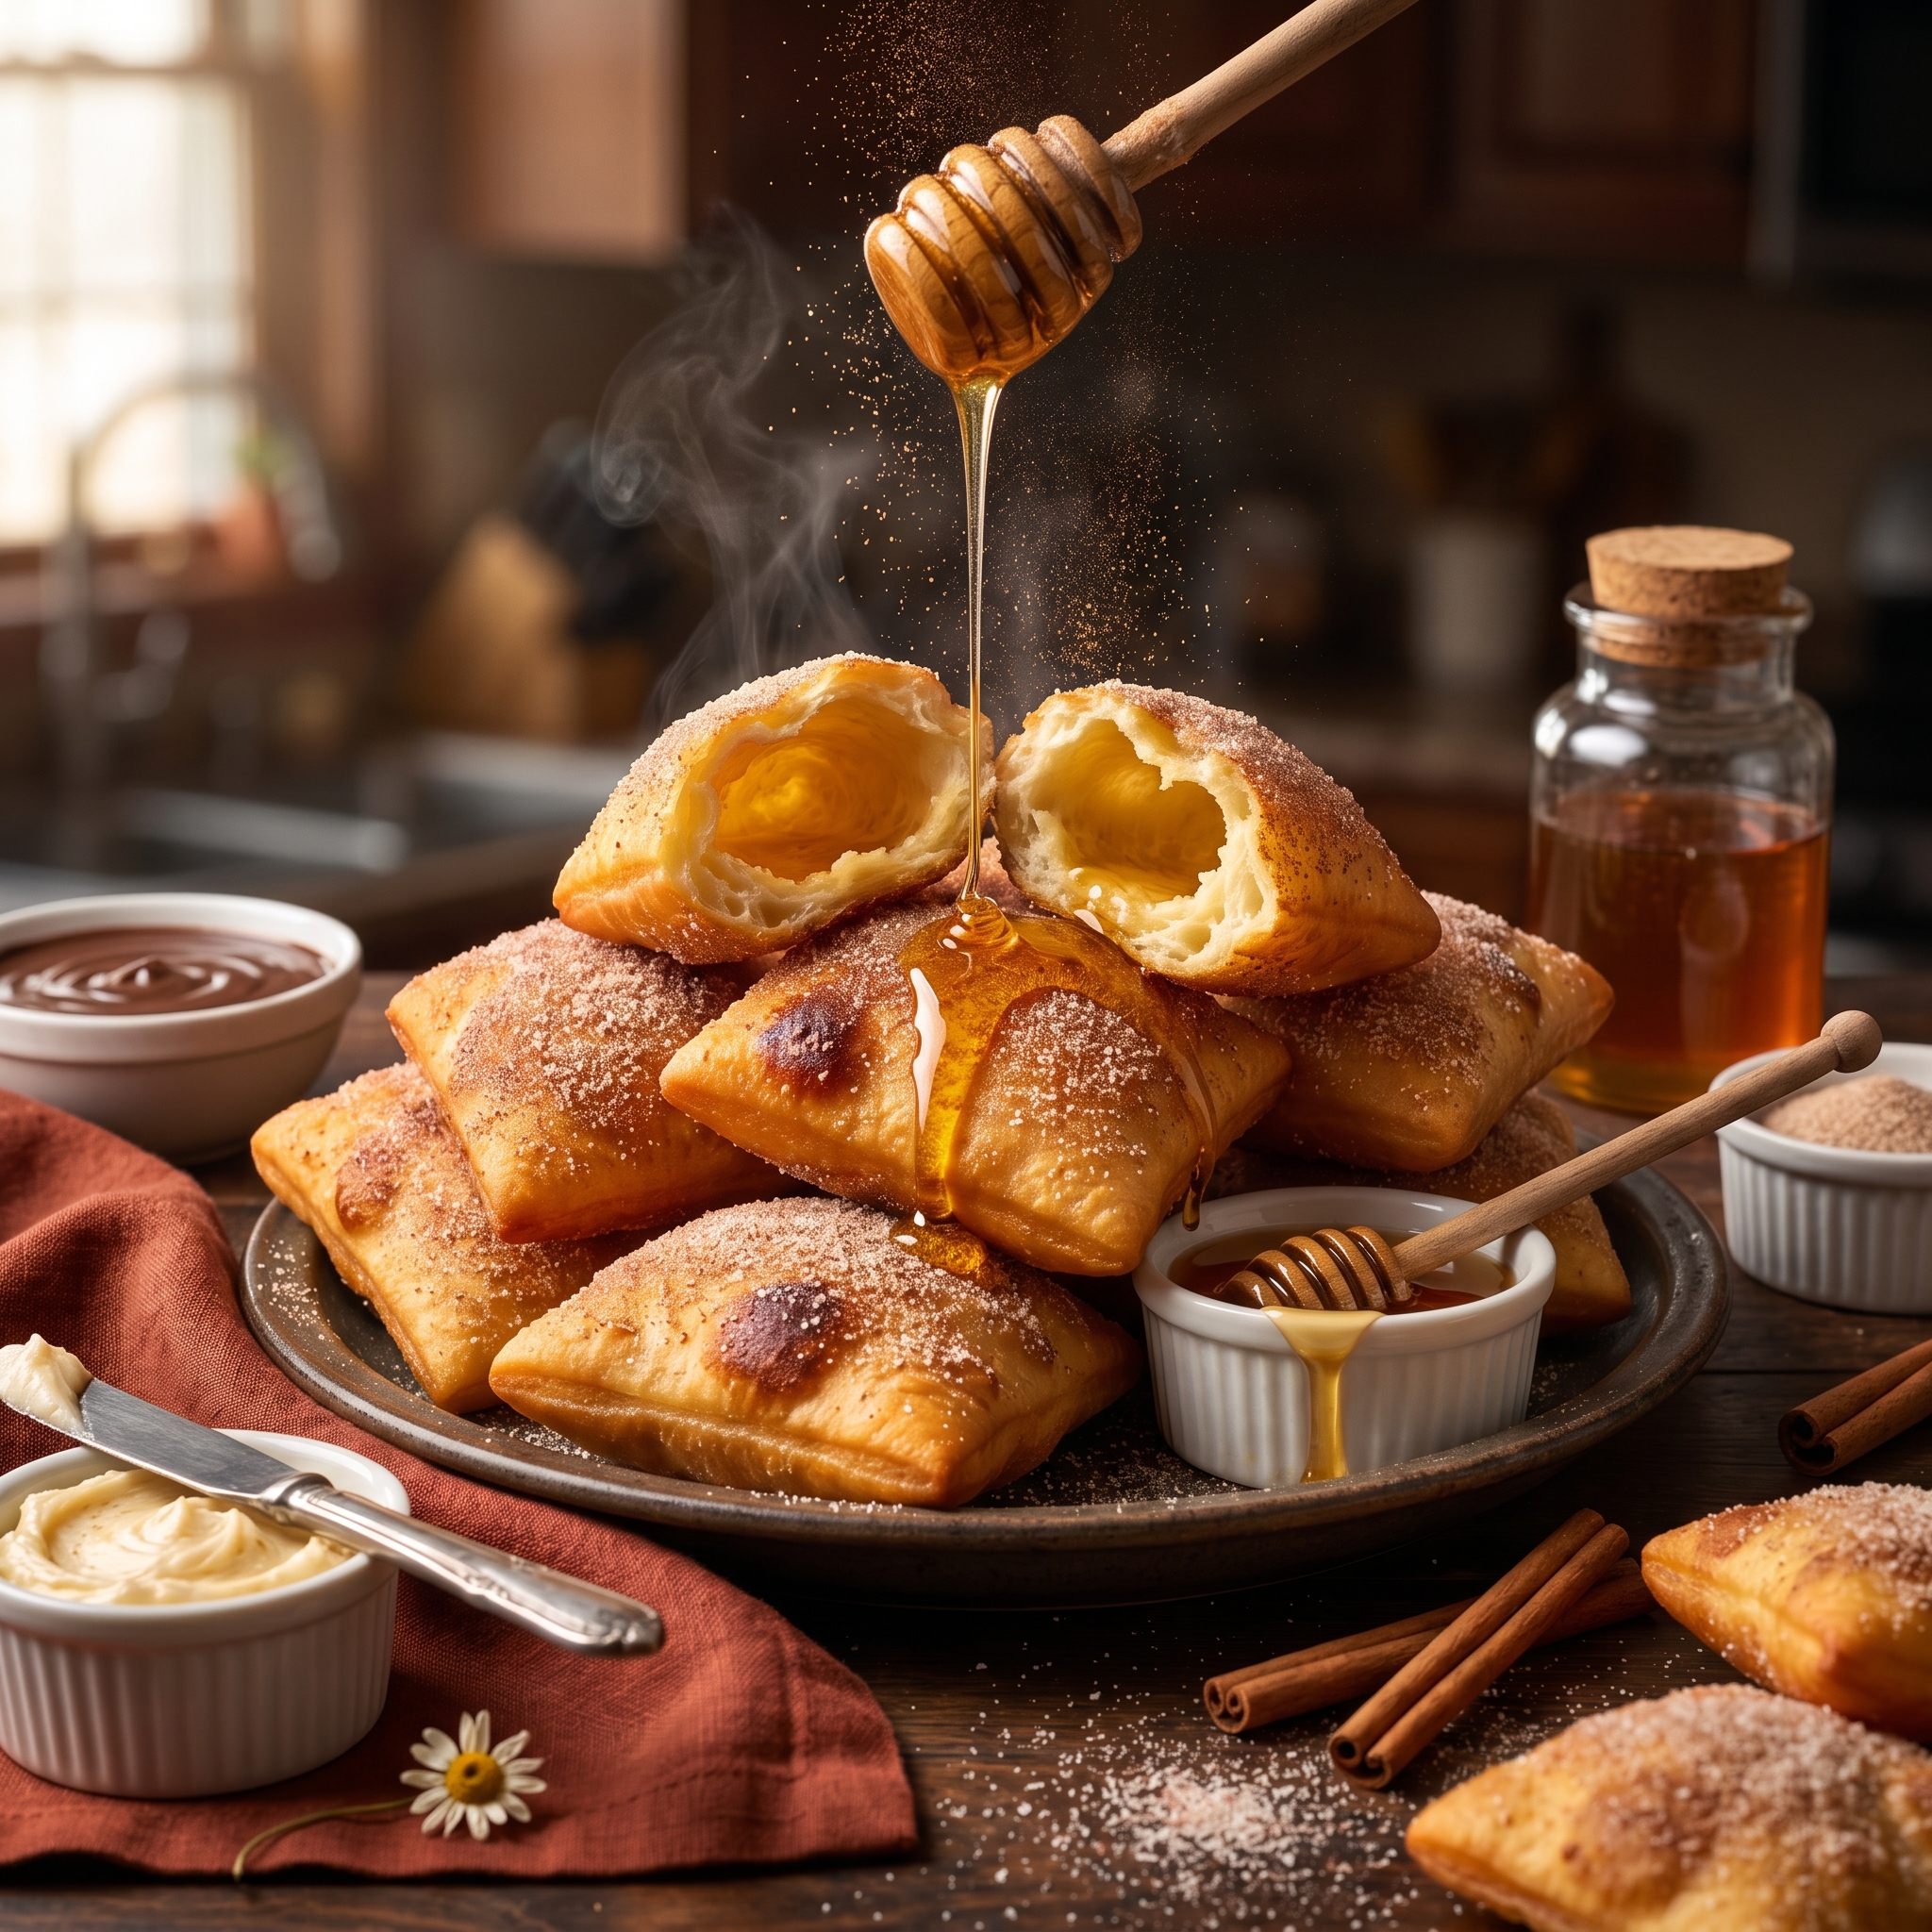
Easy Cinnamon Sugar Sopapillas with Honey Drizzle That Taste Like Magic
Imagine biting into a warm, pillowy cloud of fried dough that’s crispy on the outside, soft and airy on the inside, and covered in cinnamon sugar with honey dripping down the sides. That’s exactly what these cinnamon sugar sopapillas deliver every single time. If you’ve ever had sopapillas at a Mexican restaurant and thought they were impossible to recreate at home, I’m about to change your mind completely.
Can I be honest with you? I used to think sopapillas were one of those magical desserts that only restaurant kitchens could pull off. But have you ever made something so delicious that your family literally stopped talking mid-bite just to enjoy it? That’s what happens when you serve these golden, puffy sopapillas fresh from the oil. The way they puff up like little pillows, that incredible cinnamon-sugar coating, and that warm honey drizzle — it’s pure comfort food.
Whether you’re planning a Cinco de Mayo celebration, want to end Taco Tuesday on a sweet note, or just need a fun weekend baking project with the kids, this recipe is your answer. Keep reading — I’m sharing every tip and trick to make perfect sopapillas on your very first try.
Table of Contents
Why This Recipe Works
These aren’t just any fried dough — these are authentic, restaurant-quality sopapillas you can make at home. Here’s why this cinnamon sugar sopapillas recipe is about to become your new favorite treat:
- ✔ Simple ingredients you already have — flour, baking powder, salt, and shortening
- ✔ Puff up perfectly every time — that signature hollow center happens naturally
- ✔ Ready in under 45 minutes — including dough rest time
- ✔ Crowd-pleaser at parties — adults and kids go absolutely crazy for these
- ✔ Versatile dessert or snack — sweet with cinnamon sugar or savory with cheese
- ✔ Budget-friendly — makes a dozen sopapillas for just a few dollars
- ✔ Fun to make — watching them puff up in the oil never gets old
Trust me, once you see how easy these are to make and taste that first bite, you’ll be making them all the time. Now let’s talk about what you’ll need.
What You’ll Need
For the Sopapilla Dough
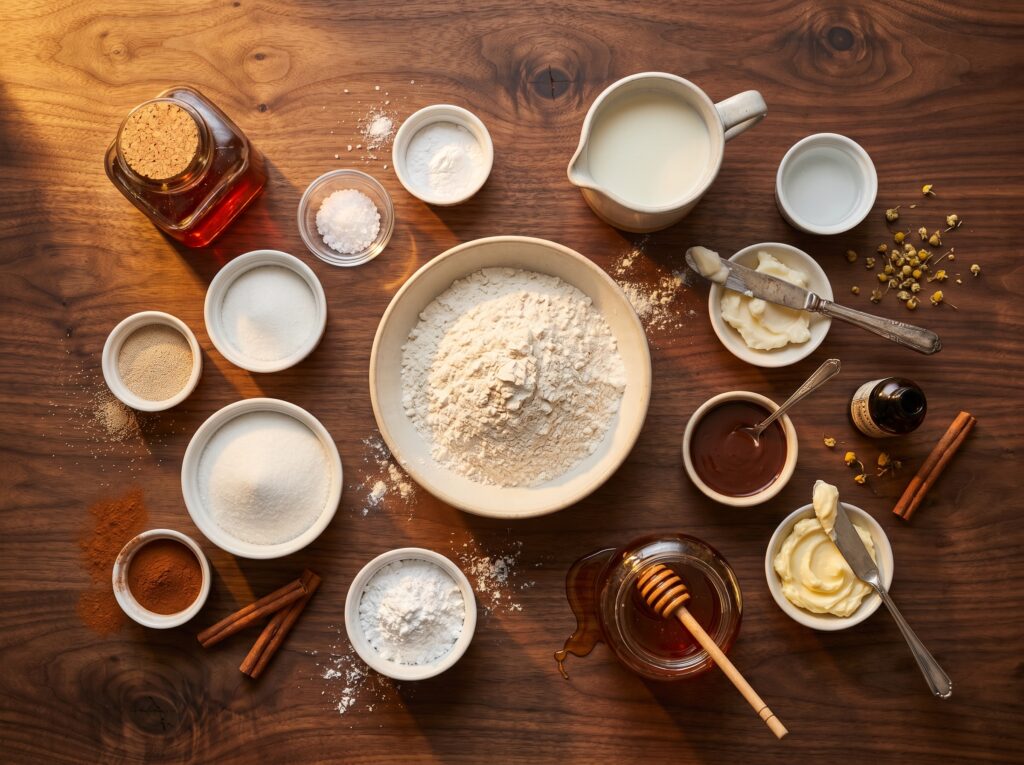
- 2 cups all-purpose flour, plus more for dusting
- 1 tablespoon baking powder
- 1 teaspoon salt
- 2 tablespoons vegetable shortening (or butter)
- ¾ cup warm water (about 110°F)
- Vegetable oil for frying (about 3–4 cups)
For the Cinnamon Sugar Coating
- ½ cup granulated sugar
- 1 tablespoon ground cinnamon
For Serving
- Warm honey for drizzling
- Powdered sugar for dusting (optional)
- Whipped cream (optional)
Substitutions
No vegetable shortening? You can use softened butter instead, though shortening gives you that traditional flaky texture. No warm water on hand? Just heat some tap water in the microwave for 20–30 seconds until it’s warm but not hot. Want to skip the frying? You can bake these at 400°F for 8–10 minutes, though they won’t puff quite as dramatically or get that signature crispy exterior.
Chef’s Note — Vegetable Shortening: This is the secret to getting sopapillas that puff up beautifully and stay light and flaky. Shortening creates layers in the dough that separate when they hit the hot oil, creating that signature hollow center. Don’t skip it if you want authentic results!
Chef’s Note — Frying Oil: Use a neutral oil with a high smoke point like vegetable, canola, or peanut oil. The oil needs to stay at 375°F for perfect puffing — too cool and they’ll be greasy, too hot and they’ll brown before puffing. A candy thermometer is your best friend here.
Got everything ready? Perfect — let’s make some magic happen in your kitchen.
How to Make Cinnamon Sugar Sopapillas — Step by Step
- Mix the dry ingredients. In a large mixing bowl, whisk together the flour, baking powder, and salt until well combined. This ensures the baking powder is evenly distributed so your sopapillas puff uniformly.
- Cut in the shortening. Add the shortening to the flour mixture. Use a pastry cutter, fork, or your fingers to work it into the flour until the mixture looks like coarse crumbs — similar to making pie dough. You want pea-sized pieces of shortening throughout.
- Add the water and form the dough. Slowly pour in the warm water while stirring with a fork. Keep stirring until the dough starts to come together. Then use your hands to knead it gently in the bowl until it forms a smooth, slightly sticky ball — about 1–2 minutes of kneading.
💡 Pro Tip: Don’t overwork the dough! Too much kneading develops the gluten and makes the sopapillas tough instead of tender. Once it comes together into a ball, stop kneading.
- Let the dough rest. Cover the bowl with a clean kitchen towel or plastic wrap and let the dough rest for 15–20 minutes at room temperature. This rest time relaxes the gluten and makes the dough much easier to roll out.
- Roll out the dough. Lightly flour your work surface and rolling pin. Roll the dough out into a large rectangle about ⅛-inch thick — roughly the thickness of a tortilla. Don’t roll it too thin or the sopapillas won’t puff up properly.
- Cut into squares or triangles. Use a pizza cutter or sharp knife to cut the dough into 3-inch squares or triangles. You should get about 12 pieces. Re-roll any scraps and cut those too.
💡 Pro Tip: Make sure your cuts are clean and decisive. Ragged edges or pinched dough won’t puff as well because the layers are sealed together.
- Heat the oil. Pour about 2–3 inches of oil into a heavy-bottomed pot or deep skillet. Heat over medium-high heat until it reaches 375°F on a candy or deep-fry thermometer. This temperature is crucial — test it by dropping in a small piece of dough. It should sizzle immediately and float to the surface.
- Fry the sopapillas. Carefully slide 2–3 pieces of dough into the hot oil, being careful not to crowd the pan. They should immediately start to puff and bubble. Fry for about 1 minute per side, flipping once, until they’re golden brown and puffy. Use a slotted spoon or spider to flip and remove them.
- Drain and coat. Transfer the fried sopapillas to a paper towel-lined plate to drain for just a few seconds. While they’re still hot, toss them in the cinnamon sugar mixture until completely coated. The heat helps the cinnamon sugar stick perfectly.
💡 Pro Tip: Watch them closely while frying! The magic happens fast. They’ll puff up dramatically in the first 30 seconds, then you just need to get them golden on both sides. Don’t walk away from the stove.
- Serve immediately with honey. Arrange the warm sopapillas on a serving platter, drizzle generously with warm honey, and serve right away. They’re at their absolute best when they’re hot and fresh from the oil.
That’s it — now let’s talk about the best ways to serve these beauties.
How to Serve It
These cinnamon sugar sopapillas are incredibly versatile. Here’s how we love to enjoy them:
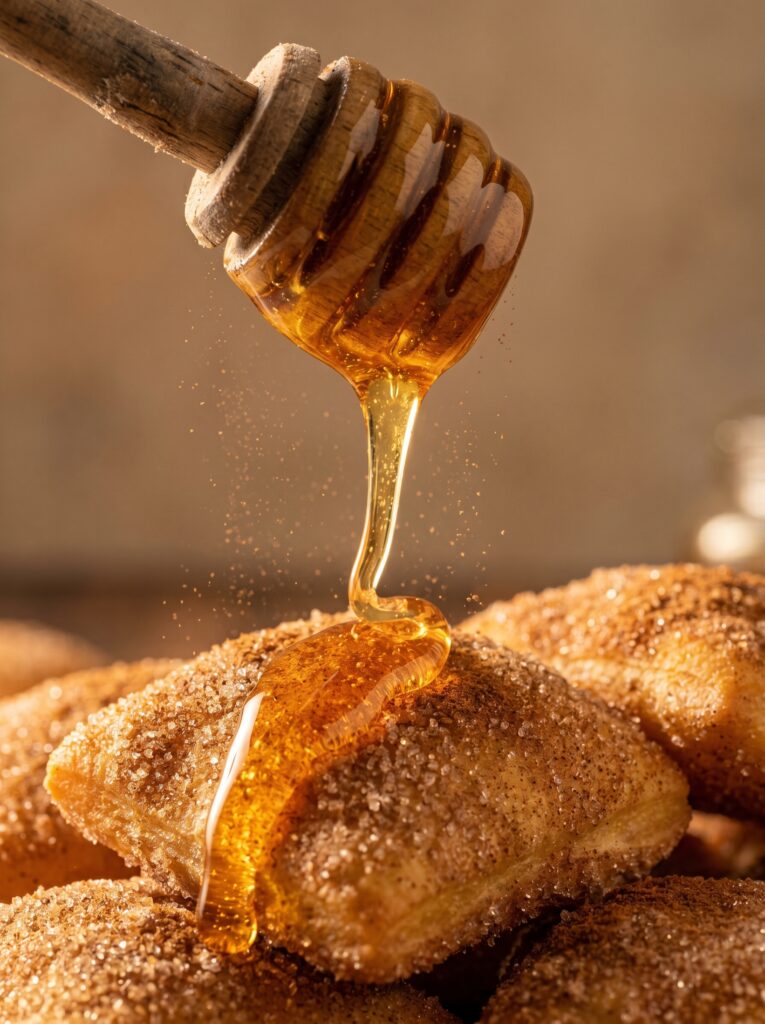
- 🍯 Classic style — warm honey drizzled over the top, exactly like at Mexican restaurants
- 🍨 Dessert platter — serve with vanilla ice cream and chocolate sauce for an indulgent treat
- 🎉 Cinco de Mayo celebration — arrange on a platter with bowls of honey, chocolate sauce, and cajeta (Mexican caramel) for dipping
- 🌮 Taco Tuesday finale — the perfect sweet ending after tacos, enchiladas, or fajitas
- ☕ Breakfast treat — serve with hot chocolate or Mexican coffee for a special weekend breakfast
- 🧀 Savory version — skip the cinnamon sugar and stuff them with shredded cheese, beans, or seasoned meat while they’re still hot
However you serve them, make sure they’re warm — that’s when the magic really happens. Now let’s cover storage and make-ahead tips.
Storage & Leftovers
Room Temperature: Sopapillas are honestly best enjoyed fresh and warm. If you have leftovers, store them in an airtight container at room temperature for up to 1 day. They’ll lose their crispiness but are still delicious.
Refrigerator: You can refrigerate leftovers in an airtight container for up to 3 days, but they’ll get soft and lose that crispy exterior.
Freezer: Freeze cooked sopapillas (without the cinnamon sugar coating) in a single layer on a baking sheet, then transfer to a freezer bag for up to 2 months. Reheat from frozen in a 350°F oven for 5–7 minutes to crisp them back up.
Make-Ahead Tip: You can make the dough up to 24 hours in advance! After kneading, wrap it tightly in plastic wrap and refrigerate. Let it come to room temperature for 20–30 minutes before rolling out and frying. You can also roll out and cut the dough, then layer the uncooked pieces between parchment paper and refrigerate for up to 4 hours before frying. This is perfect for party prep — do all the work ahead of time, then just fry them fresh when your guests arrive.
Reheating:
— Oven: Reheat at 350°F for 5–7 minutes to crisp them back up. This is the best method for reviving day-old sopapillas.
— Microwave: 15–20 seconds will warm them up, but they’ll be soft instead of crispy. Still tasty, just different.
— Air Fryer: 350°F for 2–3 minutes brings back that crispy exterior beautifully.
Now let me share the insider secrets that guarantee perfect sopapillas every single time.
Helpful Tips & Common Mistakes
I’ve made these sopapillas more times than I can count. Here are the mistakes that trip people up, and exactly how to avoid them:
✗ Mistake: Frying at the wrong temperature.
✓ Fix: Keep that oil at a steady 375°F using a thermometer. Too cool and they’ll absorb oil and turn greasy. Too hot and they’ll brown before they puff. The temperature is everything!
✗ Mistake: Rolling the dough too thin or too thick.
✓ Fix: Aim for ⅛-inch thickness — about the same as a flour tortilla. Too thin and they’ll be crispy chips instead of puffy pillows. Too thick and the insides won’t cook through before the outside burns.
✗ Mistake: Crowding the pan with too many sopapillas at once.
✓ Fix: Fry only 2–3 at a time so the oil temperature stays consistent and you have room to flip them easily. Patience here means perfect results.
✗ Mistake: Skipping the dough rest time to speed things up.
✓ Fix: That 15–20 minute rest is non-negotiable! It relaxes the gluten so the dough is easy to roll out and creates those flaky layers that puff beautifully. Don’t skip it.
✗ Mistake: Not coating them in cinnamon sugar while they’re still hot.
✓ Fix: Toss them in the cinnamon sugar immediately after draining while they’re still piping hot and slightly oily. The heat and residual oil help the sugar stick perfectly. Wait too long and it just falls off.
Follow these tips and you’ll have restaurant-quality sopapillas puffing up in your kitchen like a pro. Now let’s talk variations.
Recipe Variations
Once you’ve mastered the classic version, here are some delicious ways to switch things up:
🍫 Chocolate-Filled Version: Before frying, place a small square of chocolate (milk, dark, or Mexican chocolate) in the center of each dough square, fold in half, and seal the edges with a fork. Fry as directed and dust with powdered sugar instead of cinnamon sugar. The melted chocolate inside is absolutely incredible.
🧀 Savory Cheese Version: Skip the cinnamon sugar coating entirely. While the sopapillas are still hot from frying, carefully cut a small opening in the side and stuff with shredded cheddar, Monterey Jack, or queso fresco. Serve with salsa or guacamole for dipping.
🎃 Pumpkin Spice Version: Add ½ teaspoon pumpkin pie spice to the cinnamon sugar mixture and serve with maple syrup instead of honey. Perfect for fall gatherings and Thanksgiving dessert tables!
🍓 Strawberry Shortcake Version: Skip the honey and top the warm sopapillas with fresh strawberries, whipped cream, and a dusting of powdered sugar. It’s like a Mexican-inspired strawberry shortcake and it’s amazing.
Pick your favorite variation and make it your own — that’s the beauty of this versatile recipe.
Ready to Make Some Magic?
These cinnamon sugar sopapillas are one of those recipes that seems fancy but is secretly super simple once you know the tricks. They’re warm, they’re sweet, they’re crispy on the outside and soft on the inside, and that honey drizzle takes them completely over the top. Plus, there’s something incredibly satisfying about watching them puff up in the hot oil like magic.
If you try this recipe, I’d love to hear how it turned out! Drop a comment below or tag me on Pinterest with a photo of your beautiful, puffy sopapillas. Happy frying, friends! 🍯
Frequently Asked Questions
Can I make the dough ahead of time?
Yes! Make the dough, wrap it tightly in plastic wrap, and refrigerate for up to 24 hours. Let it come to room temperature for 20–30 minutes before rolling out. You can also roll and cut the dough, layer the pieces between parchment paper, and refrigerate for up to 4 hours before frying.
Can I freeze sopapillas?
Yes! Freeze the cooked sopapillas (without cinnamon sugar) in a single layer, then transfer to a freezer bag for up to 2 months. Reheat from frozen in a 350°F oven for 5–7 minutes. You can also freeze the uncooked dough for up to 1 month — thaw overnight in the fridge before rolling and frying.
Why didn’t my sopapillas puff up?
The most common reasons are: oil temperature too low (needs to be 375°F), dough rolled too thick or too thin (aim for ⅛-inch), or the edges were pinched/sealed when cutting. Make sure your cuts are clean and the oil is at the right temperature.
Can I bake these instead of frying?
You can, but they won’t puff up as dramatically or get as crispy. Bake at 400°F for 8–10 minutes, flipping halfway through. They’ll be more like pita bread than traditional puffy sopapillas, but still tasty.
What oil is best for frying sopapillas?
Use a neutral oil with a high smoke point like vegetable oil, canola oil, or peanut oil. Avoid olive oil or butter — they smoke at lower temperatures and can give the sopapillas an off flavor.
Can I use butter instead of shortening?
You can use softened butter, but vegetable shortening gives you the best, most authentic texture. Shortening creates those flaky layers that separate and puff in the hot oil. Butter works in a pinch but won’t puff quite as much.
How do I know when the oil is hot enough?
Use a candy or deep-fry thermometer to check — it should read 375°F. If you don’t have a thermometer, drop a small piece of dough into the oil. It should immediately sizzle, float to the top, and start to puff within a few seconds. If it sinks or browns too fast, adjust the heat.
Can I make these gluten-free?
You can try using a 1-to-1 gluten-free flour blend, but the texture will be different. Gluten is what creates those flaky layers and helps them puff, so gluten-free versions tend to be denser and less puffy. Worth experimenting if you need to, but results will vary.