
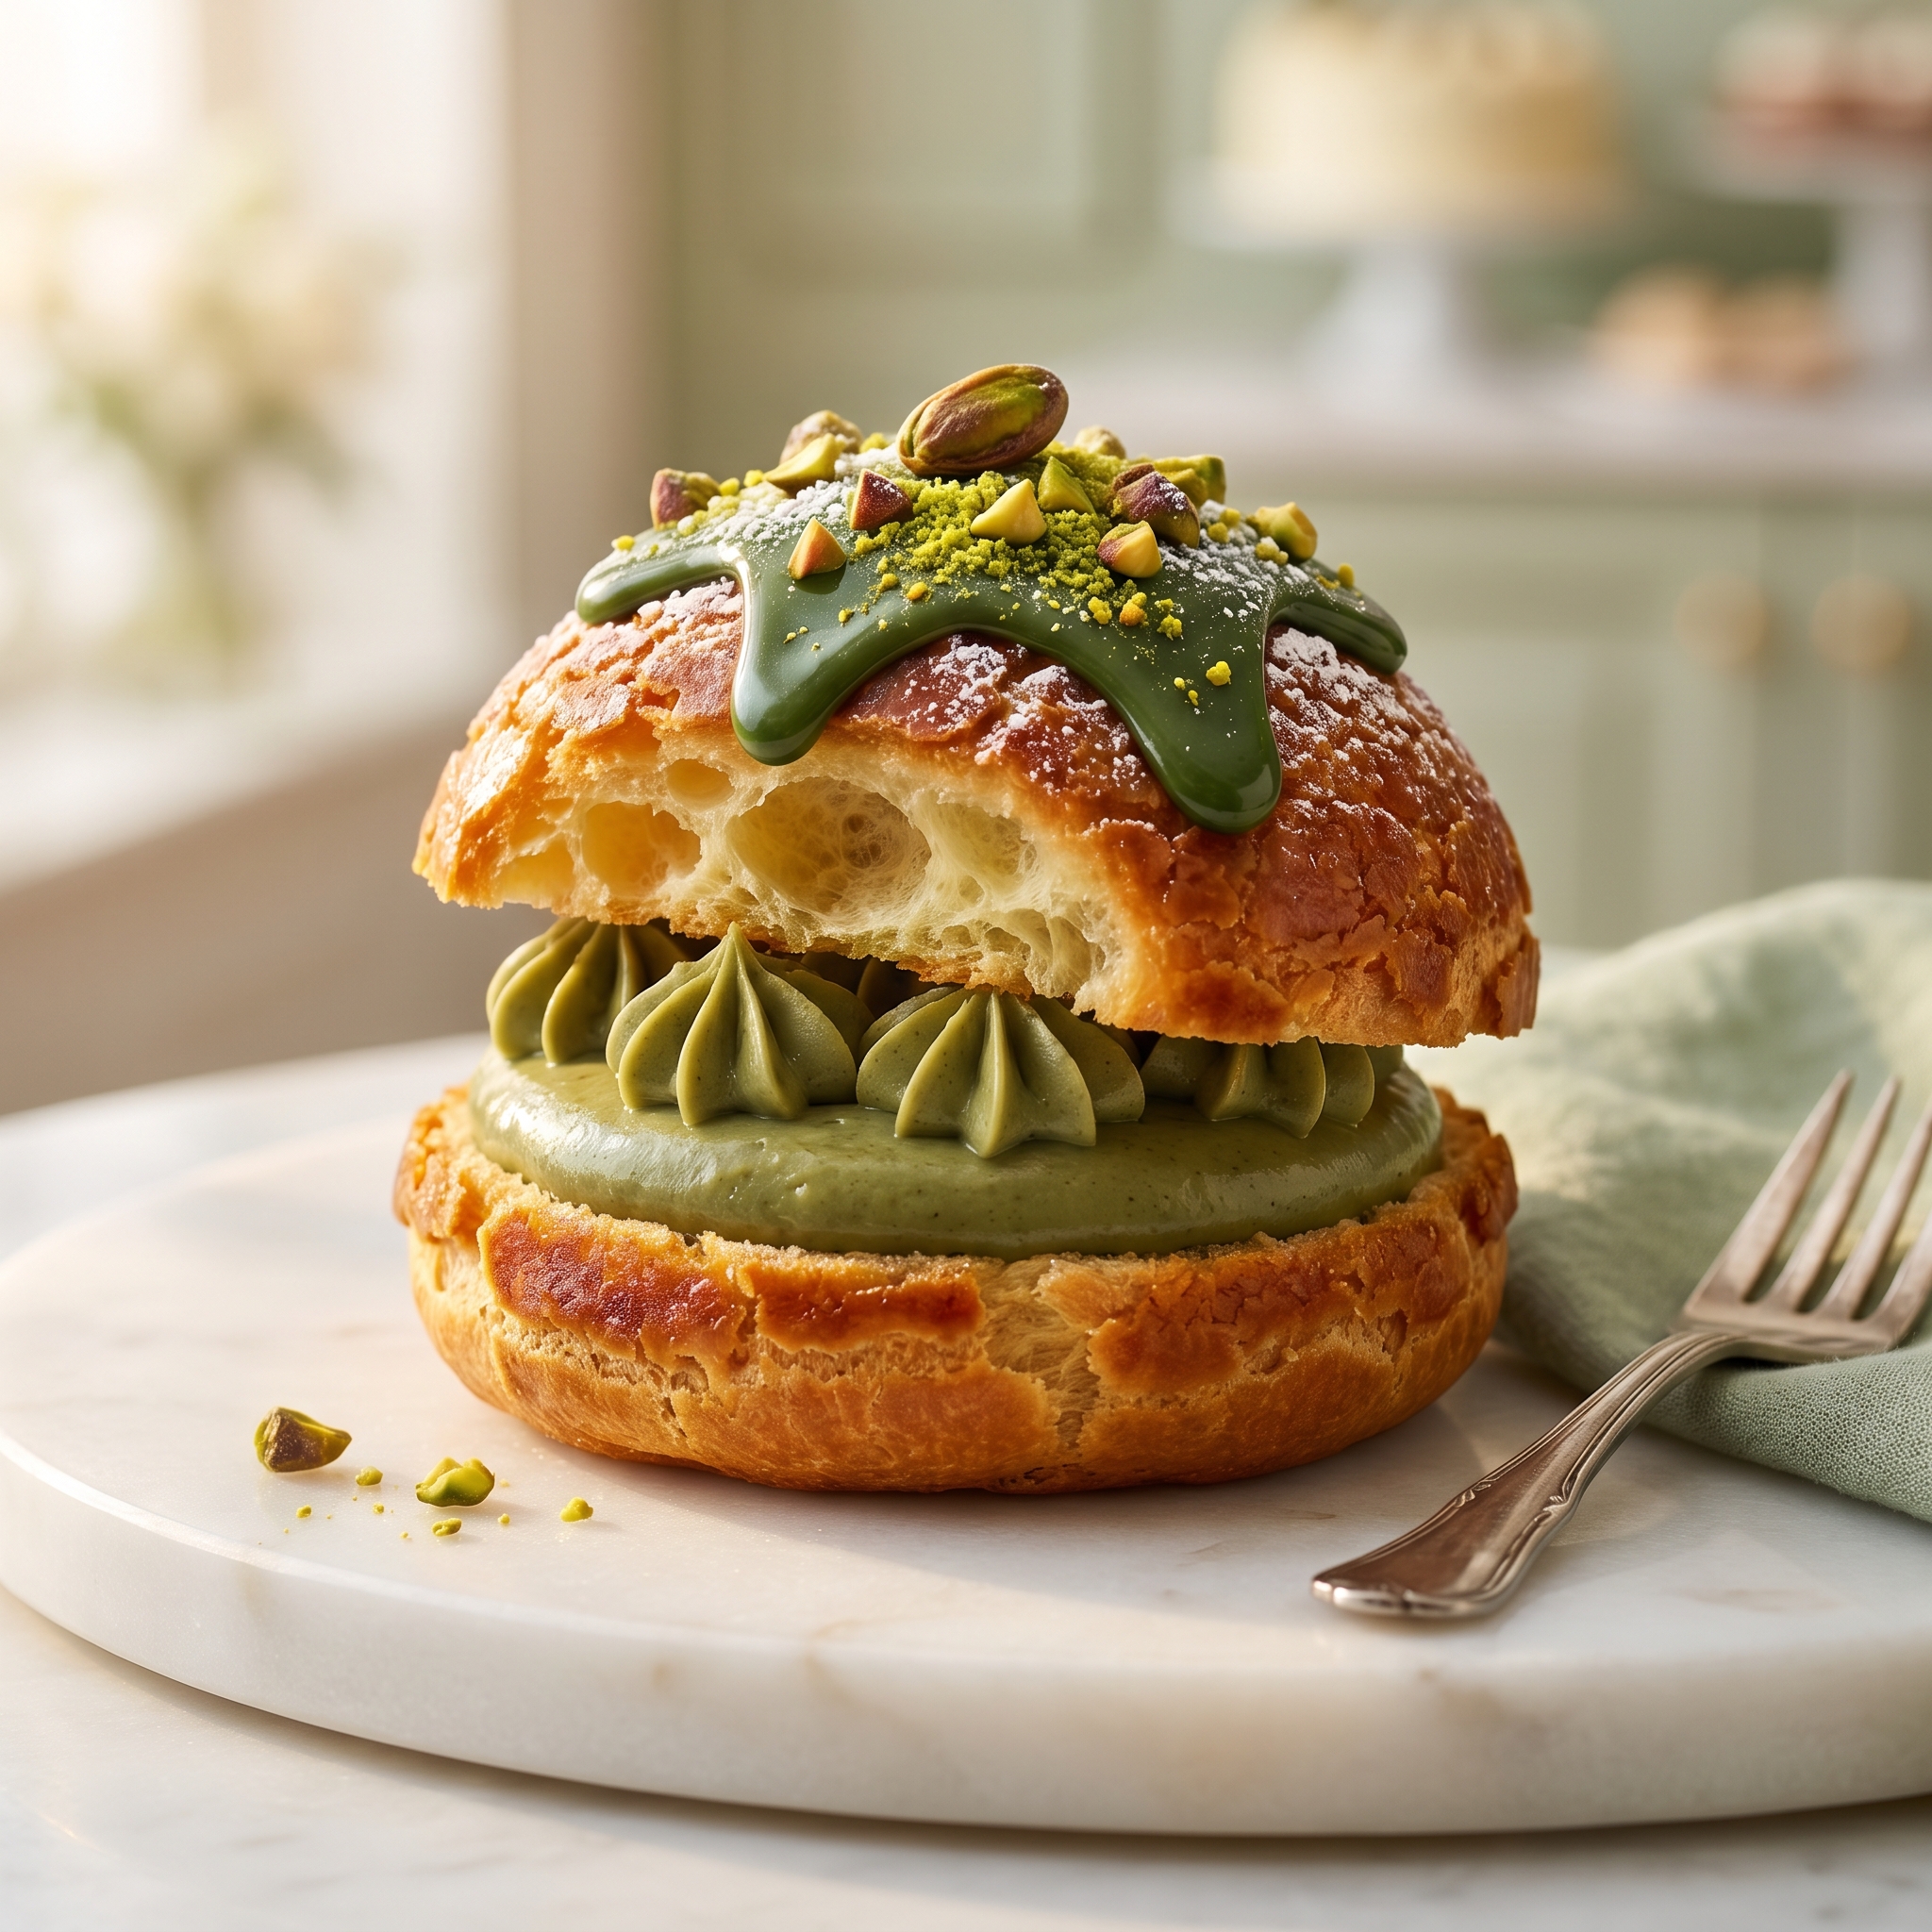
Bakery-Style Pistachio Cream Puffs: 7 Foolproof Steps to the Most Irresistible Choux Pastry You’ll Ever Make
It started with a Saturday afternoon and a dare I made to myself. I’d been buying cream puffs from the bakery case at Trader Joe’s for years — those little golden domes filled with whipped cream that disappear in two bites and leave you reaching for another before you’ve even finished chewing. Then one afternoon I watched a pastry chef on television pipe choux dough onto a baking sheet and slide it into the oven, and something clicked. She made it look so calm, so deliberate, so completely achievable. I went straight to my kitchen, pulled out a saucepan, and started boiling water and butter together like I knew exactly what I was doing. The first batch puffed. They actually puffed. I stood at my oven window with my face practically pressed against the glass, watching those little rounds of dough balloon up into hollow golden shells, and I felt like I’d discovered something nobody had told me yet: choux pastry is not hard. It just sounds hard.
Have you been eyeing those gorgeous pistachio cream puffs at the fancy bakery counter and convincing yourself that there’s no way you could make something like that at home? If pistachio cream puff choux pastry has ever felt intimidating — all that French terminology, all those warnings about humidity and oven temperature — I want to tell you right now that you’re closer than you think. The dough comes together in one saucepan in about ten minutes. The filling is four ingredients stirred together. The whole recipe is more forgiving than its reputation suggests, and once you’ve made it once, you’ll wonder why you waited so long.
Whether you’re baking for a dinner party you want to impress at, a holiday dessert table that needs a showstopper, or just a quiet Sunday afternoon where you want to try something new and end up with something beautiful — keep reading. These pistachio cream puffs are the recipe that makes people think you went to pastry school, and your secret is completely safe with me.
Table of Contents
Why This Recipe Works
After testing this recipe more times than I care to admit — adjusting the flour ratio, the egg count, the filling sweetness, the pistachio intensity — I landed on a version that is genuinely reliable and genuinely delicious. Every decision here has a reason, and once you understand the logic, you’ll feel confident every step of the way.
- ✔ One-saucepan choux dough — No stand mixer required for the pastry itself. You make the dough right in the pot, beat in the eggs by hand or with a handheld mixer, and pipe. That’s it.
- ✔ Hollow shells every single time — This recipe uses the right ratio of water to flour to eggs so the dough puffs reliably, creates a sturdy hollow shell, and doesn’t collapse when it comes out of the oven.
- ✔ Real pistachio flavor throughout — Both the filling and the topping carry pistachio — toasted pistachio paste in the cream and crushed pistachios on the glaze — so every bite tastes like the real thing, not just pistachio-colored vanilla.
- ✔ Make-ahead friendly — The shells bake up to two days ahead and re-crisp beautifully in the oven. The filling can be made a day in advance. Day-of assembly takes fifteen minutes.
- ✔ Impressive enough for any occasion — These look like they came from a French patisserie. Set them on a tiered stand and watch every guest in the room migrate toward the dessert table.
- ✔ Completely customizable filling — The choux shell is a neutral base. Swap the pistachio cream for vanilla, chocolate, lemon curd, or any flavor you love. One recipe, endless variations.
- ✔ Smaller batch, less pressure — This recipe makes 20–24 cream puffs — a generous party batch without the anxiety of scaling up an unfamiliar recipe for the first time.
Let’s get into exactly what you need, because the ingredient list is shorter than you’re expecting.
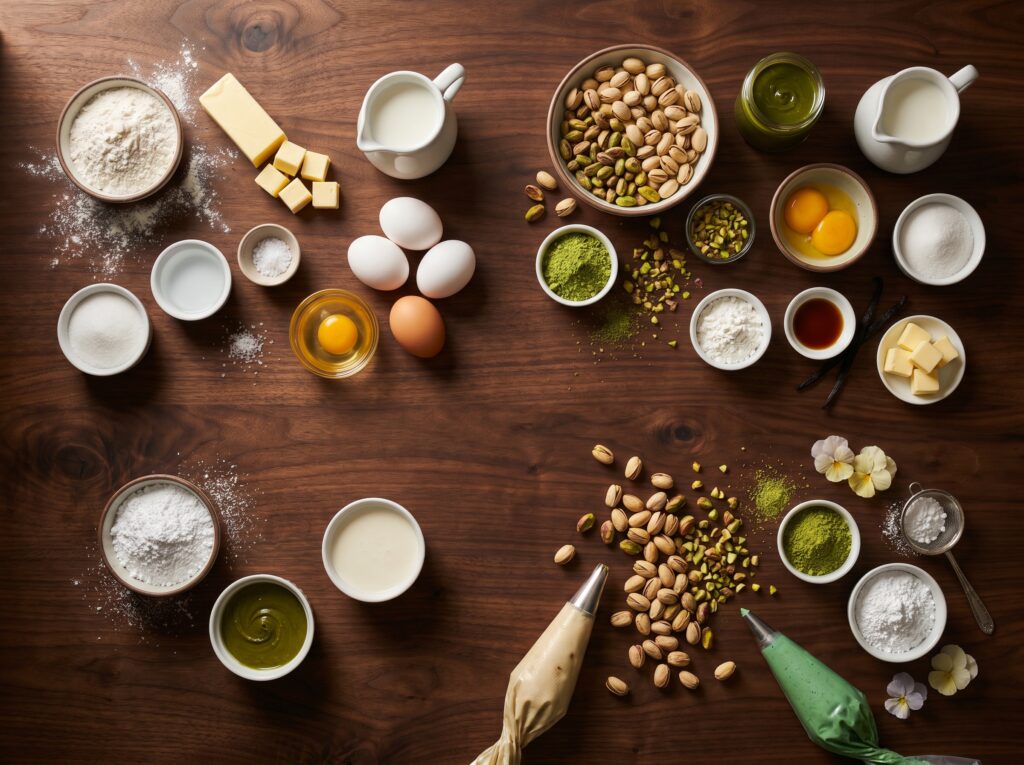
What You’ll Need
This recipe makes 20–24 cream puffs depending on how large you pipe them. The ingredients are simple — the technique is what matters — and everything here is available at any well-stocked grocery store or online.
For the Choux Pastry Shells
- 1 cup water
- ½ cup (1 stick) unsalted butter, cut into pieces — Land O’Lakes is my go-to
- 1 teaspoon sugar
- ¼ teaspoon kosher salt
- 1 cup all-purpose flour, spooned and leveled — King Arthur flour gives the most consistent results
- 4 large eggs, room temperature
For the Pistachio Cream Filling
- 2 cups heavy whipping cream, very cold
- 3 tablespoons pistachio paste or pistachio cream (store-bought or homemade — see substitutions)
- 3 tablespoons powdered sugar, sifted
- ½ teaspoon pure vanilla extract
- Pinch of kosher salt
For the Pistachio Glaze & Topping
- 1 cup powdered sugar, sifted
- 2–3 tablespoons whole milk or heavy cream
- 1 tablespoon pistachio paste
- ¼ teaspoon almond extract (optional but beautiful)
- Green gel food coloring (optional — just a tiny drop for a soft pistachio hue)
- ⅓ cup shelled pistachios, roughly chopped, for topping
Optional Add-Ins and Upgrades
- A layer of raspberry jam inside the shell before piping the cream — the pistachio-raspberry combination is extraordinary
- White chocolate drizzle over the glaze for extra richness
- Edible gold dust or gold leaf for a special occasion finish
- Flaky sea salt sprinkled over the glaze to balance the sweetness
- Crushed freeze-dried raspberries mixed into the chopped pistachio topping
- A layer of pistachio pastry cream instead of whipped cream for a more traditional, denser filling
Substitutions
What if I can’t find pistachio paste? You can make a quick version at home in your food processor. Blend 1 cup of shelled, toasted, unsalted pistachios with 2 tablespoons of neutral oil (like avocado or grapeseed), 2 tablespoons of powdered sugar, and a tiny pinch of salt. Process for 3–4 minutes, scraping down the sides frequently, until you get a smooth, spreadable paste. It won’t be as silky as the Italian-imported version, but it’s deeply flavorful and works beautifully in both the filling and the glaze. Alternatively, pistachio butter — increasingly available at Trader Joe’s and Aldi — works as a one-to-one substitute.
Can I use milk instead of heavy cream for the filling? For a whipped cream filling, you really do need heavy whipping cream — it’s the fat content that allows it to whip into stiff peaks and hold its structure inside the shell. If you want a lighter option, you can fold the pistachio paste and powdered sugar into a mixture of half whipped cream and half mascarpone for a slightly denser but still billowy filling that pipes beautifully and holds up longer once assembled.
What if I don’t have a piping bag? A zip-top plastic bag with one corner snipped off works perfectly for both the choux dough and the filling. Use a ½-inch opening for the dough and a slightly smaller snip for the filling. You won’t get the perfectly round bakery look of a proper round tip, but the puffs will be just as hollow, just as delicious, and honestly just as charming.
🧑🍳 Chef’s Note — Eggs at Room Temperature: Cold eggs added to hot choux dough can cause the dough to seize and become lumpy, and they make it harder to achieve the right consistency. Set your eggs out on the counter at least 30 minutes before you start. If you forget, drop them in a bowl of warm (not hot) water for 5 minutes — works every time.
🧑🍳 Chef’s Note — Flour Type: All-purpose flour is correct here — do not substitute bread flour or cake flour. Bread flour creates a shell that is too tough and chewy; cake flour doesn’t have enough protein to give the shells the structure they need to hold their shape and stay hollow. King Arthur all-purpose is consistent and reliable, but any standard all-purpose works fine.
How to Make Pistachio Cream Puff Choux Pastry — Step by Step
- Preheat your oven to 400°F and line two baking sheets with parchment paper. Do not use a silicone baking mat for choux — parchment is the right call here. Silicone mats insulate the bottom of the shells too much, which can prevent them from drying out and crisping properly. If you want to make uniform cream puffs, use a 1½-inch round cookie cutter to trace circles lightly on the parchment as a guide, then flip the paper over so the pencil marks face down. Set the pans aside while you make the dough.
💡 Pro Tip: Place a shallow oven-safe pan on the bottom rack of your oven and add about ½ cup of hot water to it right before you slide the cream puffs in. The burst of steam in the first 10 minutes of baking helps the shells puff dramatically and develop a thin, crisp exterior. Pull the water pan out after the first 10 minutes so the shells can dry and crisp for the rest of the bake time.
- Combine water, butter, sugar, and salt in a medium saucepan over medium heat. Stir occasionally until the butter is completely melted and the mixture comes to a full rolling boil — you want to see big, active bubbles, not just a lazy simmer. The moment it reaches a full boil, move immediately to the next step. Don’t let it boil and reduce; you want to keep the water volume consistent so your dough has the right hydration.
- Add all the flour at once and stir vigorously with a wooden spoon. This is the part that looks alarming the first time. The mixture will clump aggressively the second the flour hits the liquid — that’s exactly right. Stir hard and fast until the dough comes together into a smooth ball that pulls away from the sides and bottom of the pan. Keep stirring over medium heat for about 2 minutes after it comes together; you want to cook out some of the moisture and see a thin film form on the bottom of the pan. This step dries the dough enough to absorb the eggs properly.
💡 Pro Tip: After the dough comes together, transfer it to a large bowl and let it cool for exactly 5 minutes before adding the eggs. If the dough is too hot when the eggs go in, they’ll scramble. You want the dough warm but not steaming — touch the side of the bowl and it should feel very warm but not painful to hold your hand against.
- Beat in the eggs one at a time, mixing completely between each addition. Add one egg, beat vigorously with a wooden spoon or handheld mixer until it’s fully incorporated and the dough looks smooth — it will look broken and slippery at first, then come back together. Repeat with each remaining egg. The finished dough should be smooth, glossy, and hold a slow, ribbon-like drip when you lift the spoon. If you pull the spoon up and the dough drops off in a thick, pasty blob, add the fourth egg. If it already looks like a shiny, slow-flowing ribbon before the fourth egg, hold it and add just half. The right consistency matters more than adding all four eggs.
- Transfer the dough to a piping bag fitted with a large round tip and pipe onto prepared baking sheets. Pipe rounds about 1½ inches in diameter, leaving 2 inches between each one — they expand significantly in the oven. Hold the piping bag straight down, perpendicular to the pan, and squeeze with consistent pressure while keeping the tip stationary; let the dough spread out naturally around it rather than moving the bag. When you stop squeezing and lift the bag, you’ll get a little peak on top. Wet your fingertip and gently press it down so the top is flat and even — a peaked top can brown too quickly before the shell fully puffs.
- Bake at 400°F for 20 minutes, then reduce heat to 350°F and bake another 10–12 minutes. Do not open the oven door during the first 20 minutes. Not even a crack. The steam trapped inside is what makes the shells puff, and opening the door releases it, which causes collapse. At the 20-minute mark the shells should be puffed and golden; reducing the temperature finishes drying the inside so the shells stay crisp and hollow rather than collapsing as they cool. The finished shells should be deep golden brown, firm all over, and sound hollow when you tap the bottom.
💡 Pro Tip: When the bake time is up, turn the oven off and prop the door open with a wooden spoon. Let the shells sit in the cooling oven for 10 minutes before removing them. This gradual temperature drop prevents the shells from deflating due to the sudden temperature change when they hit cool kitchen air — especially important on humid days.
- While the shells cool, make the pistachio cream filling. Combine the cold heavy cream, pistachio paste, powdered sugar, vanilla, and salt in a large cold bowl. Whip with a handheld mixer starting on medium speed, then increasing to high, until stiff peaks form — the cream should hold its shape firmly when you lift the beaters. Don’t overwhip; stop the moment you have firm peaks. Transfer the filling to a piping bag fitted with a small round or star tip and refrigerate until ready to use.
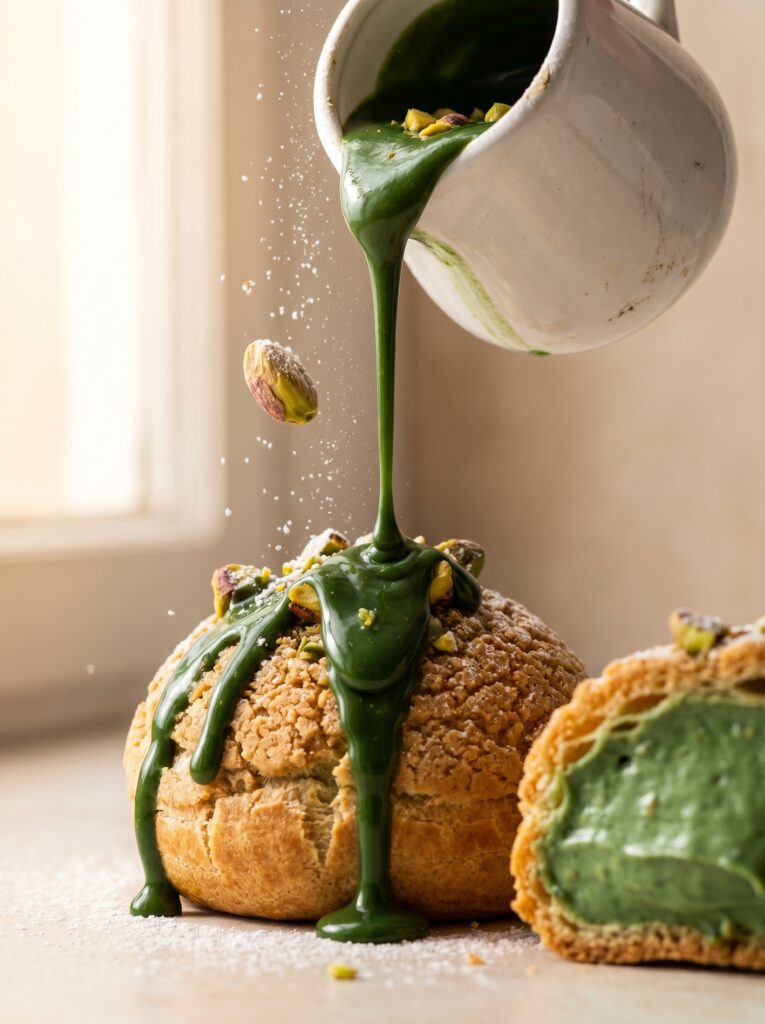
- Make the pistachio glaze by whisking together powdered sugar, pistachio paste, milk, and almond extract. Start with 2 tablespoons of milk and add more a teaspoon at a time until you reach a glaze consistency that drips slowly off a spoon but isn’t watery. It should coat the back of a spoon and hold for a few seconds before running. Add a single drop of green gel food coloring if you’d like a soft pistachio green — go lighter than you think, as the color deepens as the glaze sets.
- Fill, glaze, and top the cream puffs. Use a small serrated knife to slice each shell horizontally about two-thirds of the way up, leaving a hinge at the back like a little lid. Pipe a generous mound of pistachio cream into the bottom shell — be generous here, not stingy. Gently press the lid back on top. Dip the top of each filled puff into the glaze, let the excess drip off for a second, then scatter a pinch of chopped pistachios over the wet glaze before it sets. Arrange on a serving platter and refrigerate until ready to serve.
From start to finished, glazed cream puffs on a platter, you’re looking at about an hour and forty-five minutes — most of which is bake time and cooling time when you’re not doing anything at all. The active hands-on work is maybe 35 minutes total. That ratio — minimal effort, maximum impact — is exactly why I love this recipe.
How to Serve It
These pistachio cream puff choux pastry shells are stunning on their own, but the way you present and pair them can take them from delicious to genuinely unforgettable. Here are five ways to bring them to the table.
- ☕ Elegant Dinner Party Dessert: Arrange the glazed, topped cream puffs on a white marble board or a tiered cake stand and set them out as a self-serve dessert at the end of dinner. Add a small bowl of extra chopped pistachios and a little pitcher of extra glaze on the side for anyone who wants to double-dip. They look like you commissioned them from a bakery, and the pistachio green glaze is genuinely stunning against white serving pieces.
- 🥞 Sunday Brunch Centerpiece: Serve a platter of smaller cream puffs — piped at 1 inch instead of 1½ inches — alongside a fruit salad and mimosas for a brunch spread that gets genuinely excited reactions. The smaller size means people feel comfortable taking two or three, which is exactly the kind of generous, abundant table I love setting on a Sunday morning.
- 🌸 Baby Shower or Bridal Shower Display: Dust the finished cream puffs lightly with powdered sugar right before serving and stack them into a loose pyramid on a footed cake plate. Tuck small sprigs of fresh mint between them for color. The soft green pistachio glaze is already gorgeous — add edible gold dust for a shower that leans more formal and luxurious.
- 📚 Holiday Cookie and Dessert Tray: Pistachio cream puffs hold their own next to Christmas cookies, chocolate truffles, and peppermint bark on a holiday dessert spread. Make them slightly larger than usual and add a drizzle of white chocolate over the pistachio glaze. The green and white color combination reads festive without being predictable.
- 🎃 Special Occasion Croquembouche: Stack the finished cream puffs into a cone shape using thinned caramel as the glue — this is a simplified version of the classic French croquembouche and it is absolutely jaw-dropping on a celebration table. You don’t need a cone mold; just stack them carefully on a parchment-lined plate, starting with a wide base and working inward and upward. Drizzle caramel over the outside and shower with extra chopped pistachios.
However you serve them, pull the filled cream puffs from the refrigerator about 15 minutes before serving — the pistachio cream tastes best when it’s cold but not straight-from-the-fridge firm, and the shells soften very slightly at room temperature in a way that makes them even more pleasant to bite through.
Storage & Make-Ahead Tips
Unfilled choux shells — Room temperature: Baked and fully cooled shells can be stored in an airtight container at room temperature for up to 2 days. If they lose some of their crispness — which they will by day two — arrange them on a baking sheet and pop them in a 300°F oven for 5–8 minutes to re-crisp before filling. Let them cool completely before adding the cream.
Filled cream puffs — Refrigerator: Once filled and glazed, cream puffs should be refrigerated and eaten within 24 hours. The whipped cream filling is stable for a day but starts to weep and soften the shell after that. If you’re using a pastry cream or mascarpone-based filling instead of whipped cream, you get a slightly longer window — up to 36 hours — before the shells get noticeably soft.
Unfilled choux shells — Freezer: Fully baked and cooled shells freeze exceptionally well for up to 3 months. Freeze them in a single layer on a baking sheet first, then transfer to a zip-top freezer bag once solid. To use, spread frozen shells on a baking sheet and re-crisp in a 300°F oven for 8–10 minutes directly from frozen. Cool completely before filling — no thawing required.
📅 Make-Ahead Tip: For a dinner party, bake the shells up to two days ahead and freeze them if it’s more than that. Make the pistachio cream the morning of your event and refrigerate it in the piping bag. Assemble and glaze the cream puffs no more than 2–3 hours before serving so the shells are still crisp when guests bite into them. This approach gives you a completely stress-free dessert on party day.
Pre-filled cream puffs: Don’t glaze the cream puffs more than a few hours before serving if you want the topping to look pristine. The glaze stays set and beautiful for about 3–4 hours in the refrigerator, then starts to get tacky and dull as it picks up moisture from the cream filling. Glaze as close to serving time as your schedule allows.
Helpful Tips & Common Mistakes
Choux pastry has a reputation for being tricky, and honestly that reputation is a little unfair — but there are real mistakes that real people make. Here are the five most common ones and exactly how to avoid them.
✗ Mistake: Opening the oven door during the first 20 minutes of baking.
✓ Fix: Keep the oven closed, no matter how curious you are. The steam trapped inside the oven and inside the dough is what creates the hollow center. Every time you open that door, you let out heat and steam and risk the shells collapsing mid-puff. Set a timer and walk away.
✗ Mistake: Adding eggs to dough that’s too hot and ending up with scrambled bits in the batter.
✓ Fix: After the dough comes together in the saucepan, transfer it to a mixing bowl and let it rest for 5 full minutes before adding any eggs. The dough should feel very warm but not searing to the touch. When in doubt, wait another minute — slightly cooler dough absorbs eggs better than dough that’s too hot.
✗ Mistake: Adding all four eggs without checking the dough consistency first.
✓ Fix: After three eggs, lift your spoon and look at how the dough falls. If it drops slowly in a thick, glossy ribbon and holds a V-shape at the end, it’s ready. If it plops off in a stiff clump, add the fourth egg. If it’s already silky and dripping, stop at three and a half. The consistency test matters more than the exact egg count.
✗ Mistake: Pulling the shells out of the oven while they’re still pale and soft, then watching them collapse on the cooling rack.
✓ Fix: Choux shells need to be deep golden brown — not pale gold, not light tan, but a rich, confident brown all over. If you pull them too early, the interior is still wet and the shell structure hasn’t fully set. When in doubt, give them another 3–4 minutes. A well-baked choux shell sounds hollow when you tap the bottom and feels light and firm, not soft and doughy.
✗ Mistake: Overwhipping the pistachio cream filling until it turns grainy or buttery.
✓ Fix: Watch the cream closely once it starts to thicken. Stop the mixer the moment you see firm, defined peaks that hold their shape without drooping. Overwhipped cream goes from billowy to curdled very quickly — once it looks grainy or starts to look chunky, it can’t be rescued. If you’re nervous about overwhipping, switch to a hand whisk for the last 30 seconds of whipping so you have more control.
Recipe Variations
Once you have the choux shell recipe down — and you will, faster than you expect — this formula becomes a canvas for all kinds of fillings, glazes, and flavor combinations. Here are four directions worth exploring.
🍋 Lemon Pistachio Cream Puffs: Add 1 tablespoon of fresh lemon zest and 1 teaspoon of lemon juice to the pistachio cream filling before whipping. The brightness of the lemon cuts through the richness of the cream and amplifies the nuttiness of the pistachio in a way that tastes incredibly sophisticated. Swap the almond extract in the glaze for a teaspoon of lemon juice and a pinch of lemon zest. These are particularly stunning in the spring — a natural fit for Easter brunch or a Mother’s Day dessert table.
🍫 Chocolate-Dipped Pistachio Cream Puffs: Instead of the powdered sugar glaze, melt 4 oz of good-quality dark chocolate with 1 teaspoon of coconut oil until smooth and glossy. Dip the top of each filled cream puff into the chocolate, let the excess drip off, and scatter chopped pistachios over the wet chocolate immediately. The combination of dark chocolate, pistachio cream, and light choux is one of those flavor combinations that makes people stop mid-conversation to say something about it. Use Ghirardelli 60% cacao chips if you want a reliable melt and a flavor that works beautifully with pistachio.
🌹 Rose Pistachio Cream Puffs: Add ½ teaspoon of rose water to the pistachio cream filling and a drop of pink food coloring to the glaze alongside the green — swirl them together for a marbled pink-and-green finish that is genuinely breathtaking on a dessert table. Top with a pinch of dried rose petals and chopped pistachios. This variation reads as fancy without requiring any additional skill, and the rose-pistachio flavor combination is a classic Middle Eastern pairing that belongs in more American baking than it currently shows up in.
🍦 Vanilla Bean Cream Puffs with Pistachio Glaze Only: Keep the choux shells exactly as written but fill them with a simple vanilla bean whipped cream — 2 cups heavy cream, 2 tablespoons powdered sugar, the seeds from one vanilla bean, whipped to stiff peaks. Use the full pistachio glaze and chopped pistachio topping from the main recipe. This version has cleaner, more classic flavors and is a perfect entry point for anyone who’s not sure how adventurous their crowd is. The pistachio glaze does the flavor work while the vanilla cream stays approachable for every palate at the table.
Final Thoughts
That first Saturday afternoon when I watched my choux dough puff in the oven, I felt something shift in how I thought about baking. Not every impressive-looking thing is hard. Not every French technique is out of reach. These pistachio cream puffs are proof of that — golden, hollow, filled with real pistachio cream, glazed and topped and genuinely beautiful — and they come from one saucepan, four eggs, and about thirty-five minutes of your hands-on time. That’s the whole secret. Once you make them, they’re yours forever, and you’ll find yourself reaching for this recipe every time you need to bring something that makes a room go quiet for a second when it lands on the table.
If you make these pistachio cream puff choux pastry shells, I absolutely want to see them. Drop a ⭐⭐⭐⭐⭐ rating below, tag @zippydishes on Pinterest with your beautiful platter, and share this recipe with the baker in your life who thinks they can’t do choux. They absolutely can. 🥐💚
Frequently Asked Questions
What does pistachio cream puff choux pastry taste like?
The choux shell itself is lightly eggy, barely sweet, and almost neutral — it’s designed to be a delicate, crisp vehicle for whatever’s inside. When you bite through it, the shell gives way with a light crunch and then you hit the pistachio cream: cool, billowy, rich with the nutty, slightly sweet flavor of real pistachios and a whisper of vanilla. The glaze adds a concentrated hit of pistachio sweetness on top, and the chopped pistachios give you crunch and a toasty, roasted nuttiness that ties the whole thing together. It’s elegant without being fussy, sweet without being cloying, and the kind of thing you eat one of and immediately want another.
Is choux pastry really as hard as people say?
Honestly, no — and I say that as someone who was terrified of it for years before I finally tried it. The technique has a few specific steps that need to be followed carefully (cooking the dough in the pan, letting it cool before adding eggs, not opening the oven), but none of them are difficult. They’re just precise. The most common failure points are dough that’s too wet from adding too many eggs, or shells pulled from the oven too early before they’ve fully dried and crisped. Follow the steps in this recipe, trust the visual cues rather than just the clock, and your first batch will puff. First-timers succeed with this recipe every time they take it seriously.
What equipment do I need to make cream puffs?
You need a medium saucepan, a wooden spoon, a large mixing bowl, a handheld mixer or a stand mixer for the filling, two baking sheets, parchment paper, and a piping bag. A large round piping tip (Wilton 1A or similar) is ideal for the shells, and a smaller round or star tip works for the filling. If you don’t own piping bags, a heavy-duty zip-top bag with a corner snipped off is a completely workable substitute for both. You do not need a stand mixer for the choux dough — it comes together by hand in the saucepan. A thermometer isn’t necessary either; all the cues in this recipe are visual.
Why did my cream puffs collapse after coming out of the oven?
Collapsed cream puffs almost always come down to one of three things: the oven door was opened during baking and released the steam, the shells were pulled out before they were fully dried and crisped through, or the dough was too wet from an extra egg. If yours collapsed, check all three — did you open the oven? Were they deep golden brown all over, or pale and soft when you removed them? Did the dough look runny and drop off the spoon easily before piping? The fix for next time is to bake until genuinely deep brown, use the temperature reduction method in this recipe, and do the ribbon test before adding that final egg.
Can I make pistachio cream puffs without pistachio paste?
Yes — the quickest workaround is to use pistachio pudding mix. Add 2 tablespoons of dry instant pistachio pudding mix to the heavy cream instead of paste, and whip as directed. The flavor is milder and more artificial than real pistachio paste, but the color is gorgeous and the texture of the whipped cream is actually slightly more stable. For the glaze, stir a tablespoon of the dry pudding mix into the powdered sugar with enough milk to reach drizzling consistency. It’s not the same as real pistachio paste, but it gets the job done in a pinch and kids especially love it.
How do I make these cream puffs dairy-free?
The choux dough can be made dairy-free by substituting the butter with a high-quality vegan butter — Miyoko’s European Style works exceptionally well because its fat content and water content are close to real butter, which matters for how the dough comes together. For the filling, full-fat canned coconut cream (refrigerated overnight and then whipped) is the best substitute for heavy cream — it whips into stiff peaks and has a richness that works beautifully with pistachio paste. Use a plant-based milk in the glaze. The results are slightly different in texture but genuinely delicious, and nobody at the table will guess unless you tell them.
Can I serve these cream puffs warm instead of cold?
The shells can absolutely be served warm — pulled fresh from the oven and filled with ice cream right before serving, they’re an incredible hot-cold dessert. But cream puffs filled with whipped cream should always be served cold. Warm shells will cause the whipped cream to melt within minutes, and you’ll end up with a soggy, collapsed puff instead of the crisp, cream-filled situation you’re going for. If you want to serve warm shells, fill them with a warm chocolate sauce or caramel and a scoop of vanilla ice cream at the very last second — that combination is spectacular at a dinner party where you want to do something unexpected.
What can I do with leftover choux dough or extra filling?
Leftover choux dough should be used immediately — it doesn’t hold well in the fridge or freezer in its raw state because the eggs continue to cook the starch as it sits, and the dough stiffens and loses its piping quality. If you have extra dough after piping your cream puffs, pipe out a few extra shells and bake them anyway — you can freeze them for later use. Extra pistachio cream filling is wonderful folded into a bowl of fresh berries and served as a quick fruit fool, spooned over pound cake, or eaten directly out of the piping bag with a spoon while standing at the kitchen counter. I won’t judge you. I’ve done it myself, and it’s one of the better decisions I’ve made.