
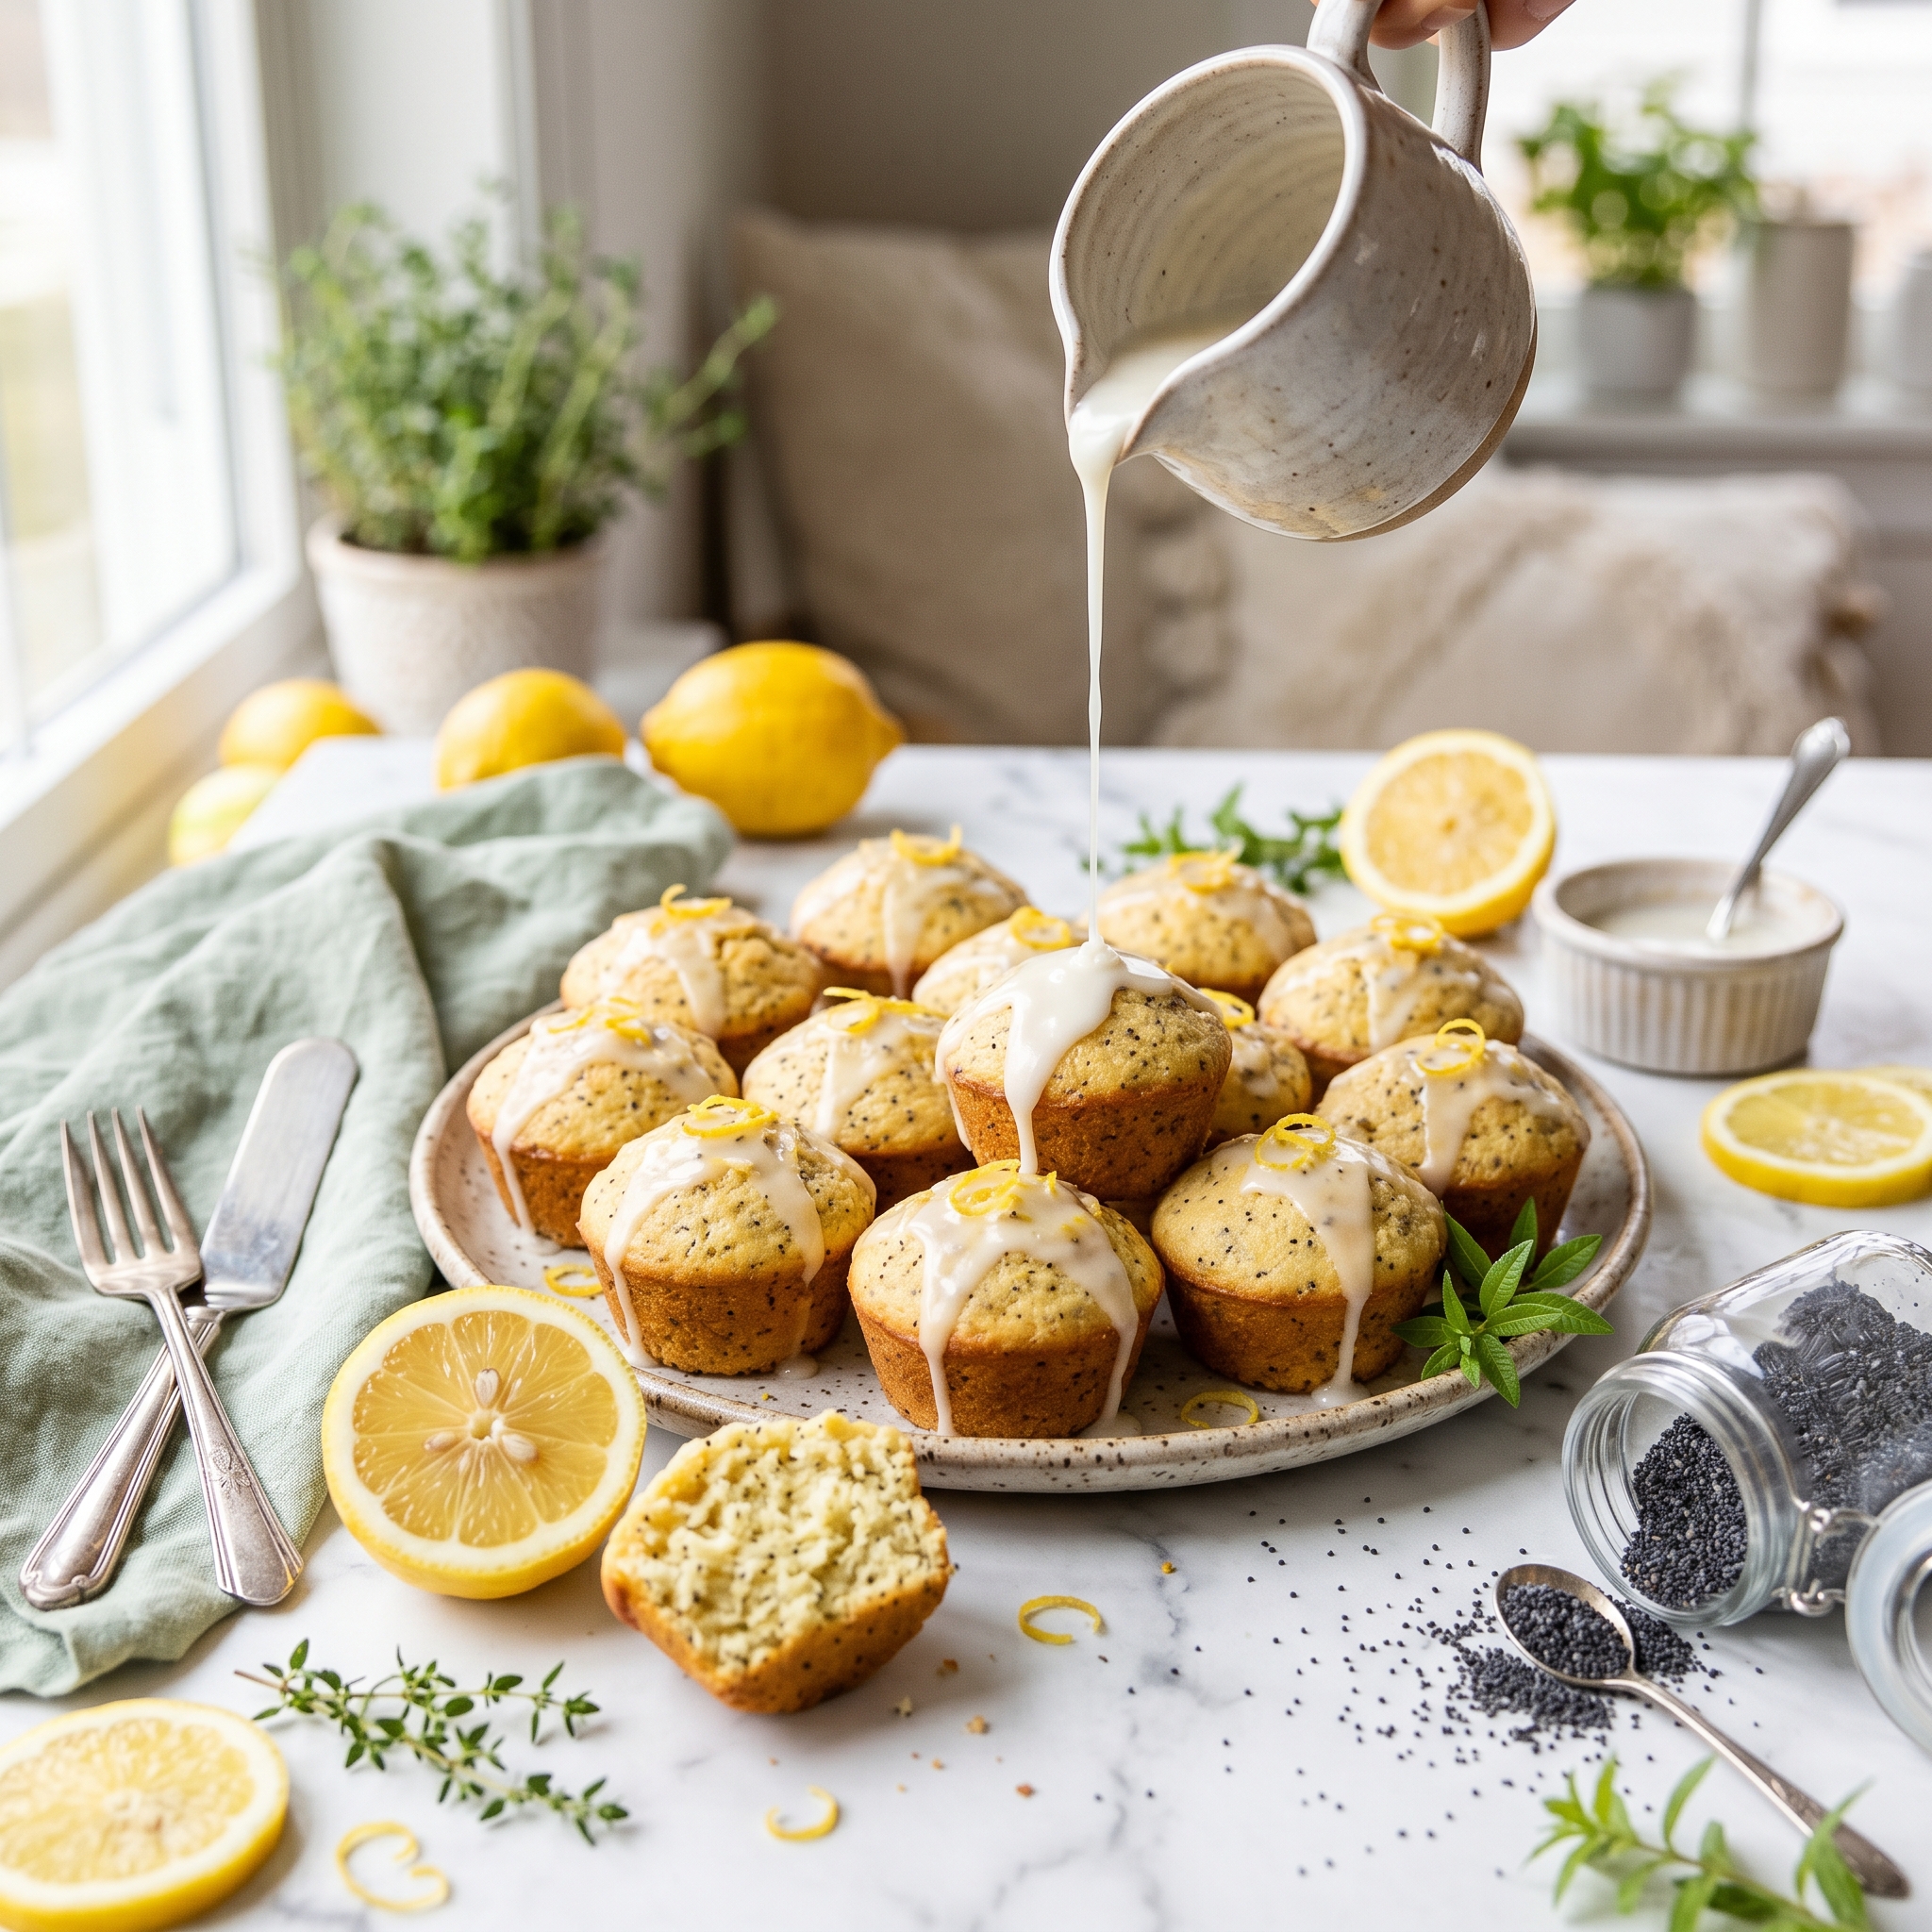
Mini Lemon Poppy Seed Muffins for the Perfect Spring Brunch
Imagine walking into a spring brunch with a platter of perfectly golden, bite-sized muffins that smell like fresh lemon and sunshine. Your guests reach for one, then immediately go back for two more because these mini lemon poppy seed muffins are so light, so perfectly sweet-tart, and so addictively poppable that one is never enough. That’s the magic of these little beauties — they’re elegant enough for a fancy brunch but simple enough to whip up on a busy morning.
Can I be honest with you? I used to think mini muffins were just regular muffins that got shortchanged. But have you ever experienced the joy of a perfectly portioned, two-bite treat that lets you taste multiple flavors without committing to a full-sized muffin? That’s the genius here. These mini muffins are tender, bursting with bright lemon flavor, studded with those delightful little poppy seeds, and topped with a sweet lemon glaze that takes them completely over the top.
Whether you’re hosting a Mother’s Day brunch, need something special for Easter breakfast, planning a baby shower, or just want to meal prep grab-and-go breakfasts for the week, these mini muffins are your answer. Keep reading — I’m sharing every tip and trick to make these the fluffiest, most lemony mini muffins you’ve ever tasted.
Table of Contents
Why This Recipe Works
These aren’t just regular muffins shrunk down. Here’s why these mini lemon poppy seed muffins are about to become your new brunch staple:
- ✔ Perfectly portioned — two-bite treats that are easier to serve and eat at parties
- ✔ Ready in 25 minutes — faster than regular muffins because they bake so quickly
- ✔ Bright, fresh lemon flavor — tastes like spring in every bite
- ✔ Tender, fluffy texture — never dry or dense
- ✔ Makes 36–40 mini muffins — perfect for feeding a crowd or meal prep
- ✔ Freezer-friendly — make ahead and freeze for easy entertaining
- ✔ That lemon glaze — takes them from good to absolutely irresistible
Trust me, once you serve these at your next brunch and watch them disappear in minutes, you’ll be making them for every special occasion. Now let’s talk about what you’ll need.
What You’ll Need
For the Mini Muffins
- 1¾ cups all-purpose flour
- 2 tablespoons poppy seeds
- 2 teaspoons baking powder
- ¼ teaspoon baking soda
- ¼ teaspoon salt
- ¾ cup granulated sugar
- Zest of 2 large lemons
- 2 large eggs, room temperature
- ½ cup vegetable oil (or melted coconut oil)
- ½ cup buttermilk, room temperature
- 3 tablespoons fresh lemon juice
- 1 teaspoon vanilla extract
For the Lemon Glaze
- 1 cup powdered sugar
- 2–3 tablespoons fresh lemon juice
- ½ teaspoon lemon zest (optional, for extra flavor)
Substitutions
No buttermilk? Make your own by adding 1½ teaspoons of white vinegar or lemon juice to ½ cup of regular milk. Let it sit for 5 minutes until slightly curdled. No fresh lemons? Bottled lemon juice works in a pinch, though fresh gives the brightest flavor. Want them dairy-free? Use almond milk or oat milk with the vinegar trick, and substitute the buttermilk. For a lighter texture, you can replace half the oil with unsweetened applesauce. Don’t have poppy seeds? The muffins are still delicious as plain lemon muffins — just increase the lemon zest to 3 lemons for maximum citrus flavor.
Chef’s Note — Fresh Lemon Zest: The lemon zest is where all that bright, aromatic flavor comes from. Don’t skip it or use bottled juice instead! Use a microplane or fine grater to zest only the yellow part of the peel, avoiding the white pith underneath which is bitter. Zest the lemons before you juice them — it’s much easier to zest a whole lemon than trying to zest lemon halves. Those tiny flecks of zest throughout the batter create bursts of intense lemon flavor in every bite.
Chef’s Note — Room Temperature Ingredients: Using room temperature eggs and buttermilk is crucial for tender muffins. Cold ingredients don’t mix as smoothly and can create a dense, heavy texture. Set your eggs and buttermilk out on the counter 30 minutes before baking, or warm them gently by placing eggs in warm water for 5 minutes and microwaving buttermilk for 10–15 seconds.
Got everything ready? Perfect — let’s bake these adorable little muffins step by step.
How to Make Mini Lemon Poppy Seed Muffins — Step by Step
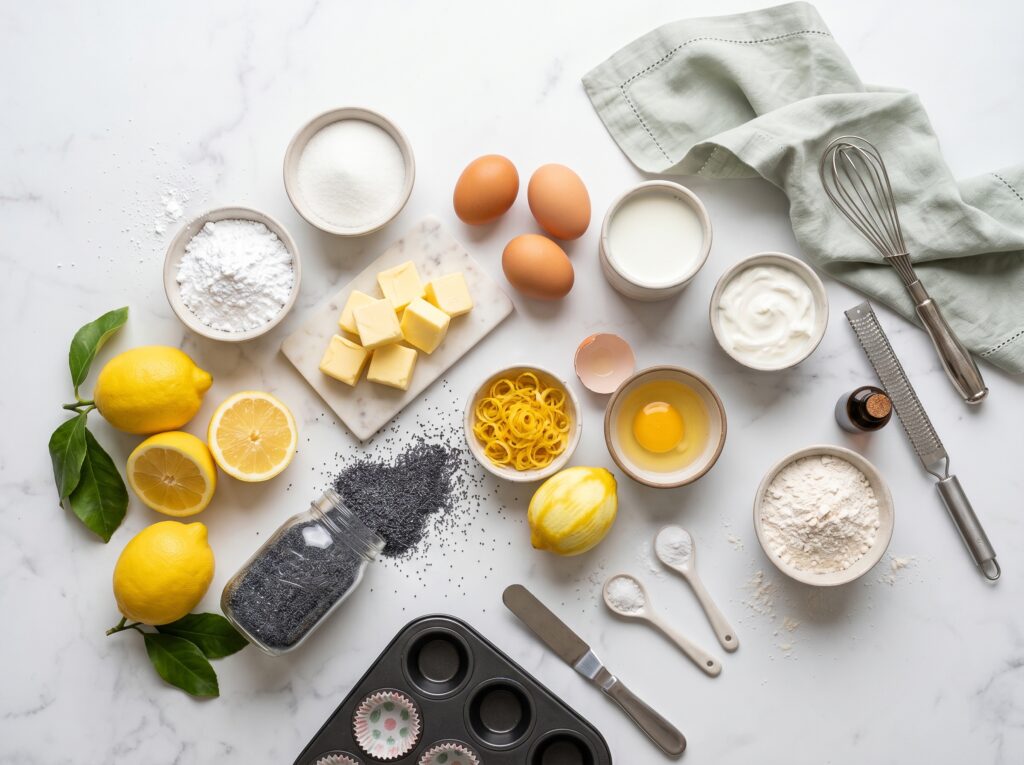
- Preheat and prep. Preheat your oven to 350°F. Line mini muffin tins with mini muffin liners or generously spray the cups with non-stick cooking spray. This recipe makes about 36–40 mini muffins, so you’ll need two 24-cup mini muffin pans, or plan to bake in batches.
- Mix the dry ingredients. In a medium bowl, whisk together the flour, poppy seeds, baking powder, baking soda, and salt until evenly combined. Set aside. This ensures the leavening agents are distributed throughout so every muffin rises perfectly.
- Zest the sugar. In a large mixing bowl, combine the sugar and lemon zest. Use your fingers to rub the zest into the sugar for about 30 seconds. This releases the essential oils from the zest and infuses the sugar with incredible lemon flavor. The sugar should look slightly damp and smell amazing.
💡 Pro Tip: This zest-sugar rubbing technique is a game-changer! It extracts maximum flavor from the lemon zest and distributes it evenly throughout the batter. Don’t skip this step — it’s what makes these muffins taste so intensely lemony.
- Add the wet ingredients. Add the eggs to the lemon sugar and whisk until light and slightly fluffy, about 1 minute. Pour in the oil, buttermilk, lemon juice, and vanilla extract. Whisk until smooth and well combined. The mixture should be pale yellow and thoroughly blended.
- Combine wet and dry. Pour the dry ingredients into the wet ingredients. Using a spatula or wooden spoon, gently fold everything together just until the flour disappears. Don’t overmix! A few small lumps are perfectly fine. Overmixing develops gluten and creates tough, dense muffins instead of tender ones.
- Fill the muffin cups. Using a small cookie scoop or two spoons, fill each mini muffin cup about ¾ full. Don’t overfill or they’ll overflow and create muffin tops that stick together. You want them to rise just above the rim of the cup for that perfect domed top.
💡 Pro Tip: A small cookie scoop (about 1 tablespoon size) makes filling mini muffin cups so much easier and faster. It creates uniform muffins that bake evenly and look professional. If you don’t have one, two spoons work — just takes a bit longer.
- Bake until golden. Bake for 10–12 minutes, until the tops are golden and spring back when lightly touched. A toothpick inserted in the center should come out clean or with just a few moist crumbs. Don’t overbake or they’ll be dry! Mini muffins bake much faster than regular ones, so watch them closely after the 9-minute mark.
- Cool slightly before removing. Let the muffins cool in the pan for 2–3 minutes, then carefully transfer them to a wire rack to cool completely. If you try to remove them too soon, they might break apart. If you wait too long, they’ll stick to the pan.
- Make the lemon glaze. While the muffins cool, whisk together the powdered sugar and lemon juice in a small bowl until smooth. Start with 2 tablespoons of lemon juice and add more if needed to reach a thick but pourable consistency. It should drizzle off a spoon but not be too thin and watery.
💡 Pro Tip: For the best glaze consistency, add the lemon juice gradually. Too much and it’ll be runny and slide right off. Too little and it’ll be thick and pasty. You want it just thin enough to drizzle but thick enough to set into a beautiful glaze.
- Glaze the muffins. Once the muffins are completely cool (this is important — warm muffins will make the glaze melt and run off), dip the top of each muffin into the glaze or drizzle the glaze over the tops using a spoon. Let the glaze set for about 10 minutes before serving. It should dry to a beautiful, slightly shiny finish.
That’s it — now let’s talk about all the delicious ways to serve these adorable mini muffins.
How to Serve It
These mini lemon poppy seed muffins are incredibly versatile. Here’s how we love to enjoy them:
- ☕ Morning coffee companion — serve with hot coffee or tea for an elegant breakfast
- 🌸 Spring brunch spread — arrange on a tiered stand with fresh berries and flowers for a beautiful display
- 🎉 Baby shower or bridal shower — perfect bite-sized treats for parties and gatherings
- 🍽️ Mother’s Day breakfast — serve on a pretty platter with fresh fruit and mimosas
- 🎁 Homemade gift — pack in a decorative box or tin to give as a thoughtful homemade gift
- 🍴 Dessert platter — serve alongside cookies and brownies for a dessert spread with variety
However you serve them, these mini muffins are guaranteed to disappear fast. They’re the perfect size for grabbing a few without feeling guilty! Now let’s cover storage and make-ahead tips.
Storage & Leftovers
Room Temperature: Store unglazed muffins in an airtight container at room temperature for up to 3 days. Once glazed, they’re best eaten within 1–2 days as the glaze can make them slightly sticky.
Refrigerator: You can refrigerate glazed muffins in an airtight container for up to 5 days. Let them come to room temperature before serving for the best texture and flavor.
Freezer: These freeze beautifully! Freeze unglazed muffins in a single layer on a baking sheet for 1 hour, then transfer to a freezer bag or container for up to 3 months. Thaw at room temperature, then glaze right before serving. You can also freeze already-glazed muffins, though the glaze may lose some of its shine.
Make-Ahead Tip: These mini muffins are perfect for advance prep! Bake them up to 2 days before your event and store in an airtight container. Glaze them the morning of or even an hour before serving for the freshest look. For even easier entertaining, bake and freeze them weeks in advance. The night before your brunch, move them from the freezer to the counter to thaw overnight. In the morning, make the glaze and dip the tops — everyone will think you woke up at dawn to bake fresh muffins! I always keep a batch in my freezer for unexpected guests or last-minute brunch invitations.
Reheating:
— Microwave: Warm for 8–10 seconds to bring back that fresh-baked softness. Don’t overheat or they’ll get tough.
— Oven: Warm at 300°F for 3–5 minutes. This is the best method for restoring that just-baked texture.
— Room temperature: These are also delicious served at room temperature — no reheating necessary!
Coming up next — the mistakes that can ruin mini muffins, and exactly how to avoid them.
Helpful Tips & Common Mistakes
I’ve made countless batches of mini muffins. Here are the mistakes people make, and how to get perfect results every time:
✗ Mistake: Overmixing the batter until it’s completely smooth.
✓ Fix: Mix just until the dry ingredients disappear into the wet ingredients. A few small lumps are perfectly fine — actually, they’re good! Overmixing develops gluten and creates tough, dense, chewy muffins instead of light and tender ones. Use a gentle folding motion and stop as soon as you don’t see dry flour.
✗ Mistake: Overfilling the mini muffin cups and creating overflow messes.
✓ Fix: Fill each cup only ¾ full — about 1 tablespoon of batter. Mini muffins rise quickly and don’t need much room. Overfilling causes them to overflow, stick together, and lose their cute individual shape. Less is more here!
✗ Mistake: Overbaking until the muffins are dry and crumbly.
✓ Fix: Set your timer for 10 minutes and check them. They’re done when the tops spring back when lightly touched and a toothpick comes out with just a few moist crumbs. Remember, mini muffins bake much faster than regular ones — they can go from perfect to overbaked in just 2 minutes.
✗ Mistake: Glazing the muffins while they’re still warm.
✓ Fix: Let the muffins cool completely before glazing! Warm muffins cause the glaze to melt and run off instead of setting into that beautiful coating. Be patient — it takes about 20–30 minutes for mini muffins to cool completely. The glaze will set perfectly on cool muffins.
✗ Mistake: Using old baking powder that doesn’t make the muffins rise.
✓ Fix: Check the expiration date on your baking powder! Old leavening agents lose their potency and won’t create those fluffy, domed muffin tops. Test your baking powder by mixing ½ teaspoon with hot water — it should fizz vigorously. If it doesn’t, buy fresh.
Follow these tips and you’ll have perfect, fluffy, lemony mini muffins every single time. Now let’s talk variations.
Recipe Variations
Once you’ve mastered the classic lemon poppy seed version, here are some delicious ways to switch things up:
🫐 Blueberry Lemon Version: Gently fold ¾ cup of fresh or frozen blueberries into the batter after mixing. Reduce the poppy seeds to 1 tablespoon or omit them entirely. The burst of juicy blueberries with lemon is absolutely incredible!
🍊 Orange Cranberry Mini Muffins: Replace the lemon zest and juice with orange zest and juice. Fold in ½ cup of dried cranberries. Use orange juice in the glaze instead of lemon. Perfect for fall and winter brunches or Thanksgiving breakfast.
🍋 Double Lemon Version: Skip the poppy seeds entirely and increase the lemon zest to 3 lemons for an extra-lemony muffin. Add ½ teaspoon of lemon extract to the batter for even more intense flavor. Lemon lovers will go crazy for these!
🌸 Lavender Lemon Muffins: Add 1 teaspoon of dried culinary lavender to the batter (grind it slightly in a mortar and pestle first). Reduce poppy seeds to 1 tablespoon. The floral lavender with bright lemon is elegant and perfect for spring tea parties or bridal showers.
Pick your favorite variation and make it your own — the tender mini muffin technique works with any flavor combination!
Ready to Bake Brunch Magic?
These mini lemon poppy seed muffins are proof that good things really do come in small packages. They’re perfectly portioned, incredibly flavorful, tender and fluffy, and that lemon glaze just makes them irresistible. Whether you’re serving them at a fancy brunch or packing them for weekday breakfasts, these little muffins bring joy to everyone who tries them. Plus, there’s something so satisfying about a two-bite treat that lets you enjoy more than one without any guilt!
If you try this recipe, I’d love to hear how it turned out! Drop a comment below or tag me on Pinterest with a photo of your beautiful mini muffins. Happy baking, friends! 🍋
Frequently Asked Questions
Can I make these as regular-sized muffins instead?
Absolutely! This recipe makes about 12–14 regular-sized muffins. Fill standard muffin cups ¾ full and bake at 375°F for 18–22 minutes until a toothpick comes out clean. The baking time is longer because they’re bigger, so watch them carefully after the 18-minute mark.
Can I freeze mini lemon poppy seed muffins?
Yes! These freeze beautifully for up to 3 months. Freeze them unglazed in a single layer, then transfer to a freezer bag. Thaw at room temperature and glaze right before serving. You can also freeze glazed muffins, though the glaze may lose a bit of its shine.
Why did my muffins turn out dense instead of fluffy?
The most common reasons are overmixing the batter or using cold ingredients. Mix just until combined (lumps are okay!), and make sure your eggs and buttermilk are at room temperature. Also check that your baking powder is fresh — old leavening agents won’t create proper rise.
Can I make the batter ahead and bake later?
Not really — muffin batter relies on chemical leavening that starts working as soon as the wet and dry ingredients combine. For best results, bake the batter immediately. However, you can measure and combine the dry ingredients the night before, then mix everything and bake in the morning.
Do I have to use poppy seeds?
No! The poppy seeds are traditional but optional. You can omit them and make plain lemon mini muffins — just increase the lemon zest to 3 lemons for extra citrus flavor. You could also substitute chia seeds or even mini chocolate chips for a fun twist.
How do I prevent the muffins from sticking to the pan?
Use paper mini muffin liners for the easiest release, or spray the pan generously with non-stick cooking spray. Make sure to let the muffins cool for 2–3 minutes in the pan before removing — this helps them set and release more easily.
Can I make these dairy-free?
Yes! Use a dairy-free milk (almond, oat, or soy) with 1½ teaspoons of vinegar to make “buttermilk.” The muffins will be slightly less tender but still delicious. The lemon flavor helps mask any difference in texture.
Why is my glaze too runny or too thick?
The key is the ratio of powdered sugar to lemon juice. Start with 2 tablespoons of lemon juice and add more gradually if needed. The glaze should be thick but pourable — like honey consistency. Too thin? Add more powdered sugar. Too thick? Add lemon juice ½ teaspoon at a time.