
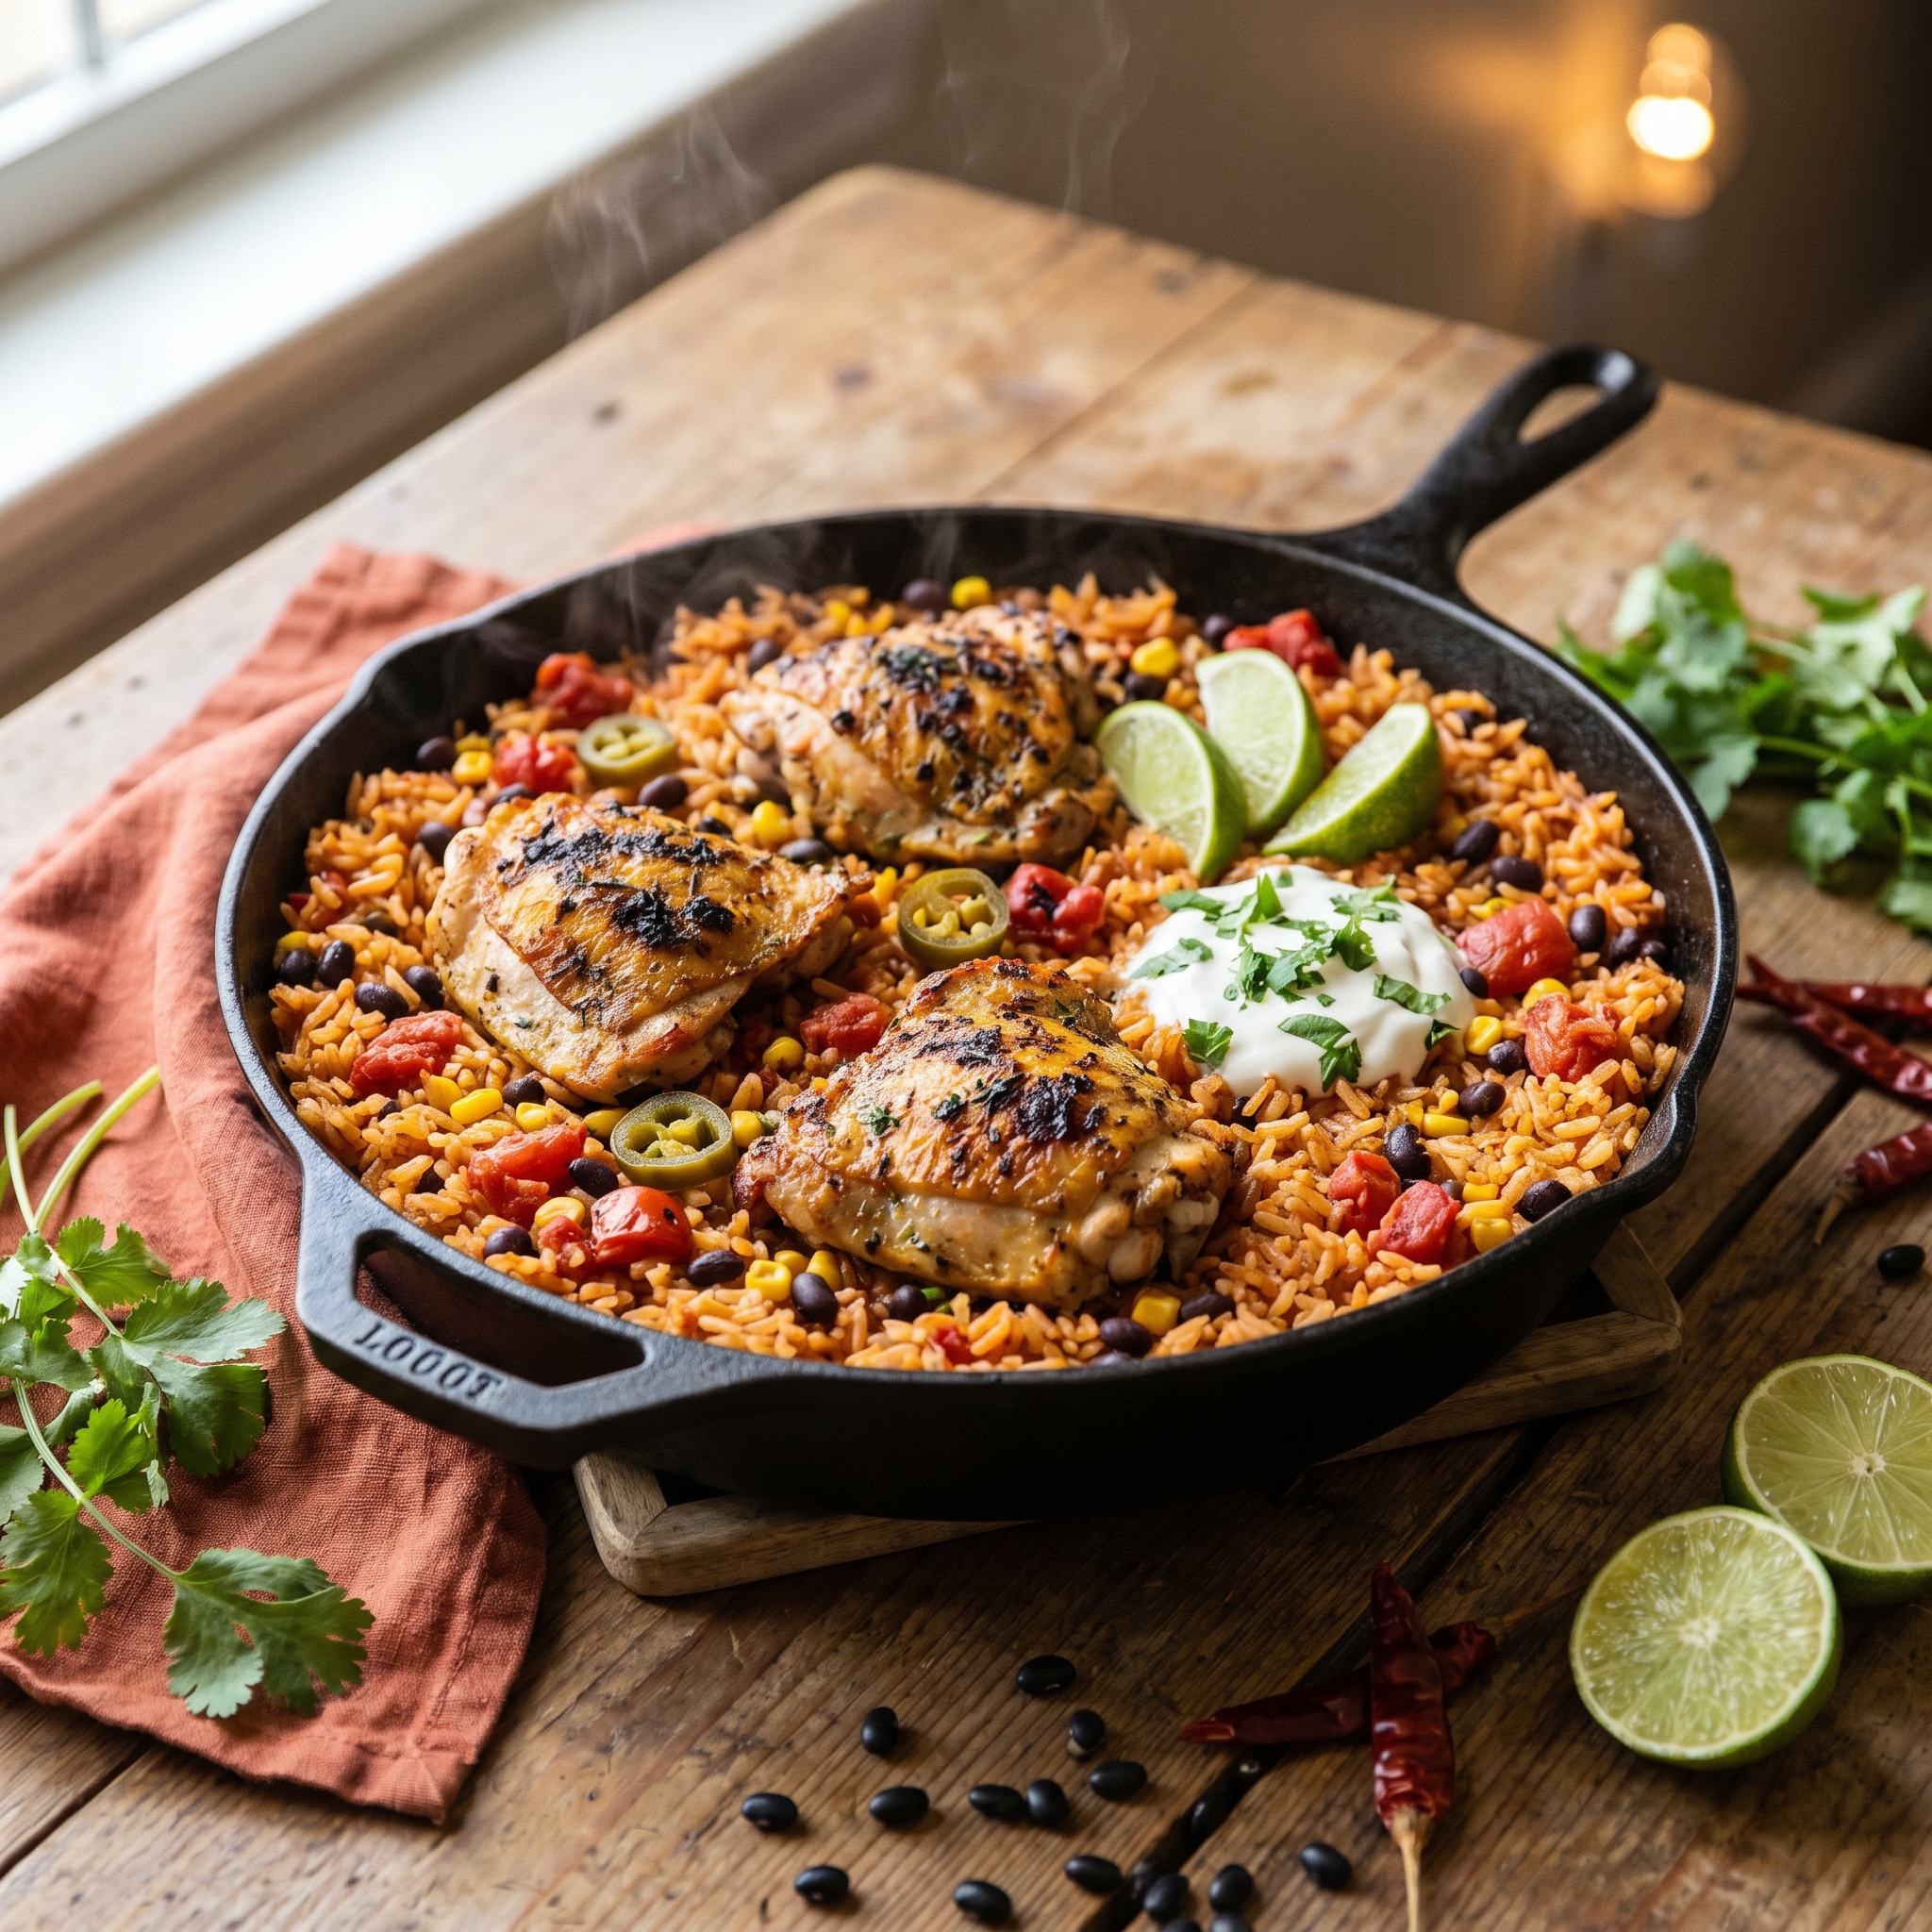
Easy One Pan Mexican Rice and Chicken Bake That’s Ready in Under an Hour
Picture this: It’s 5:30 on a Wednesday evening, you’re exhausted from work, the kids are hungry, and the last thing you want to do is stand over the stove juggling multiple pots and pans. Sound familiar? That’s exactly why this one pan Mexican rice and chicken bake is about to become your new best friend in the kitchen.
Have you ever wished you could just throw everything into one dish, pop it in the oven, and walk away while dinner practically makes itself? Well, that’s exactly what this recipe does. Juicy chicken, perfectly seasoned rice, black beans, corn, and melted cheese all baked together in one beautiful pan. No babysitting the stove, no multiple dishes to wash, just pure weeknight dinner magic.
This is comfort food at its finest — the kind of meal that makes everyone at the table happy without making you stress in the kitchen. Keep reading, because I’m about to show you how to pull off this foolproof dinner that looks impressive but takes almost zero effort.
Table of Contents
Why This Recipe Works
Before we get our hands dirty, let me tell you exactly why you’re going to fall in love with this one pan Mexican rice and chicken bake:
- ✔ Ready in just 50 minutes — including prep time, so you can have dinner on the table before 7pm
- ✔ Only ONE pan to clean — which means less time scrubbing and more time with your family
- ✔ Budget-friendly ingredients — uses affordable chicken, rice, and pantry staples you probably already have
- ✔ Kid-approved flavor — my picky eaters devour this every single time
- ✔ Perfect for meal prep — makes great leftovers and reheats beautifully for lunches all week
- ✔ Feeds a crowd — this recipe serves 6-8 people, making it ideal for potlucks or Sunday family dinners
- ✔ Customizable heat level — make it mild for the kids or spicy for the adults
- ✔ Complete meal in one dish — you’ve got protein, carbs, and veggies all together
Trust me, once you make this recipe, it’s going to be on permanent rotation in your house. Now let’s dive into what you’ll need.
What You’ll Need
The beauty of this one pan Mexican rice and chicken bake is that you probably have most of these ingredients sitting in your pantry right now. Here’s your shopping list:
For the Bake:
- 1½ pounds boneless, skinless chicken breasts or thighs, cut into bite-sized pieces
- 1½ cups long-grain white rice (uncooked)
- 2½ cups chicken broth
- 1 can (14.5 oz) diced tomatoes with green chiles (like Rotel)
- 1 can (15 oz) black beans, drained and rinsed
- 1 cup frozen corn kernels
- 1 small onion, diced
- 1 bell pepper (any color), diced
- 3 cloves garlic, minced
- 2 tablespoons olive oil
- 2 cups shredded Mexican blend cheese, divided
For the Seasoning:
- 2 teaspoons chili powder
- 1½ teaspoons cumin
- 1 teaspoon paprika
- 1 teaspoon garlic powder
- 1 teaspoon onion powder
- ½ teaspoon oregano
- 1 teaspoon salt
- ½ teaspoon black pepper
- ¼ teaspoon cayenne pepper (optional, for heat)
For Topping & Serving:
- Fresh cilantro, chopped
- Sour cream
- Sliced jalapeños
- Diced avocado or guacamole
- Lime wedges
- Sliced green onions
- Hot sauce (optional)
Substitutions — Make It Work for You!
No Rotel tomatoes? Use a regular can of diced tomatoes plus a small can (4 oz) of diced green chiles, or just plain diced tomatoes if you want it milder.
Don’t have chicken broth? Water works in a pinch — just add an extra ½ teaspoon of salt and maybe a chicken bouillon cube for flavor.
Not a fan of black beans? Swap them for pinto beans, kidney beans, or just add an extra cup of corn.
Need to use brown rice? You can, but increase the liquid to 3 cups and the baking time to about 60-65 minutes. Brown rice takes longer to cook.
Want to make it vegetarian? Skip the chicken and double the beans, or add diced zucchini and mushrooms. Use vegetable broth instead of chicken broth.
Chef’s Note 📝
Why long-grain white rice? This type of rice cooks evenly in the oven and absorbs all those amazing flavors without getting mushy or sticky. Short-grain rice tends to clump together, and minute rice will turn to mush. Long-grain white rice (like jasmine or basmati) gives you perfect, fluffy results every single time. It’s the secret to making this dish foolproof.
Alright, you’ve got everything ready — now let’s start cooking and turn these simple ingredients into something incredible.
How to Make One Pan Mexican Rice and Chicken Bake — Step by Step
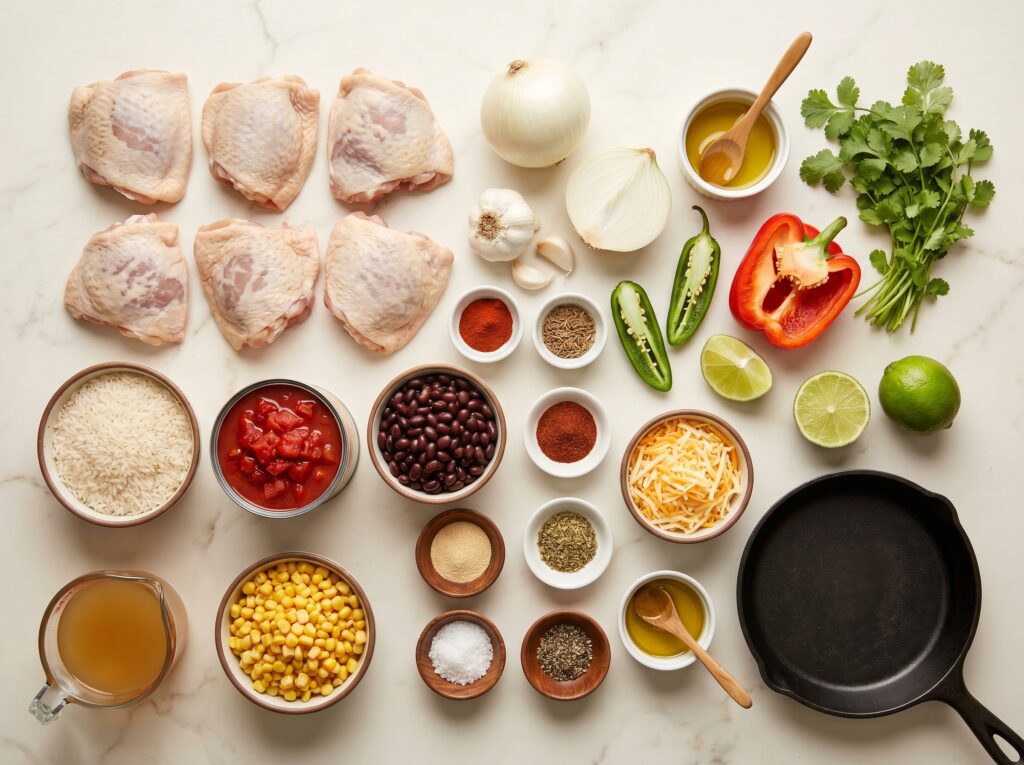
This is where the magic happens. Follow these easy steps and you’ll have a complete dinner with almost zero effort:
Step 1: Preheat and Prep Your Pan
Preheat your oven to 375°F. Grab a 9×13-inch baking dish (or a large oven-safe skillet if you have one) and spray it generously with cooking spray or brush with olive oil. This prevents the rice from sticking and makes cleanup a breeze.
Step 2: Season the Chicken
Cut your chicken into bite-sized pieces, about 1-inch cubes. In a small bowl, mix together all your seasonings: chili powder, cumin, paprika, garlic powder, onion powder, oregano, salt, pepper, and cayenne if using. Toss the chicken pieces with half of this seasoning blend until they’re well-coated. Save the other half for later.
Pro Tip 💡: Cutting the chicken into smaller pieces means more surface area for those delicious seasonings, and everything cooks faster and more evenly. Win-win!
Step 3: Build Your Base Layer
Add the uncooked rice directly to your prepared baking dish and spread it out evenly. Pour in the chicken broth, then add the can of diced tomatoes with green chiles (don’t drain it — all that liquid helps cook the rice). Stir in the diced onion, bell pepper, minced garlic, black beans, and corn. Sprinkle in the remaining half of your seasoning blend and give everything a good stir to combine.
Step 4: Add the Chicken and First Layer of Cheese
Nestle the seasoned chicken pieces evenly throughout the rice mixture, pressing them down slightly so they’re partially submerged in the liquid. Drizzle the olive oil over the top. Sprinkle 1 cup of the shredded cheese over everything — this will melt down into the rice and create pockets of gooey goodness.
Pro Tip 💡: Make sure your chicken pieces are spread out evenly and not all piled in one spot. This ensures everything cooks at the same rate and you get chicken in every bite.
Step 5: Cover and Bake
Cover the baking dish tightly with aluminum foil — and I mean really tight, you want to trap all that steam inside. Bake for 40-45 minutes, until the rice is tender and has absorbed all the liquid, and the chicken reaches an internal temperature of 165°F.
Pro Tip 💡: Don’t peek! I know it’s tempting to lift that foil and check on things, but every time you do, you let out precious steam that’s needed to cook the rice perfectly. Trust the process and leave it alone.
Step 6: Add the Final Cheese Layer
Remove the foil carefully (watch out for that hot steam!) and check that the rice is tender by poking it with a fork. Sprinkle the remaining 1 cup of cheese evenly over the top. Return the dish to the oven, uncovered, for another 5-7 minutes until the cheese is melted, bubbly, and starting to get those golden-brown spots on top.
Step 7: Let It Rest and Serve
Let the dish sit for about 5 minutes after you pull it from the oven — this gives everything time to set up and makes it easier to serve. Fluff the rice gently with a fork, then top with fresh cilantro, a dollop of sour cream, sliced jalapeños, diced avocado, and a squeeze of fresh lime juice.
Pro Tip 💡: That resting time is crucial! If you dive in immediately, the rice will be loose and runny. Give it 5 minutes and everything comes together perfectly. Use that time to set the table and grab your toppings.
And just like that, you’ve got a complete, delicious, crowd-pleasing dinner that required one pan and minimal effort. Now let’s talk about the best ways to enjoy this beauty.
How to Serve It
This one pan Mexican rice and chicken bake is already a complete meal, but here are some of my favorite ways to make it even better:
- Weeknight Family Dinner: Serve it straight from the baking dish with all the toppings on the side so everyone can customize their portion. Add a simple side salad with lime vinaigrette and you’re done.
- Taco Tuesday Twist: Scoop generous portions into flour tortilla bowls or use it as filling for soft tacos. Top with shredded lettuce and pico de gallo.
- Game Day Spread: This is perfect for feeding a hungry crowd during football season. Set it out buffet-style with tortilla chips, salsa, and a big pitcher of margaritas or cold beer.
- Potluck Winner: Transport it in the baking dish covered with foil, then heat it in the host’s oven for 15-20 minutes at 350°F before serving. It travels beautifully and always gets rave reviews.
- Meal Prep Champion: Divide into individual containers for grab-and-go lunches. It reheats perfectly in the microwave and tastes even better the next day as the flavors develop.
However you choose to serve it, this dish disappears fast — so don’t be surprised if there aren’t any leftovers. But just in case, here’s how to store them properly.
Storage & Leftovers
The best news? This one pan Mexican rice and chicken bake actually tastes even better the next day once all those flavors have had time to meld together. Here’s how to keep it fresh:
Refrigerator: Let the bake cool completely, then transfer to an airtight container (or cover the baking dish tightly with plastic wrap or foil). It will keep in the fridge for 4-5 days. The rice absorbs more flavor as it sits, making leftovers absolutely delicious.
Freezer: This freezes beautifully for up to 3 months. Let it cool completely, then portion into individual freezer-safe containers or one large freezer-safe dish. Thaw overnight in the refrigerator before reheating.
Make-Ahead Tip: You can assemble this entire dish up to 24 hours in advance! Just prep everything in the baking dish, cover tightly with foil, and refrigerate. When you’re ready to cook, let it sit at room temperature for 20 minutes, then bake as directed (you might need to add 5-10 extra minutes to the cooking time since it’s starting cold).
How to Reheat:
Microwave: Place a portion in a microwave-safe bowl, sprinkle with a tablespoon of water or chicken broth to add moisture, cover loosely, and heat in 1-minute intervals, stirring between, until hot throughout.
Oven (Best Method): Preheat oven to 350°F. Transfer the bake to an oven-safe dish, cover with foil, and heat for 20-25 minutes until warmed through. Remove the foil for the last 5 minutes to crisp up the cheese on top. This method brings back that fresh-from-the-oven texture.
Stovetop: Add leftovers to a skillet with a splash of chicken broth, cover, and heat over medium-low heat for 5-7 minutes, stirring occasionally. This works great when you only need to reheat a portion or two.
With these storage tips, you can enjoy this delicious meal all week long. But let me share some insider secrets to make sure it turns out perfect every time.
Helpful Tips & Common Mistakes
I’ve made this recipe more times than I can count, and I’ve learned what works and what doesn’t. Here are the most common pitfalls and how to avoid them:
✗ Mistake: Using instant or minute rice instead of regular long-grain rice.
✓ Fix: Instant rice will turn to complete mush in the oven. You need regular long-grain white rice that takes time to cook and absorb all that flavorful liquid. Don’t try to speed this up with quick-cooking rice — it won’t work.
✗ Mistake: Not covering the dish tightly enough with foil, causing the rice to dry out and cook unevenly.
✓ Fix: Use heavy-duty aluminum foil and crimp it tightly around the edges of your baking dish. You want to trap all that steam inside so the rice cooks perfectly. If your foil has holes or gaps, use two layers.
✗ Mistake: Lifting the foil during baking to check if it’s done, which releases essential steam.
✓ Fix: I know it’s tempting, but resist! Every time you peek, you let out steam and add 5-10 minutes to your cooking time. Set a timer for 40 minutes and only check after that.
✗ Mistake: Not using enough liquid, resulting in crunchy, undercooked rice.
✓ Fix: The rice-to-liquid ratio is crucial. Make sure you’re using the full 2½ cups of chicken broth PLUS the liquid from the can of tomatoes. If your rice seems dry after 45 minutes, add ¼ cup more broth, re-cover, and bake for 10 more minutes.
✗ Mistake: Cutting the chicken into pieces that are too large, causing uneven cooking.
✓ Fix: Keep your chicken pieces around 1-inch cubes. Larger pieces take longer to cook and might still be raw when your rice is done. Smaller, uniform pieces ensure everything finishes at the same time.
Follow these tips and you’ll have perfect results every single time. And if you want to switch things up, I’ve got some fun variations for you to try.
Recipe Variations
Once you’ve mastered the classic version, here are some delicious ways to customize this one pan Mexican rice and chicken bake:
Southwest Style: Add 1 cup of fire-roasted corn instead of regular corn, use pepper jack cheese instead of Mexican blend for extra kick, and top with crushed tortilla chips before the final cheese layer for amazing crunch.
Fajita-Style Bake: Use sliced chicken instead of cubes, add extra bell peppers (use red, yellow, and green for color), increase the cumin and add a squeeze of fresh lime juice before serving. Serve with warm flour tortillas on the side.
Creamy Green Chile Version: Stir in ½ cup of sour cream and one 4-ounce can of diced green chiles before baking. Use white chicken chili seasoning instead of the regular taco seasonings. Top with Monterey Jack cheese for a milder, creamier dish.
Healthier Lighter Version: Use brown rice (add extra liquid and cooking time as mentioned earlier), swap regular cheese for reduced-fat Mexican blend, add extra vegetables like diced zucchini and mushrooms, and use chicken breast instead of thighs. Still delicious but lighter on calories.
Tex-Mex BBQ Fusion: Add 2-3 tablespoons of your favorite BBQ sauce to the rice mixture, use smoked paprika instead of regular paprika, and top with crispy fried onions along with the cheese in the final step. It’s like a BBQ casserole met Mexican night — amazing!
Burrito Bowl Style: After baking, top each serving with shredded lettuce, pico de gallo, guacamole, and a drizzle of cilantro-lime dressing. Serve with tortilla chips on the side for scooping. It’s like your favorite burrito bowl but baked!
The possibilities are endless with this recipe — it’s like a blank canvas for whatever flavors you’re craving. Let me wrap this up with some final thoughts.
Final Thoughts
This one pan Mexican rice and chicken bake is everything a weeknight dinner should be — simple, satisfying, and absolutely delicious. With minimal prep, one dish to clean, and flavors that make everyone ask for seconds, this recipe is about to become your new go-to for busy nights when you want something homemade but don’t want to spend hours in the kitchen.
If you try this recipe, I’d love to hear how it turned out! Drop a comment below and let me know what toppings you used, or tag me on Pinterest with your creation. Now get in that kitchen and make some dinner magic happen!
FAQs
Q: Can I make this ahead of time?
A: Absolutely! You can assemble the entire dish up to 24 hours in advance, cover it tightly, and refrigerate. When you’re ready to bake, let it sit at room temperature for 20 minutes, then bake as directed. You may need to add 5-10 extra minutes to the cooking time since you’re starting with a cold dish.
Q: Can I freeze this one pan Mexican rice and chicken bake?
A: Yes! This freezes beautifully for up to 3 months. Let it cool completely after baking, then portion into freezer-safe containers. Thaw overnight in the refrigerator and reheat in the oven at 350°F for 20-25 minutes. You can also freeze it unbaked, but I prefer freezing it after cooking for better texture.
Q: Can I use brown rice instead of white rice?
A: You can, but you’ll need to adjust the recipe. Use 3 cups of liquid instead of 2½ cups, and increase the baking time to 60-65 minutes. Brown rice takes longer to cook, but it’s a great option if you prefer whole grains. Just make sure to keep it covered tightly during baking.
Q: How do I know when the rice is fully cooked?
A: After 40-45 minutes, carefully remove the foil and check the rice with a fork. It should be tender and all the liquid should be absorbed. If there’s still liquid pooling at the bottom or the rice feels crunchy, re-cover and bake for another 10 minutes. If it looks dry but still undercooked, add ¼ cup of broth, cover, and continue baking.
Q: Can I make this in a slow cooker or Instant Pot?
A: For the slow cooker, use the same ingredients but cook on low for 4-5 hours or high for 2-3 hours. Add the cheese in the last 15 minutes. For the Instant Pot, sauté the chicken first, then add everything else (use only 2 cups of broth), cook on high pressure for 10 minutes, natural release for 10 minutes, then stir in the cheese. The oven method is my favorite, though!
Q: Is this recipe gluten-free?
A: Yes! This recipe is naturally gluten-free as long as you make sure your chicken broth and canned tomatoes don’t contain any hidden gluten. Always check labels if you have celiac disease, but rice, chicken, beans, cheese, and veggies are all naturally gluten-free.
Q: My family doesn’t like spicy food. Can I make this milder?
A: Definitely! Use regular diced tomatoes instead of Rotel (which has green chiles), skip the cayenne pepper, and use mild chili powder. You can also use Monterey Jack cheese instead of pepper jack if your Mexican blend has any spice. Top with sour cream and avocado to cool it down even more.
Q: Can I add other vegetables to this bake?
A: Absolutely! Diced zucchini, mushrooms, diced tomatoes, or even spinach work great. Just make sure any vegetables you add don’t have too much water content, or reduce the liquid slightly. I’d recommend adding no more than 1-2 cups of extra veggies so the rice still cooks properly.
Q: What size baking dish do I need?
A: A 9×13-inch baking dish is perfect for this recipe. If you only have a smaller dish, you can halve the recipe and use an 8×8-inch or 9×9-inch pan instead. Just reduce the cooking time slightly and check for doneness around the 35-minute mark.